


Add your text here.
Gratis levering de volgende dag
Beoordeeld als Uitstekend op Trustpilot
Beste Prijsgarantie
Neem contact op met een simulatie-expert: 0800-288-8805

Add your text here.

Of het nu een garage of een logeerkamer is, je hebt voldoende hoogte en zijwaartse ruimte nodig voor een volledige swing. Meer ruimte als je er een sociale plek van wilt maken en je virtuele rondes met vrienden en familie wilt genieten.
Dit zijn de minimale kamerafmetingen om je "comfortabel" te voelen; er kunnen uitzonderingen zijn waarbij we iets kleiner kunnen gaan, maar dit zijn onze aanbevolen minimale afmetingen.
Ruim dus de rommel op, houd rekening met mogelijke obstakels – we hebben het over leidingen, ventilatieopeningen of laaghangende armaturen – en meet de ruimte die je hebt nauwkeurig op.
Dan kun je gaan nadenken over hoeveel je wilt uitgeven aan je thuisgolfopstelling. Er zijn opties voor elk budget, of je nu af en toe een ontspannen ronde wilt spelen of een professionele coachingshulp zoekt.
Weet je niet zeker of je ruimte groot genoeg is of wil je gewoon een second opinion? Plan een videogesprek met onze experts. We helpen je bij het bepalen van de indeling, de apparatuur en nemen je mee door de opties die bij je budget passen.

Het kiezen van de juiste launch monitor is vaak het lastigste onderdeel bij het samenstellen van een golfsimulator. Er is een overweldigend aantal opties en prijsklassen. Om het overzicht te behouden, is het handig om er vanuit twee perspectieven naar te kijken:
Laten we beginnen met de technologie.
Launch monitors zijn ofwel radar-gebaseerd (Doppler) of camera-gebaseerd (fotometrisch). Beide registreren belangrijke gegevens zoals bal snelheid, spin en de lanceerhoek van je slagen. Radarsystemen kaatsen radiogolven terug van de bal, terwijl camera-units gebruikmaken van high-speed fotografie om die metingen frame voor frame vast te leggen.
Het is niet zo dat de ene methode beter of nauwkeuriger is dan de andere. Beide hebben hun sterke en zwakke punten. Daarnaast zijn er veel factoren die invloed hebben, los van het systeem dat je gebruikt, zoals de kwaliteit van de onderdelen en sensoren, de software die je kiest, en meer algemene opstellingsfactoren.
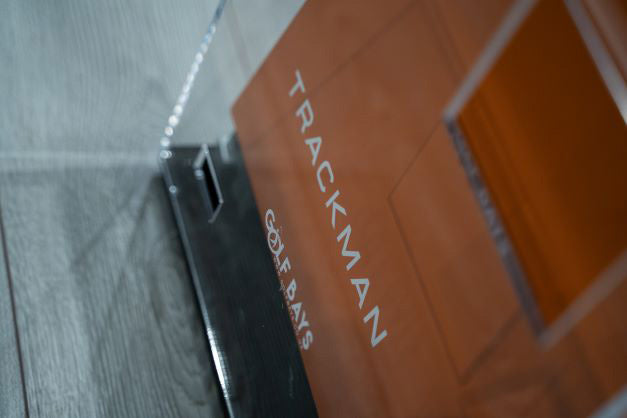
Het is ook goed om te weten dat sommige radarsystemen, zoals de Trackman 4 en de Rapsodo MLM 2 Pro, ook optische sensoren bevatten, maar die worden meestal gebruikt voor uitlijning of het vastleggen van swing-video’s in plaats van voor het meten van balgegevens.

Camera-gebaseerde systemen geven je ‘gesloten data’. Ze meten de lanceercondities op het moment van impact, wat betekent dat wind en andere externe factoren niet worden meegenomen in je metingen. Radarapparaten daarentegen gebruiken ‘open data’ - ze volgen de bal verder op de baan, wat ideaal is als je wilt zien hoe omstandigheden buiten je swing je slagen beïnvloeden. Met dit in gedachten begrijp je waarom radargebaseerde systemen vaak de voorkeur hebben voor gebruik buitenshuis.
Het nauwkeurig meten van je spinwaarden is waar camerasystemen in uitblinken. Door het kuiltjespatroon van de bal frame voor frame vast te leggen, kunnen ze precies volgen hoe snel - en om welke as - je bal draait. Radarsystemen meten ook spin, maar baseren dit meestal op de vluchtbaan van je bal. Dat is logisch voor buiten, maar niet altijd ideaal voor binnenopstellingen.

Sommige radarunits benaderen de positie van het clubblad van achteren, wat kan leiden tot kleine onnauwkeurigheden in je metingen, vooral bij slagen met de teen of hiel van het clubblad. Camera-gebaseerde apparaten zien vaak het hele clubblad, wat een glashelder beeld geeft van hoe en waar je de bal raakt. Als zeer gedetailleerde clubgegevens belangrijk voor je zijn, is een camera-gebaseerde launch monitor waarschijnlijk de beste keuze.

Als je regelmatig spellen organiseert voor zowel rechtshandigen als linkshandigen, wordt flexibiliteit in plaatsing erg belangrijk. Overhead camerasystemen worden meestal aan het plafond gemonteerd, dus je hoeft ze niet te verplaatsen tussen de slagen door. Camerapunten op de vloer daarentegen moeten snel van de ene naar de andere kant worden verplaatst wanneer je van slaghand wisselt. Radargebaseerde monitors staan meestal achter de tee, dus ook die zijn probleemloos in gebruik bij meerdere spelers.

Radar-gebaseerde monitors zijn vaak voordeliger en bieden uitstekende realistische balvlucht, vooral buitenshuis. Ze hebben echter meestal meer ruimte nodig – zowel achter als voor het slaggebied. Wanneer je binnen bent en de ruimte beperkt is, schatten radarsystemen bepaalde gegevens vaak in.
Camera-gebaseerde monitors kunnen aan het plafond, op de vloer of soms op beide worden gemonteerd. Ze nemen over het algemeen minder ruimte in beslag (enkele meters balvlucht zijn voldoende), wat een groot voordeel is als je simulatoropstelling krap is of als je de vloer vrij wilt houden in commerciële ruimtes. Modellen aan het plafond bieden een strakke, onopvallende installatie, terwijl vloerunits duidelijk draagbaar zijn.
De keuze tussen radar- of camera-launchmonitors hangt af van je beschikbare ruimte, budget en hoe je de simulator wilt gebruiken. Beide technologieën leveren betrouwbare en nauwkeurige data. De kunst is een systeem te vinden waarvan de hardware, software en sensorkwaliteit aansluiten bij jouw wensen. Wil je een strak apparaat aan het plafond plaatsen en je ruimte overzichtelijk houden? Dan is een camera-gebaseerde monitor waarschijnlijk de beste keuze. Wil je iets minder uitgeven of je systeem buiten gebruiken? Dan is radar wellicht de beste optie.
Geliefd door 10.000+ Blije Golfers
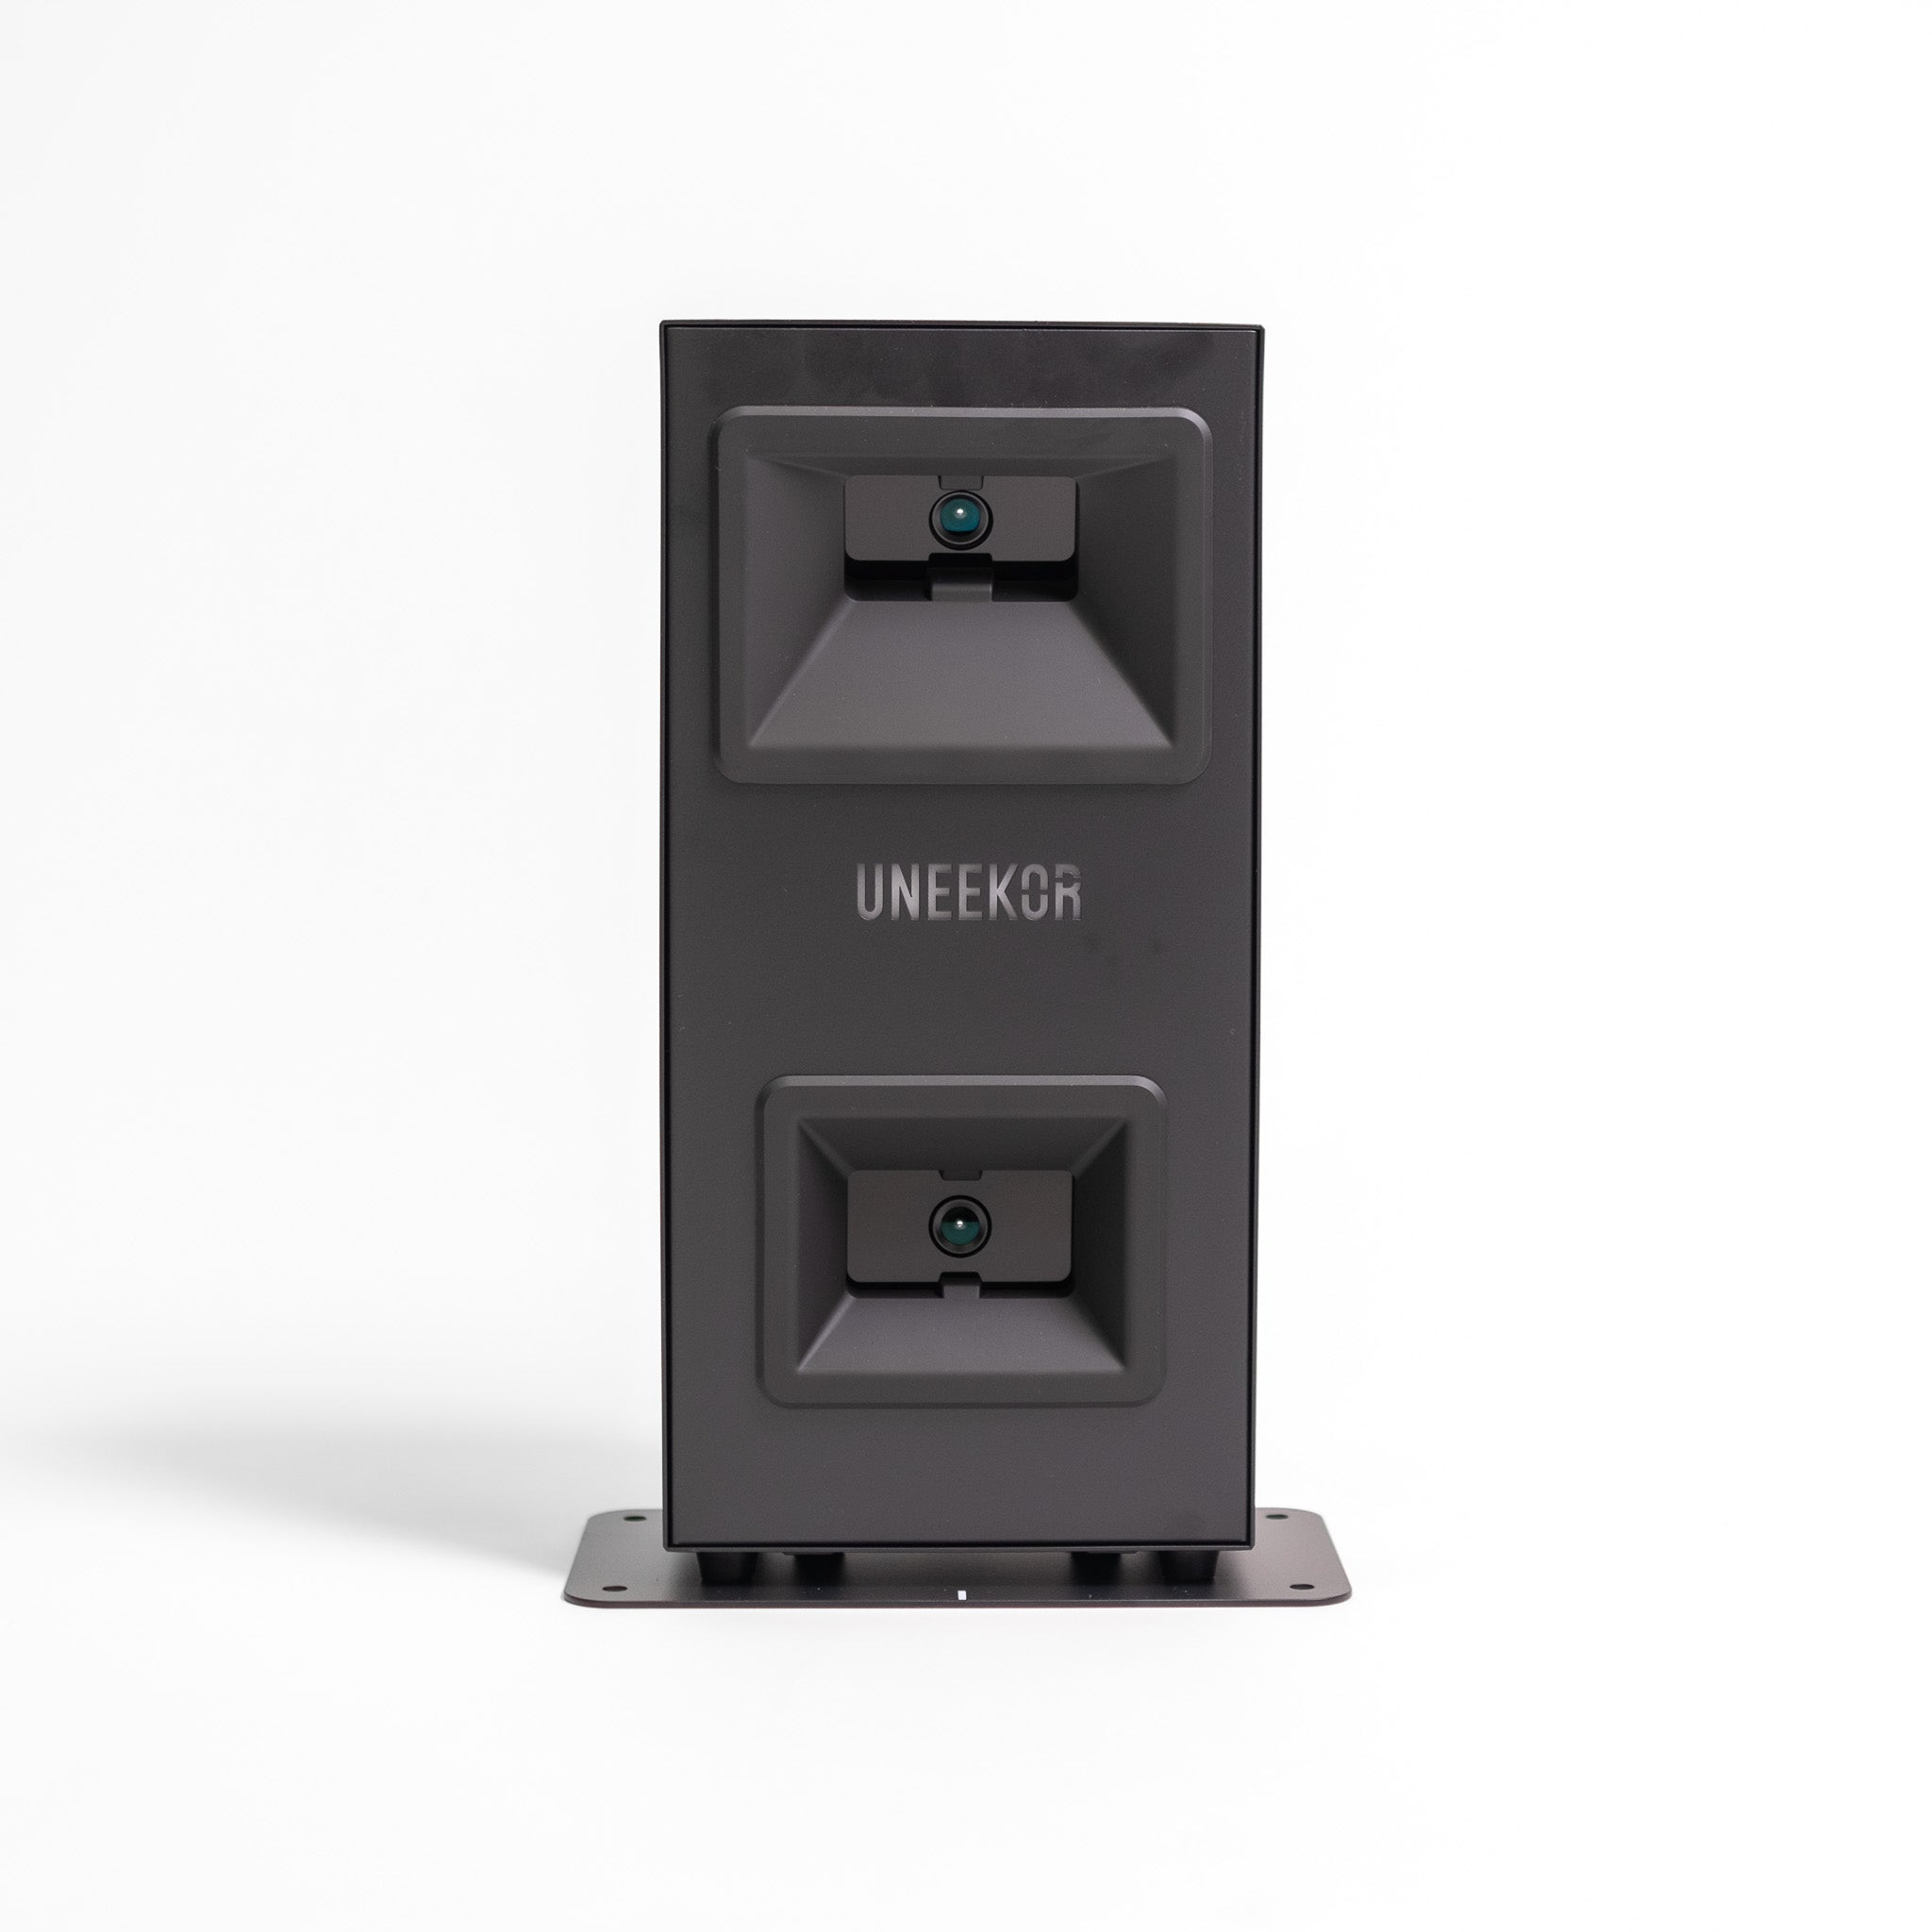
Overhead Launch Monitors mount to the ceiling and are ideal if you regularly host both right and left-handed players, since you don’t have to reposition the unit between shots. These launch monitors are fixed,
generally needing a ceiling height of at least nine feet and can’t be taken outdoors. They tend to offer top-of-the-range object-sensing and image-capturing technology, and are recommended for sleek, professional setups.
This all comes with a higher price tag.
Our Favourite Overhead Launch Monitors:
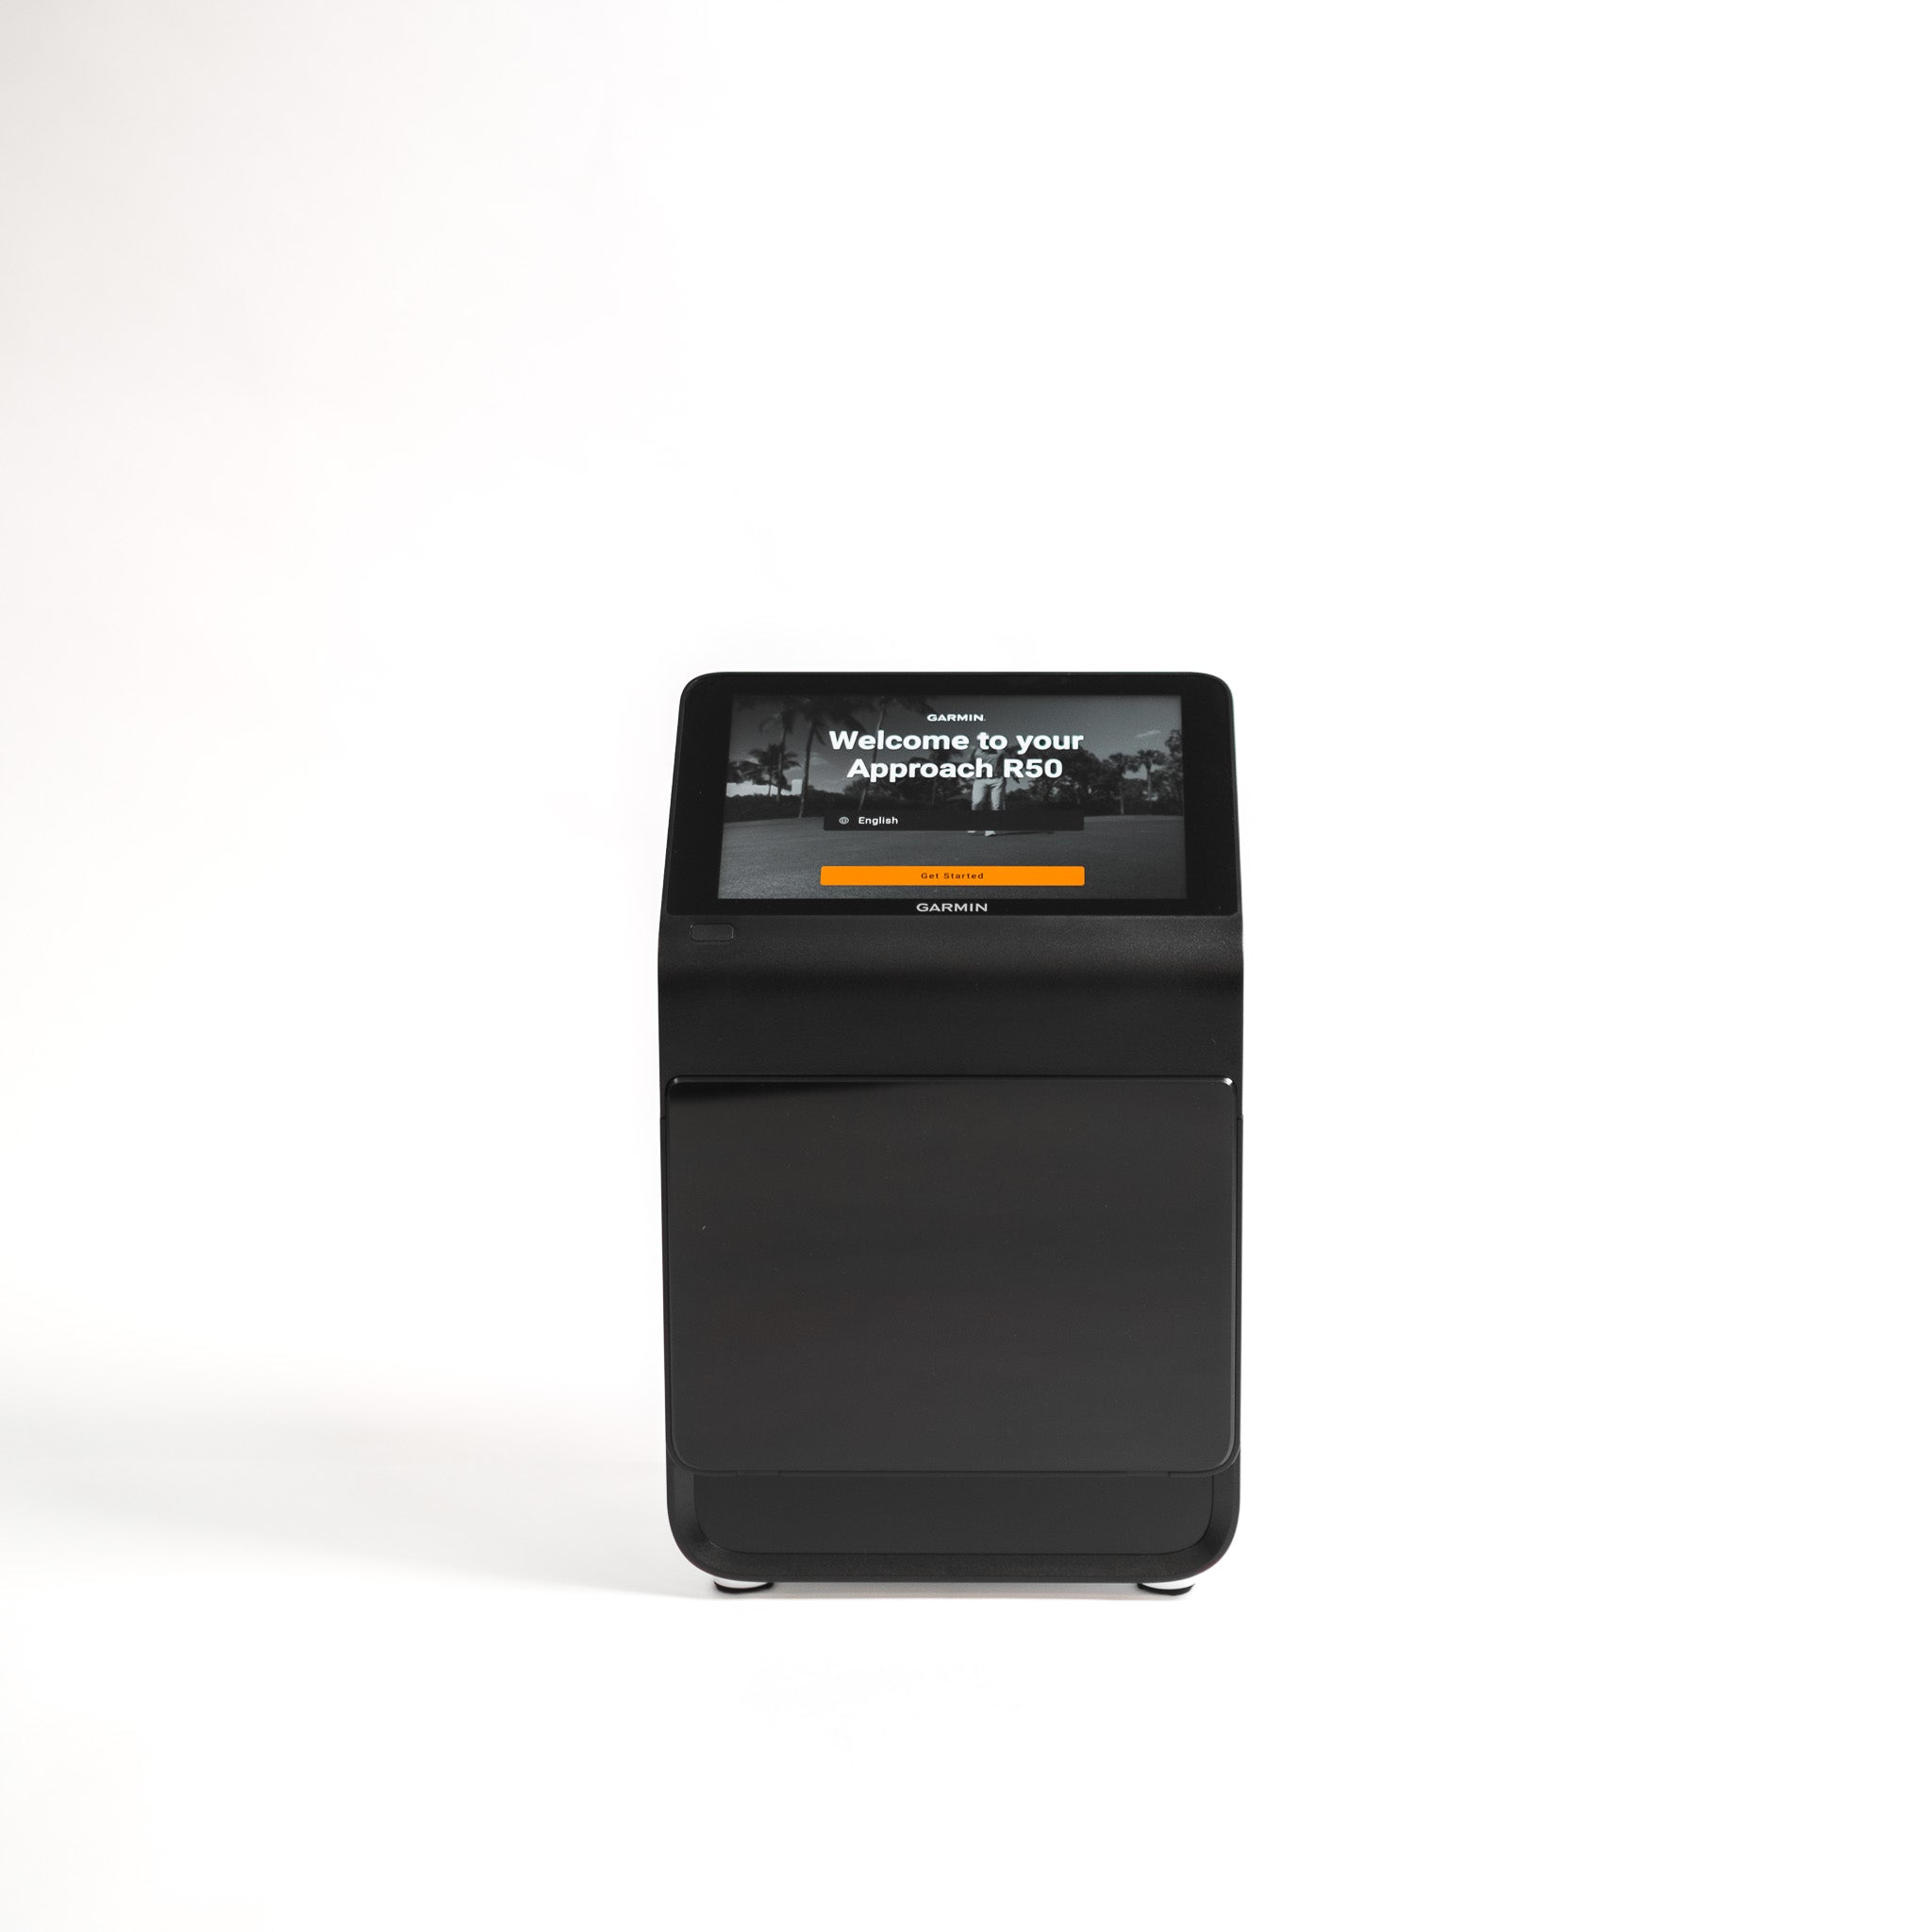
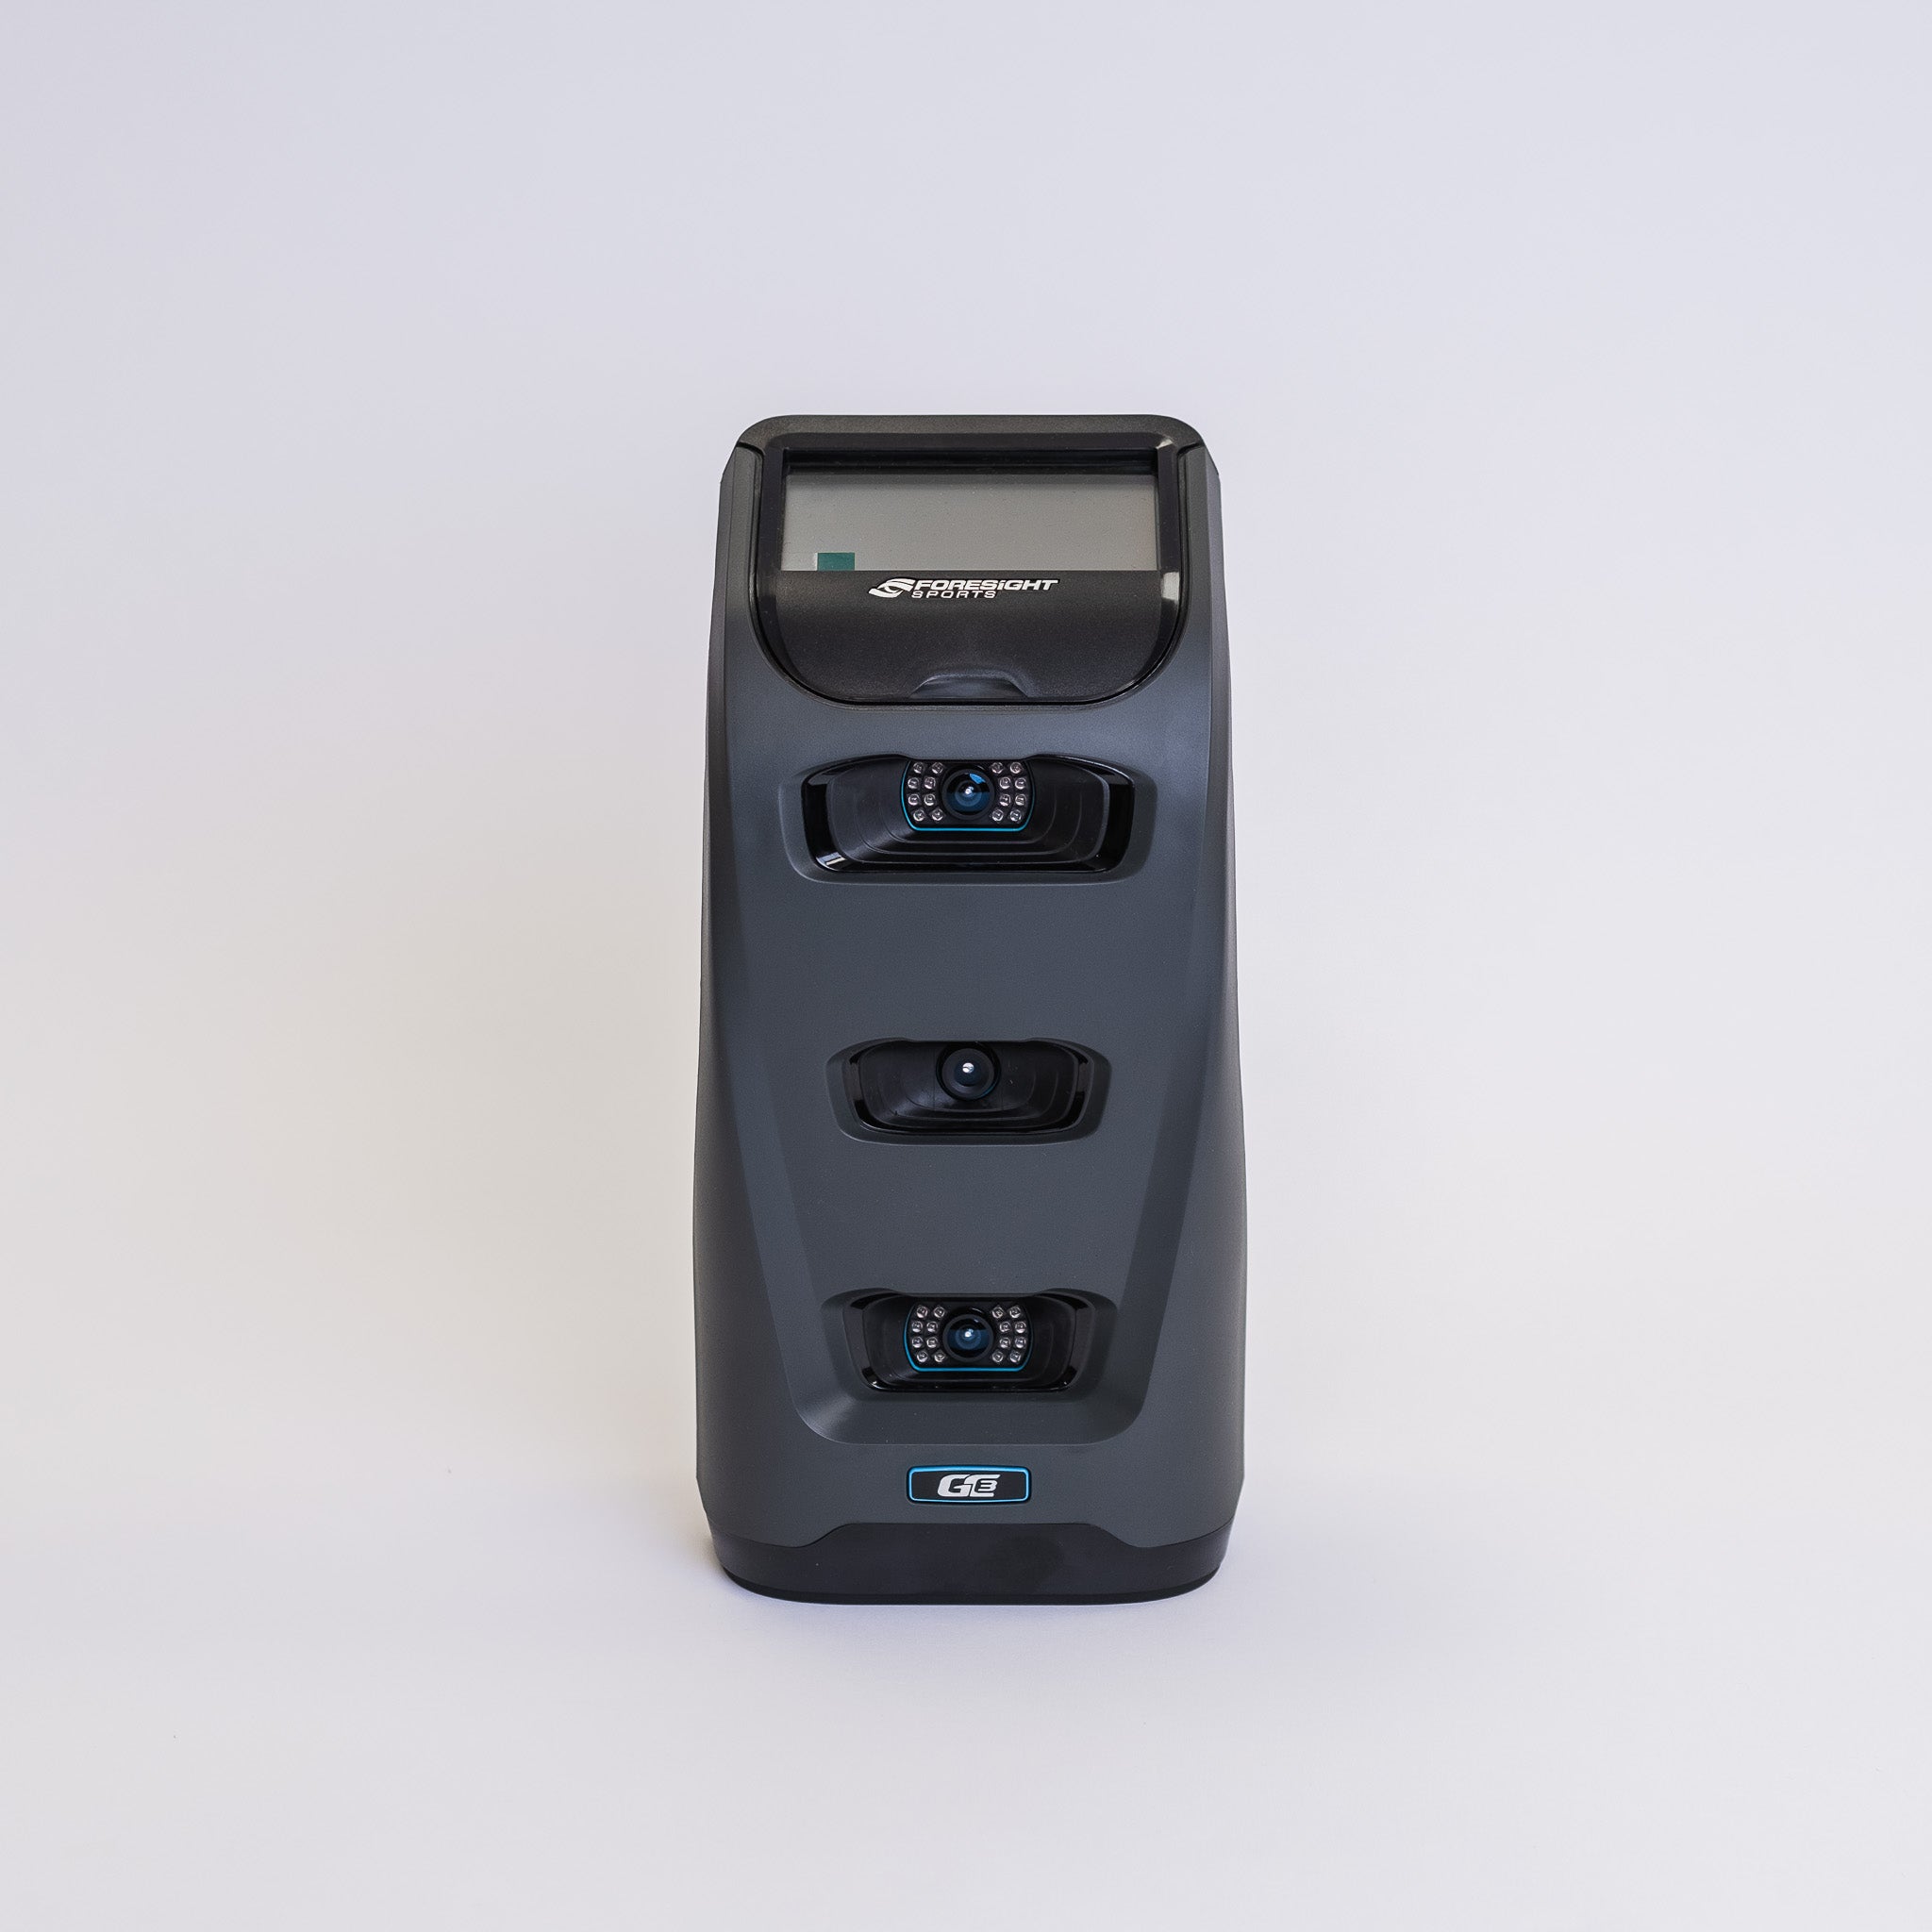
Floor-Based Launch Monitors sit beside the hitting area. These work great for smaller spaces because they don’t demand a big room depth. Many can be used indoors and outdoors, making them flexible and portable
if you want to track your swing on the range. The downside: if you’ve got both righties and lefties, you’ll have to move and realign the unit between shots.
Our Favourite Floor-Based Launch Monitors:

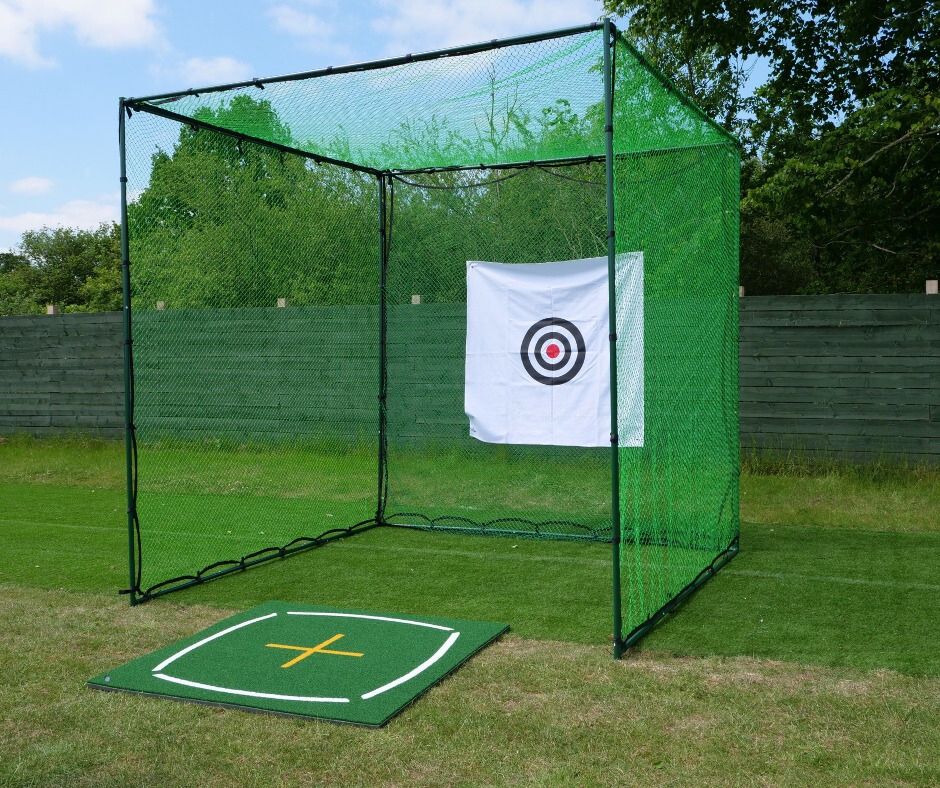
Your enclosure and screen will take the brunt of every swing, so reliability and durability are non-negotiable. Nothing ruins a virtual round like a flimsy setup that tears or rebounds shots back at you. Here’s how to find the right screen and enclosure to handle your hitting.
Here are a few things to consider when deciding…

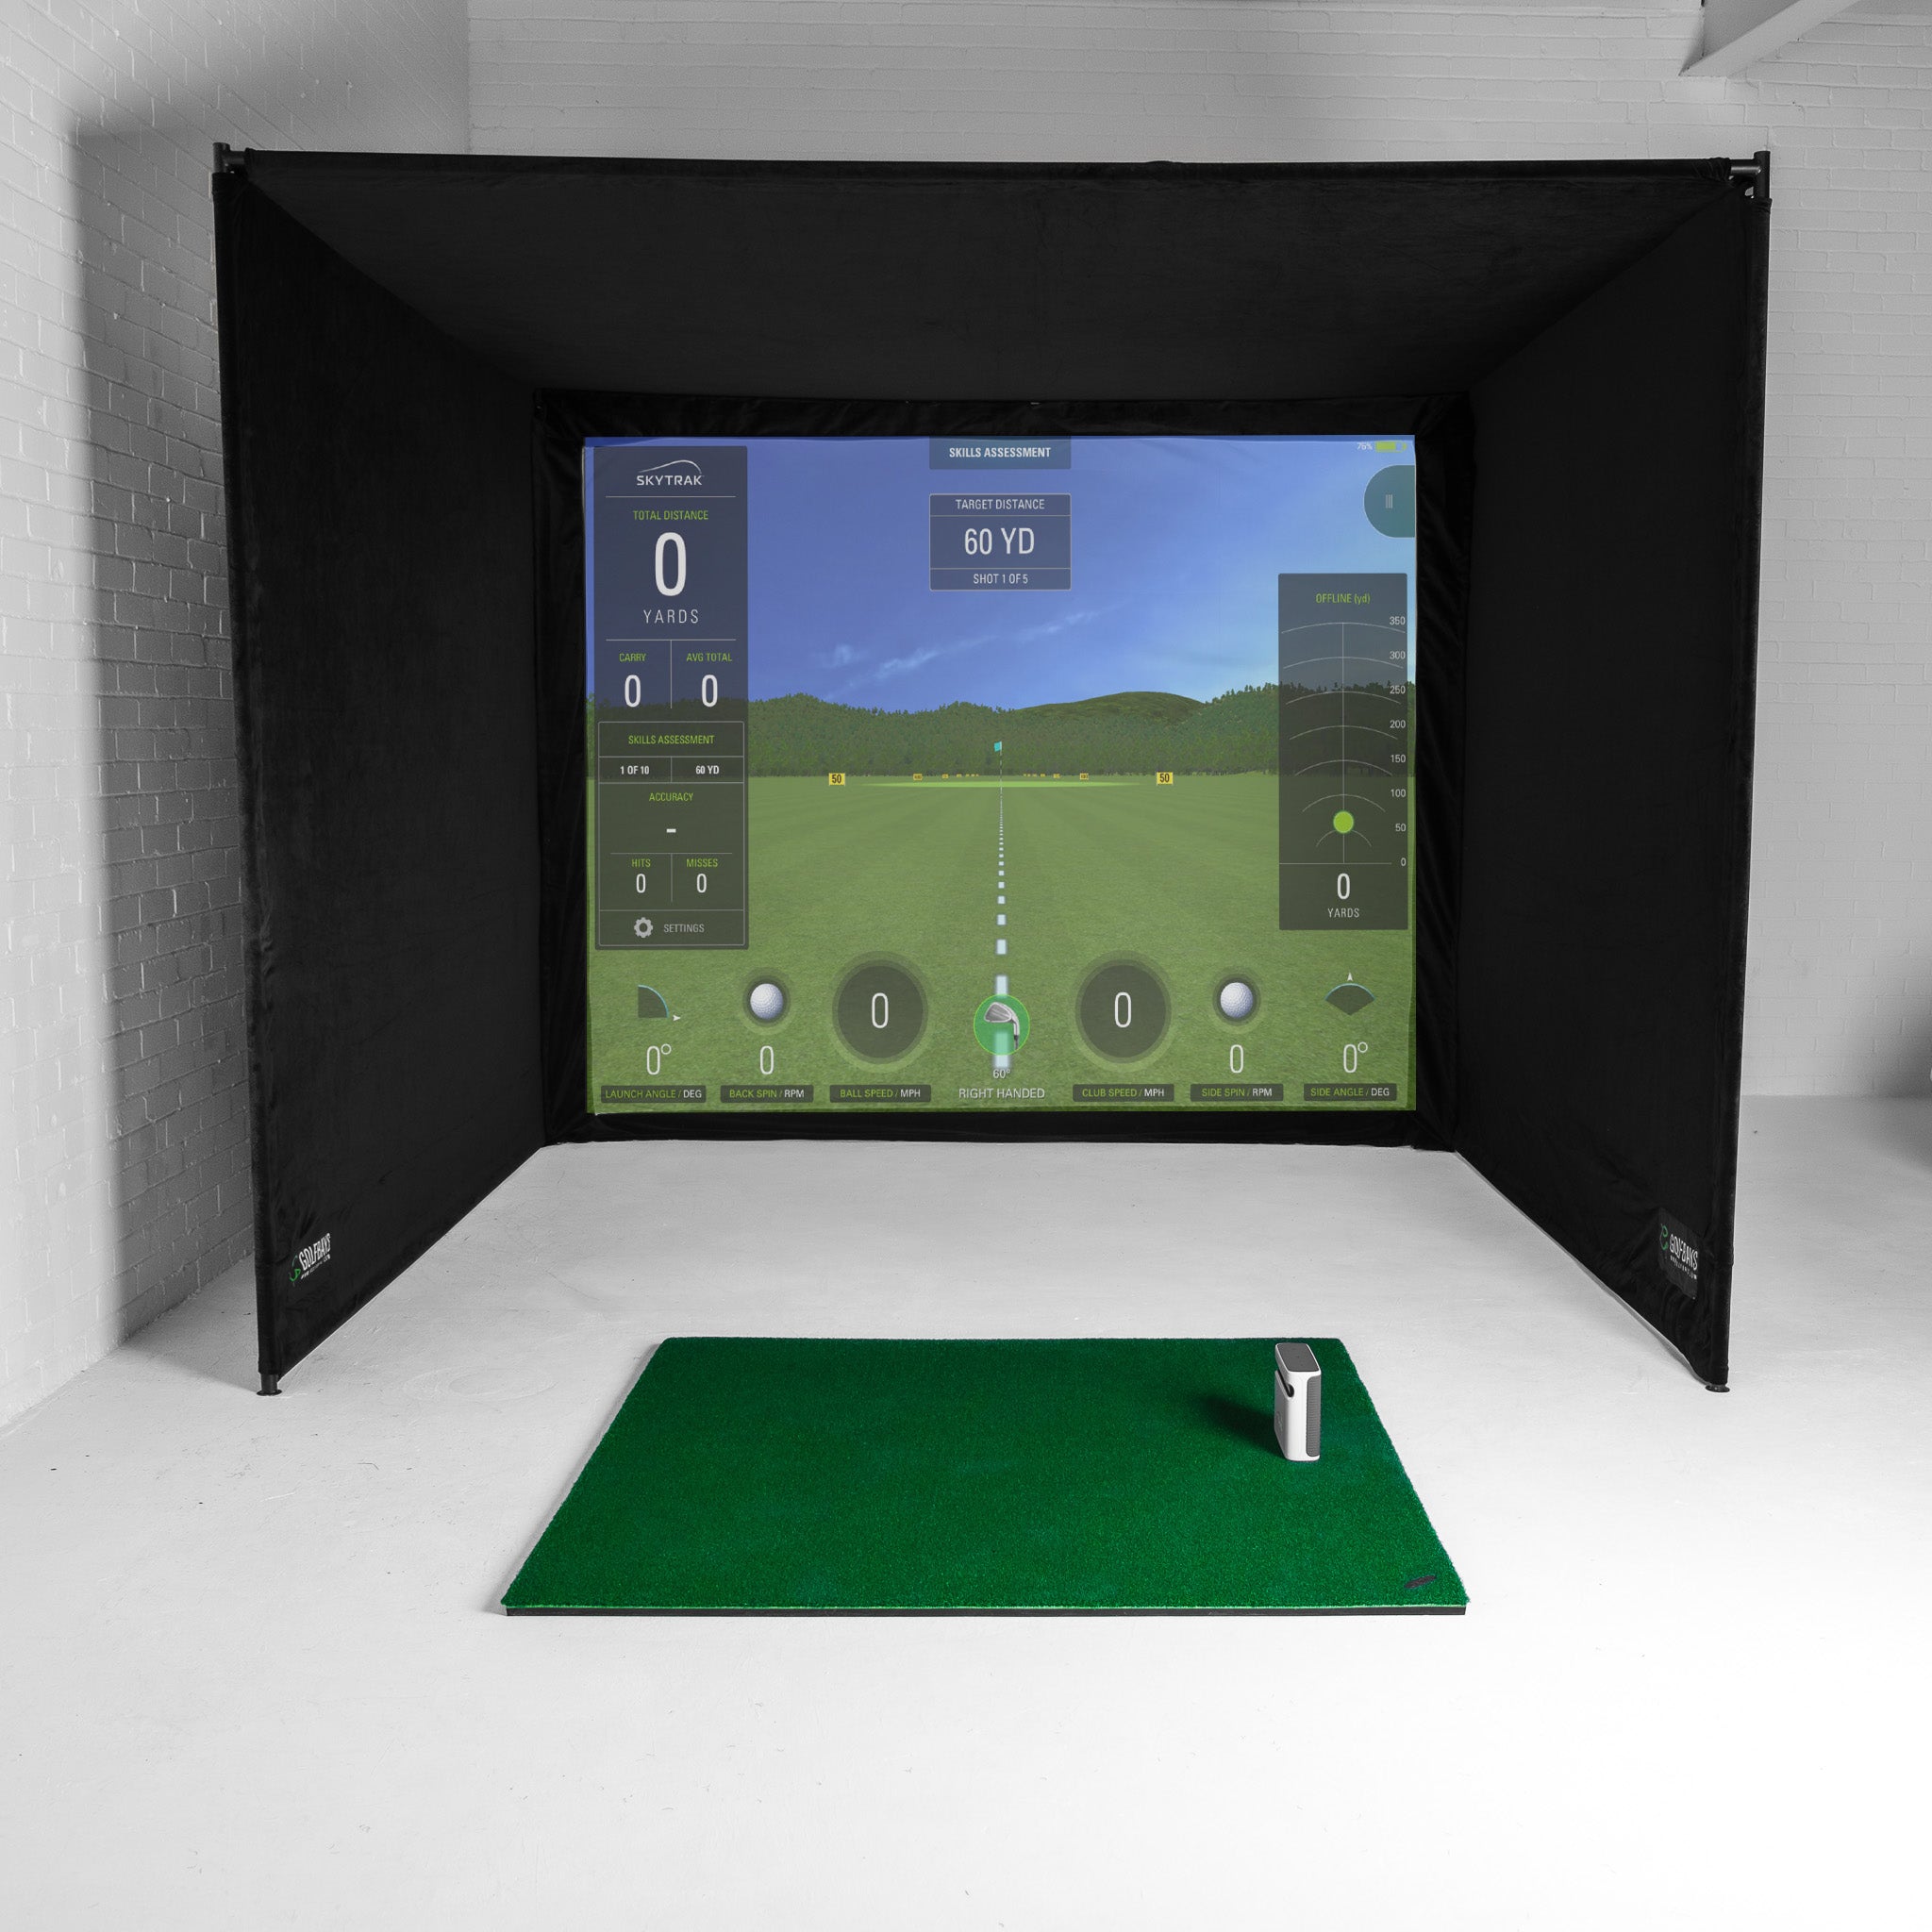
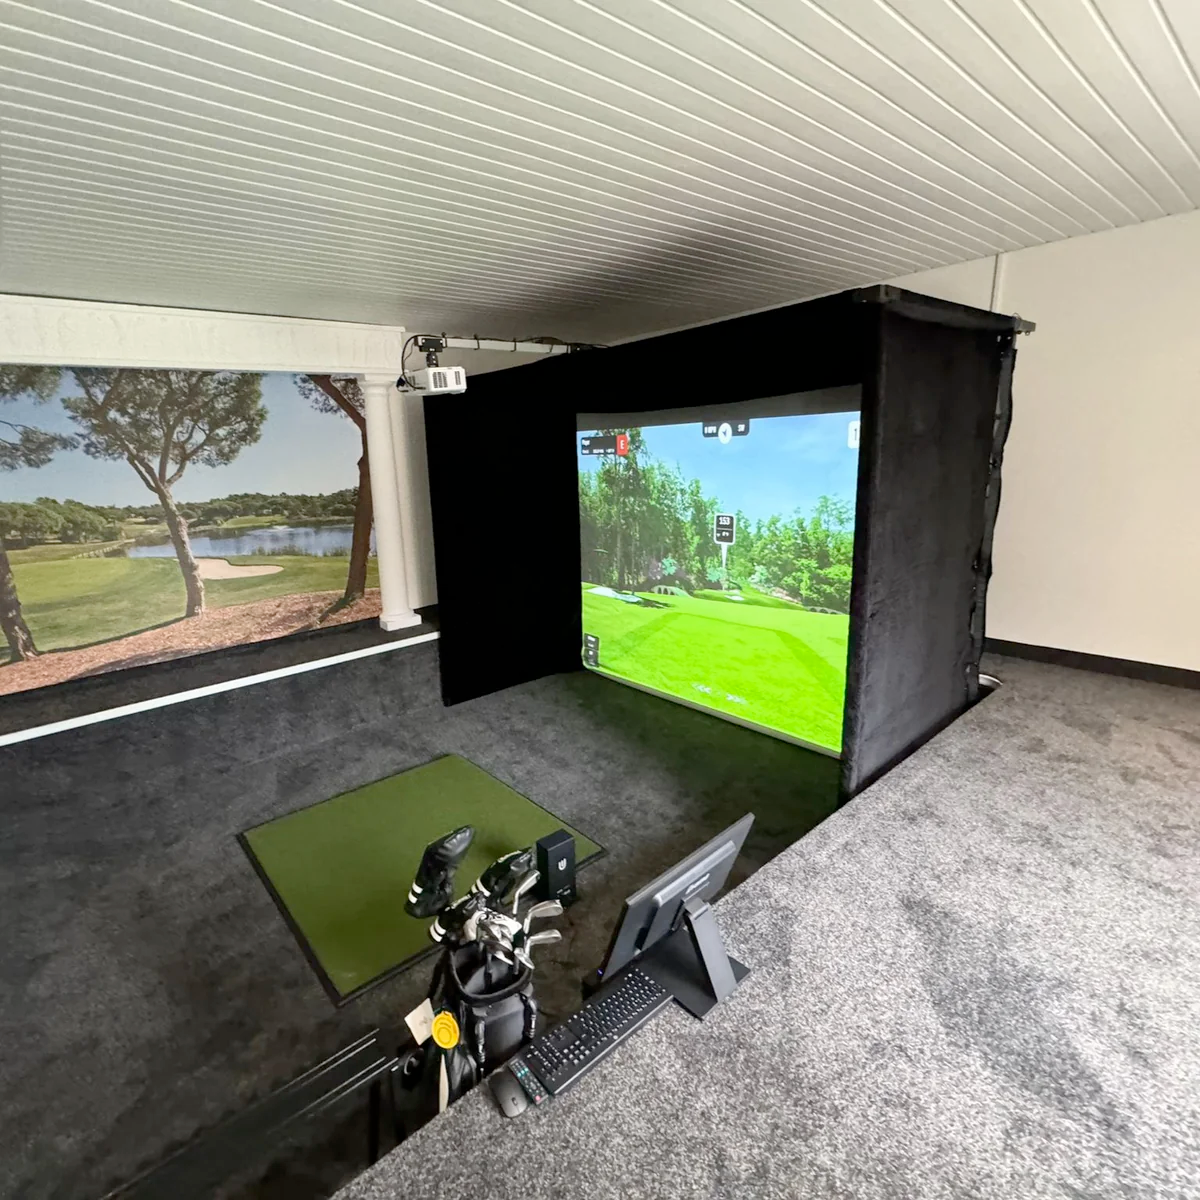
If you have the space and plan on playing a lot, a fixed enclosure offers total immersion and the feeling of your personal golf cave. If flexibility is your thing, go with a high-quality net and a portable screen you can pack away when you’re done.
A great middle ground is the GolfBays Simbox enclosure, which comes in a range of sizes and includes an impact screen of your choice. Speaking of…

An impact screen isn’t just a projector screen. It’s made from heavy-duty fabric that’s been engineered to withstand high-speed hits while preserving sharp visuals. Whether you need an ultra-durable option for daily practice, crave top-tier HD projection, or prioritise noise reduction, there’s a screen tailored to your setup.
The GolfBays Pro+, for example, offers top-of-the-line image clarity and seriously hard-wearing performance. Reversible baffle screens or foam-backed layers can also help cut down on bounce-back and noise - great for those late-night sessions when you don’t want to wake the neighbours.

Commercial-grade solutions (likeGolfBays Pro+, Commercial Archery Baffle, orQuadPRO) combine tightly woven, high-density fabrics with smooth surfaces for crystal-clear projections. These fabrics won’t stretch, tear, or let light bleed through easily, so the colours stay vivid and bright. In contrast, DIY materials might save a few pounds but often fall short on durability and clarity.

A thick, well-constructed screen not only handles blistering drives day after day but also keeps the noise down and the ball in play. Added foam or baffle backing absorbs impact, further dampening sound and reducing ricochets. If you’re hitting balls at odd hours (or simply want a quieter environment), look for screens with layers designed for low bounce-back and high shock absorption.
Value durability above all? Check out our Close Knit & Commercial Baffle impact screens.

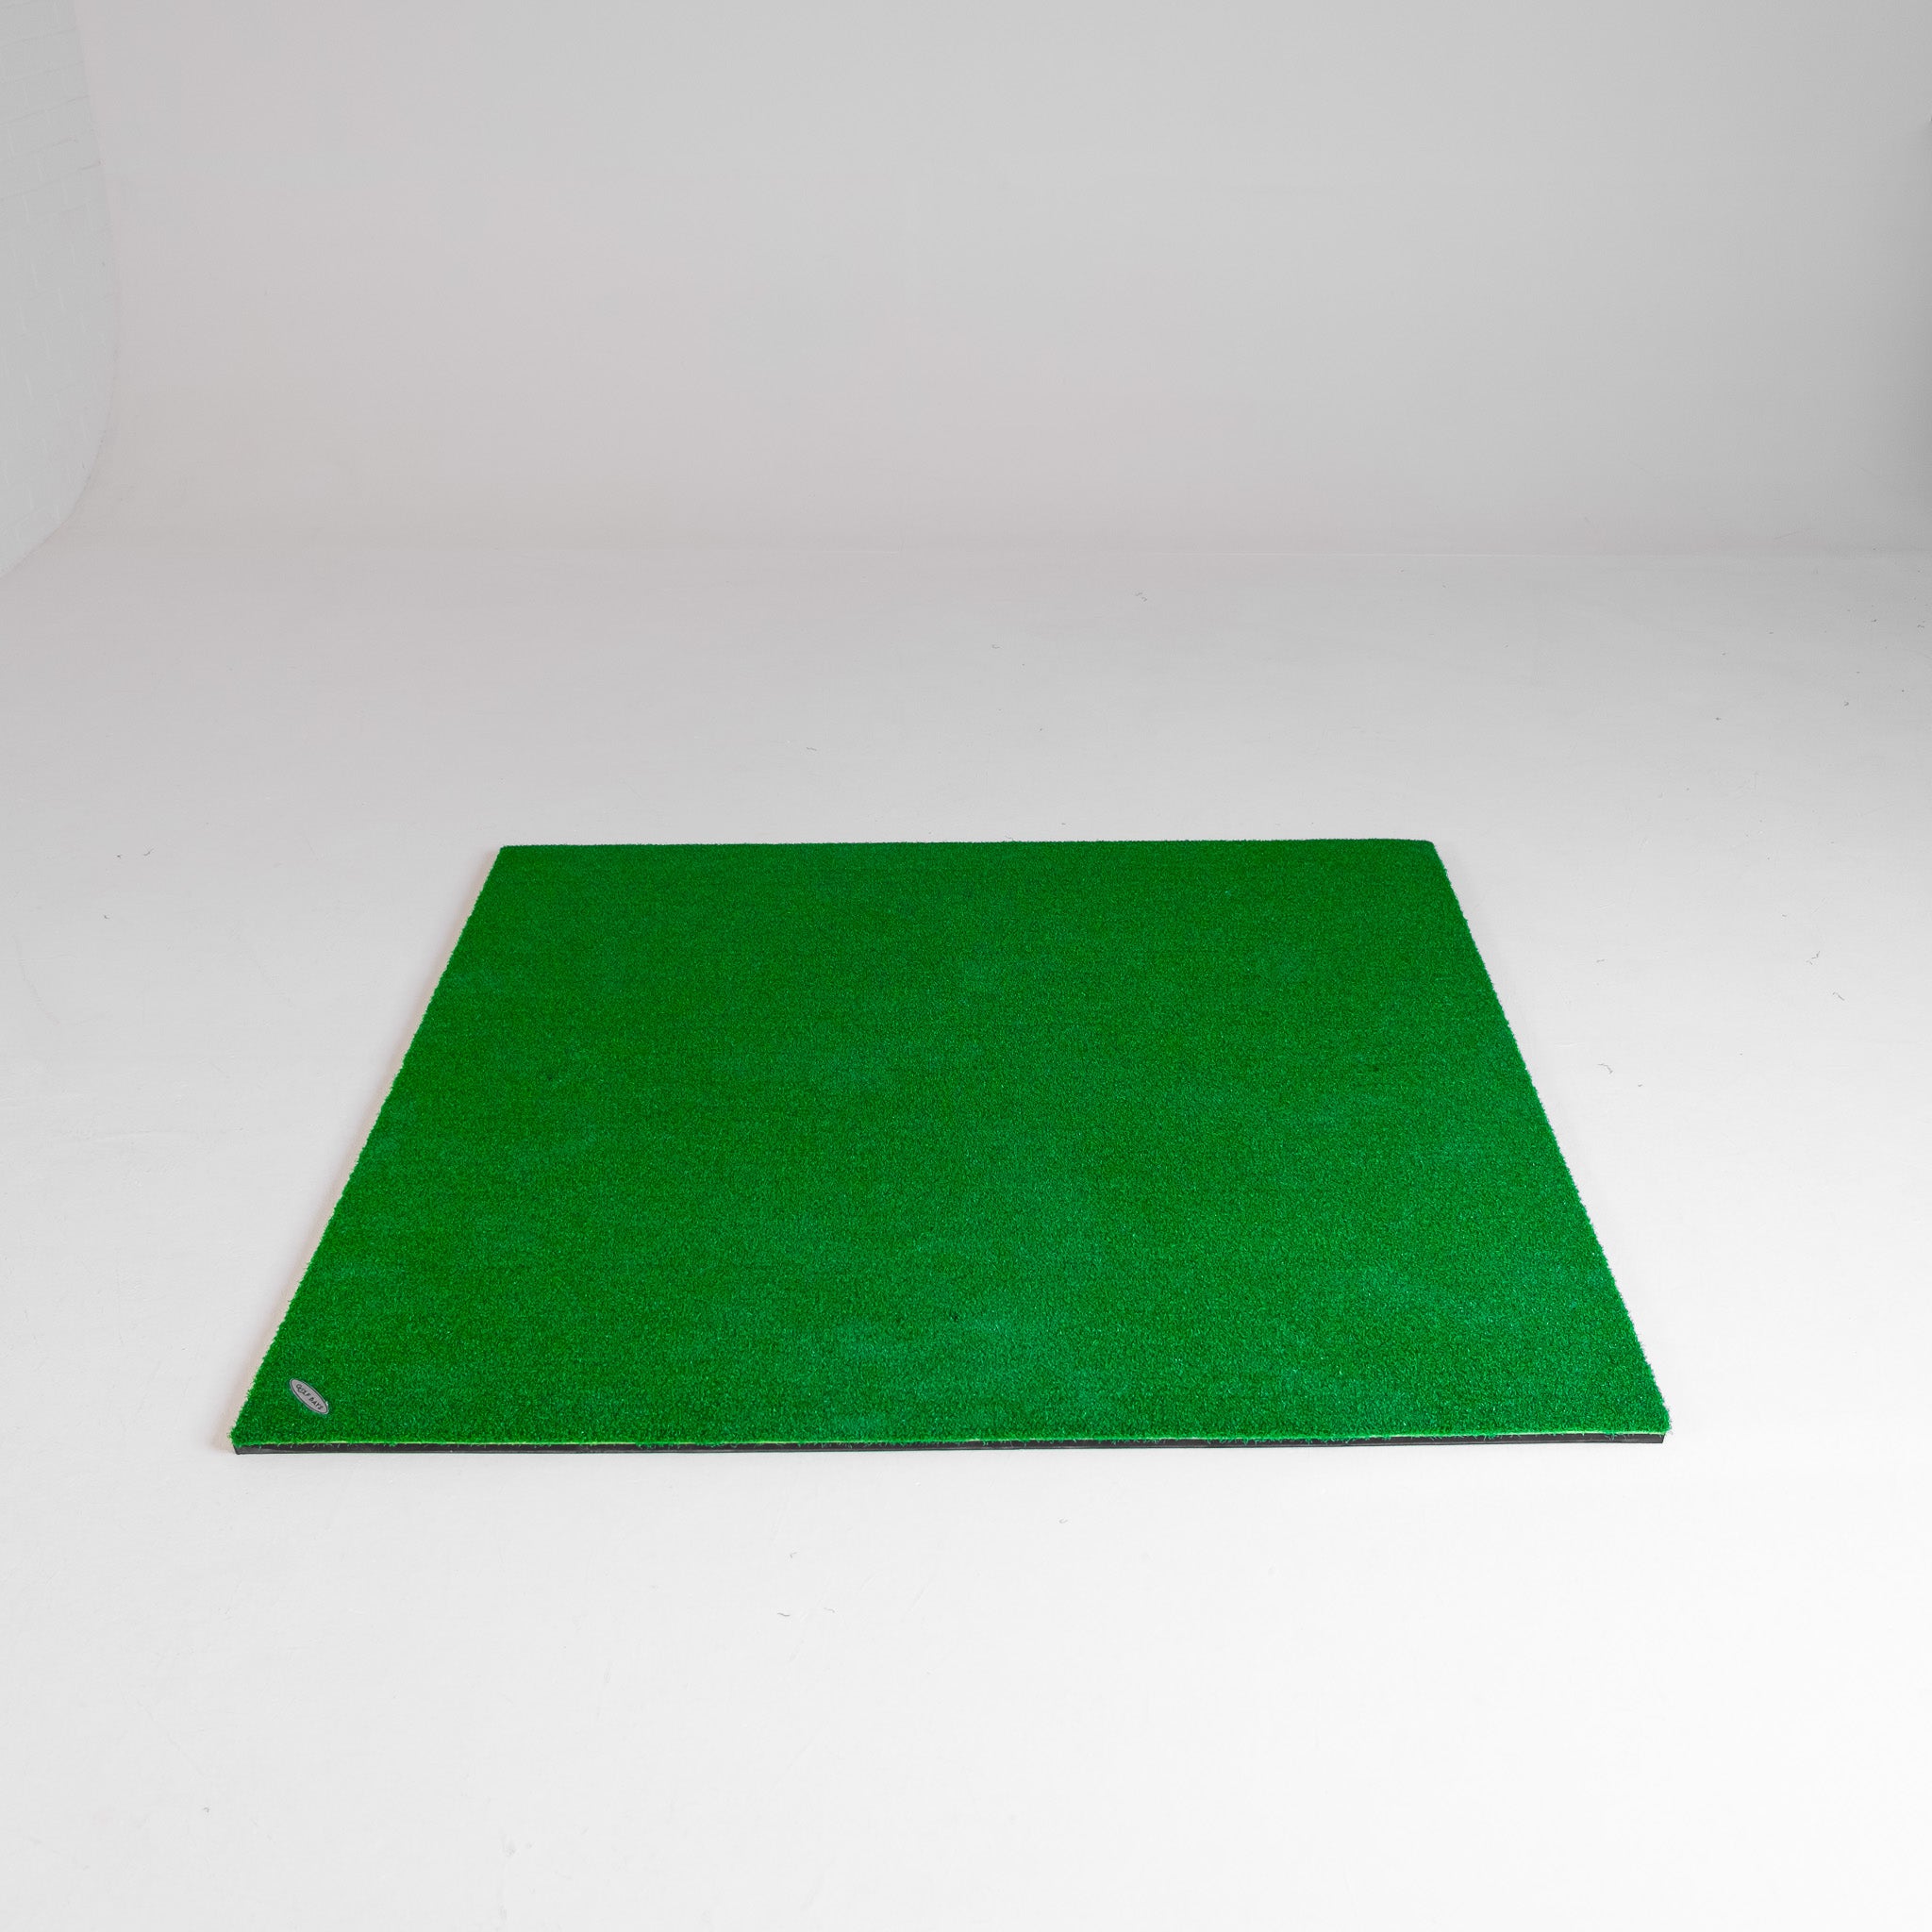
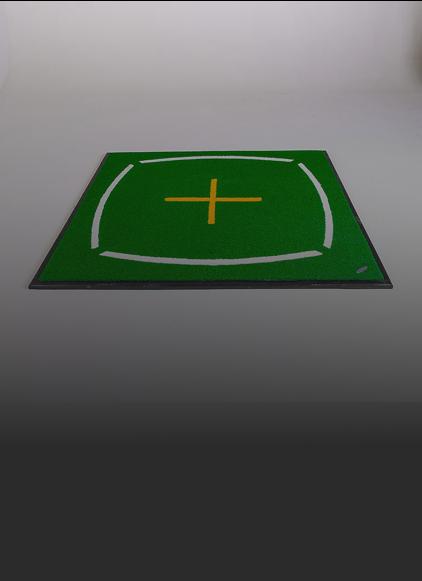
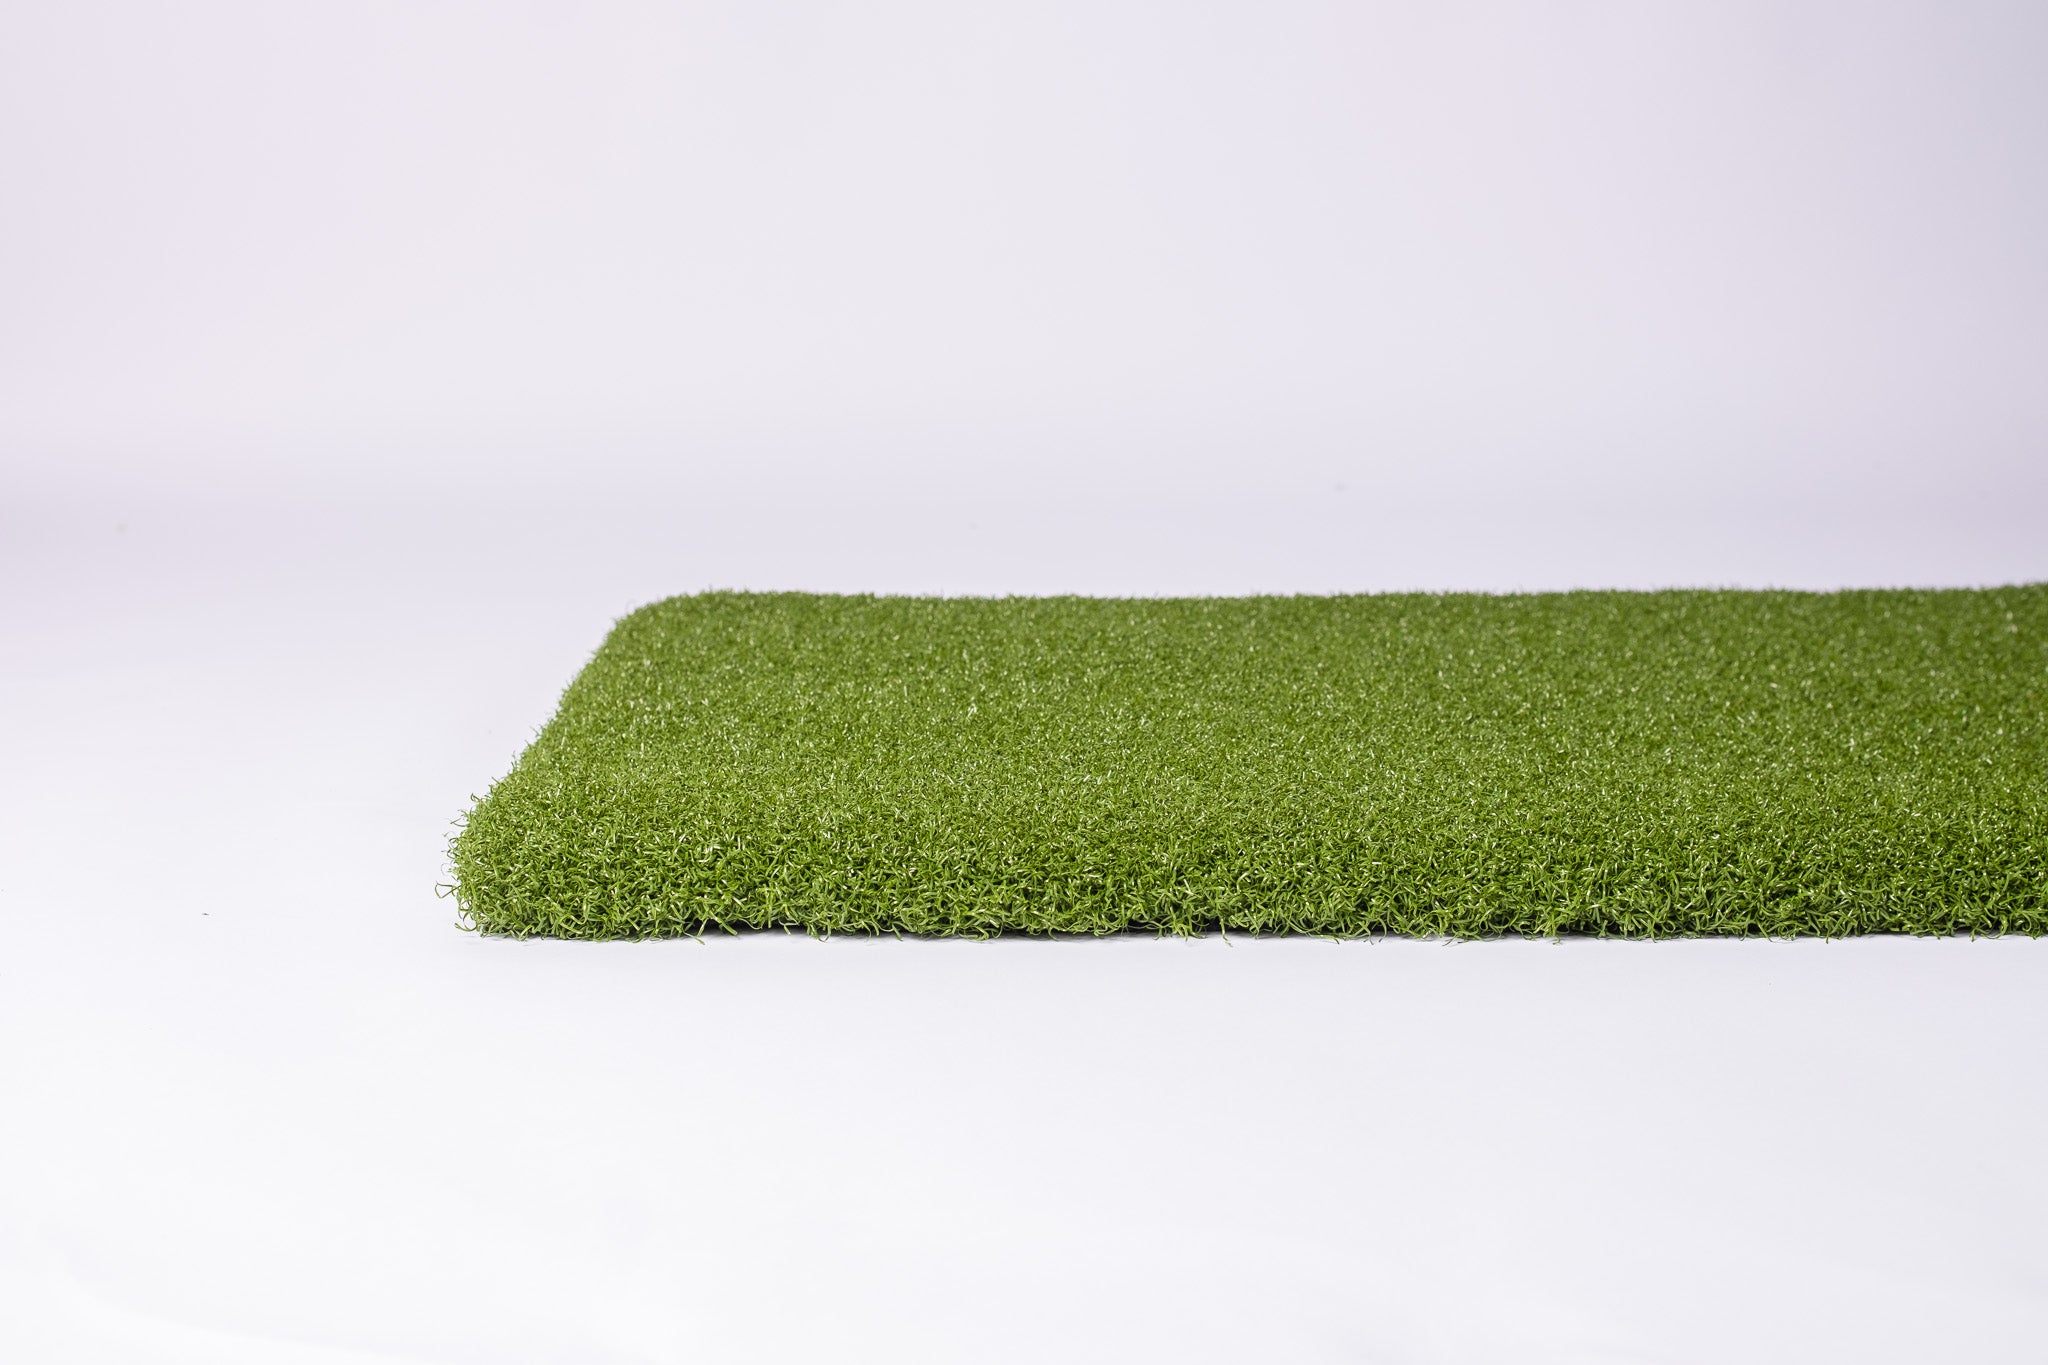
When it comes to hitting mats, realism matters. A high-quality turf simulates the bounce and feel of a fairway, letting you practice crisp iron shots and preventing unnecessary strain on your wrists and elbows. While budget mats might be tempting, they can wear out faster, form lumps, and lose that satisfying spring beneath your swing.
Investing in a durable, well-constructed hitting mat will pay dividends in both comfort and consistency.
We also have a wide selection of Putting Grass to practice with.

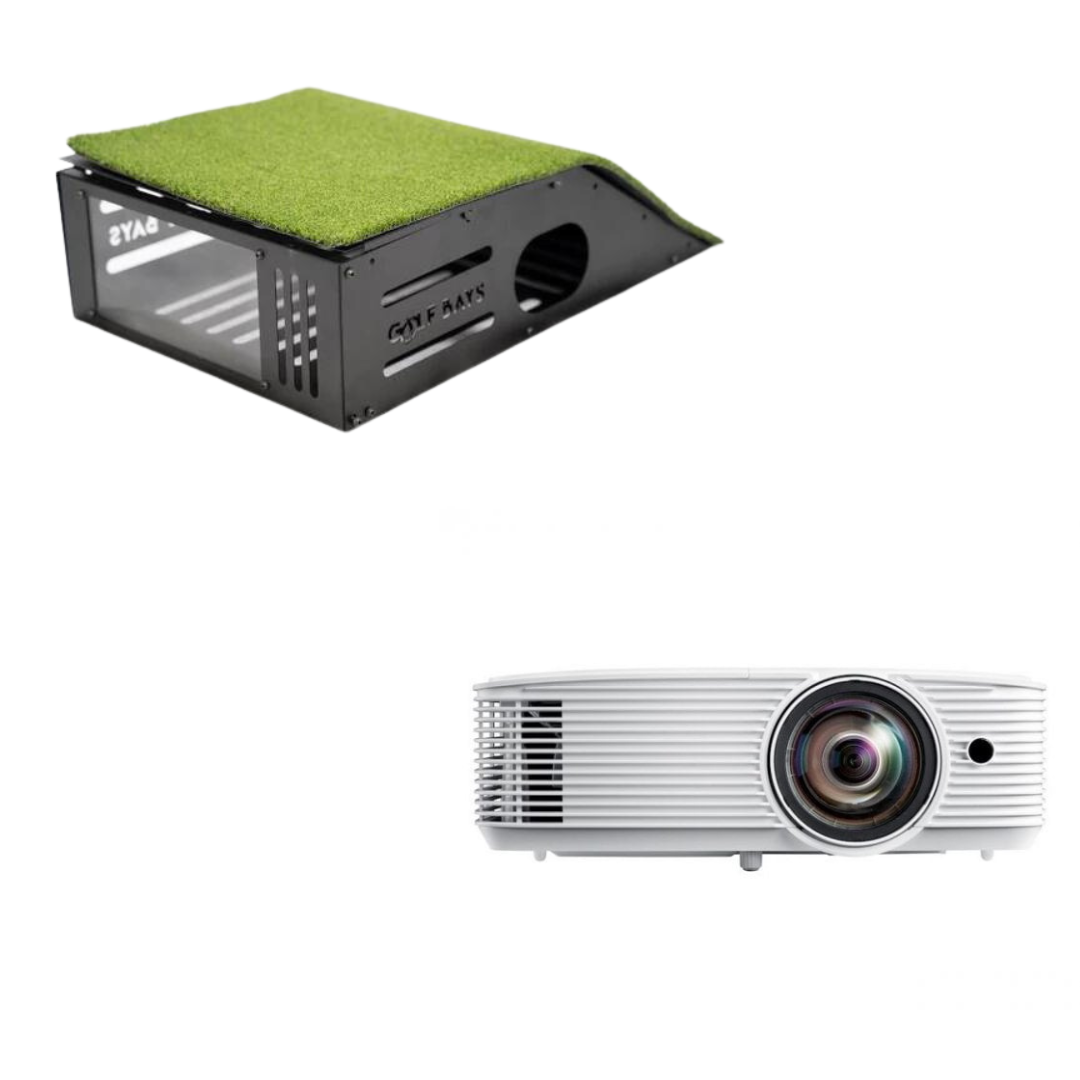
If you’re looking for the most immersive indoor golf experience, a projector and impact screen combination is the way to go. A well-chosen projector turns every shot into a larger-than-life spectacle and makes you feel like you’ve stepped onto a championship course.
Here’s what to consider before you invest…

Short-Throw Projectors: Ideal for smaller rooms or setups where you don’t want a projector hanging far behind you (and potentially casting distracting shadows). Even from a short distance, these models can fill a large portion of your impact screen.
Standard-Throw Projectors: Typically require more space between the projector and screen, but may offer a broader range of brightness and price options. Suited to larger spaces where distance isn’t an issue.

A projector’s ANSI lumens rating determines how crisp your image looks, especially if the room isn’t completely dark.
For many home setups, 2,000–3,000 lumens provides a bright, clear image; if there’s significant ambient light, aim for 4,000+ lumens to keep your visuals vivid.

1080p Projectors: Deliver a high-quality picture without draining your budget. Sharp enough for most home golf simulators.
4K Projectors: Offer four times the pixel density for a sharper, more detailed image. Naturally, these cost more and demand a powerful graphics card if you’re projecting in true 4K.

Lamp-Based: Cheaper upfront, but bulbs dim over time and need replacing eventually.
Laser: More expensive to purchase, yet often last over 20,000 hours with minimal dimming - making them a strong choice if you’re playing regularly or want long-term savings.

After you’ve nailed down your launch monitor and simulator setup, it’s time to connect the dots between hardware and software. The right combination can expand your simulator experience from a simple virtual range into an expansive universe of digital golf - complete with world-famous courses, fun practice modes, and online competitions.

Depending on your launch monitor, you’ll need a PC, laptop, tablet, or even a smartphone to run the compatible software. Make sure your launch monitor is compatible with your operating system requirements.

Make sure you have the right leads - such as HDMI for a display connection and chargers for your devices. Ideally, keep your power sockets close to the hitting area to minimise trailing cables.

If you’re aiming for 4K visuals and top-tier graphics, a powerful gaming laptop or desktop with a robust graphics card is often essential. Higher resolutions demand more processing power, so confirm your hardware can handle the workload before you invest in a 4K projector or monitor.

External Gaming Packages & Course Libraries
Entry-to-mid-level launch monitors often work best with third-party software, which unlocks thousands of virtual courses.
Practice & Mini-Games
Beyond full-course simulation, these modes keep things fresh with skill challenges, range sessions, and even custom competitions. They’re invaluable for working on target practice or refining specific facets of your swing.
Explore our Golf Software Packages
Compatibility Is Key
Double-check that your chosen software integrates smoothly with your launch monitor. Confirm your system meets the recommended specs to avoid stuttery gameplay or missing features. Once everything is in sync, you can swing away without any annoying tech hiccups.

From ball trays, hitting nets, and bag organisers to acoustic tiles, the right accessories can transform a basic setup into a luxury golfing hideaway. Whether you’re looking to add a dash of personality, keep your kit neat and tidy, or simply dampen the sound of your virtual rounds, accessories offer the perfect final flourish.

There’s no need to dive headfirst into a top-of-the-range simulator. You can start small - just a simple net and a basic launch monitor—and upgrade in stages. That’s the beauty of modern golf tech: it’s flexible and increasingly budget-friendly.
Above all, consistency trumps perfection. Even a mid-tier system can help you refine your swing, provided it gives you reliable, repeatable data. Plus, having a simulator at home means you can squeeze in 15-minute practice sessions instead of braving bad weather or trekking to the range - ideal for anyone juggling work, family, and a passion for golf. Just remember not to drown in metrics: a handful of core stats (like carry distance, face angle, and swing path) will do the trick for most golfers.
Finally, don’t worry if you’re not snapping up the latest launch monitor every year. Software updates and new features are rolling out all the time, keeping many existing systems fresh. Whichever path you choose, the key is finding a balance that suits your budget, your space, and your goals - so you can keep improving, have fun, and never lose that love for the game.


We helpen je graag! Kies hieronder een optie.