How a UK Golf-Sim Venue Makes Money (Business Model Deep Dive)
The UK’s indoor golf simulator market is flying. It's forecast to be worth £235 million by 2030, with a 10% compound annual growth rate fueled by rising demand for year-round golfing experiences and tech-driven entertainment.
On top of that, golf participation in the UK has hit decade-high levels. The number of rounds played in early 2025 was 18% higher than the previous year, with March 2025 seeing the most golf rounds since 2012. In short, more people swinging clubs (virtually or outdoors) means more potential customers for indoor golf venues and related experiences.
So what does that mean for you? Starting a commercial golf simulator venue in the UK is looking like a lucrative option right now. Golf’s post-pandemic resurgence and the public’s appetite for indoor leisure activities (“competitive socialising” like Topgolf, indoor mini-golf, bowling bars, darts, etc.) have created fertile ground for profitable golf-sim businesses. So, how exactly do these venues make money?
In this post, we’re going to break down the Golf Sim venue business model, revenue streams, costs, and key benchmarks that can turn virtual swings into real profits.
Seven Revenue Pillars of an Indoor Golf Simulator Venue
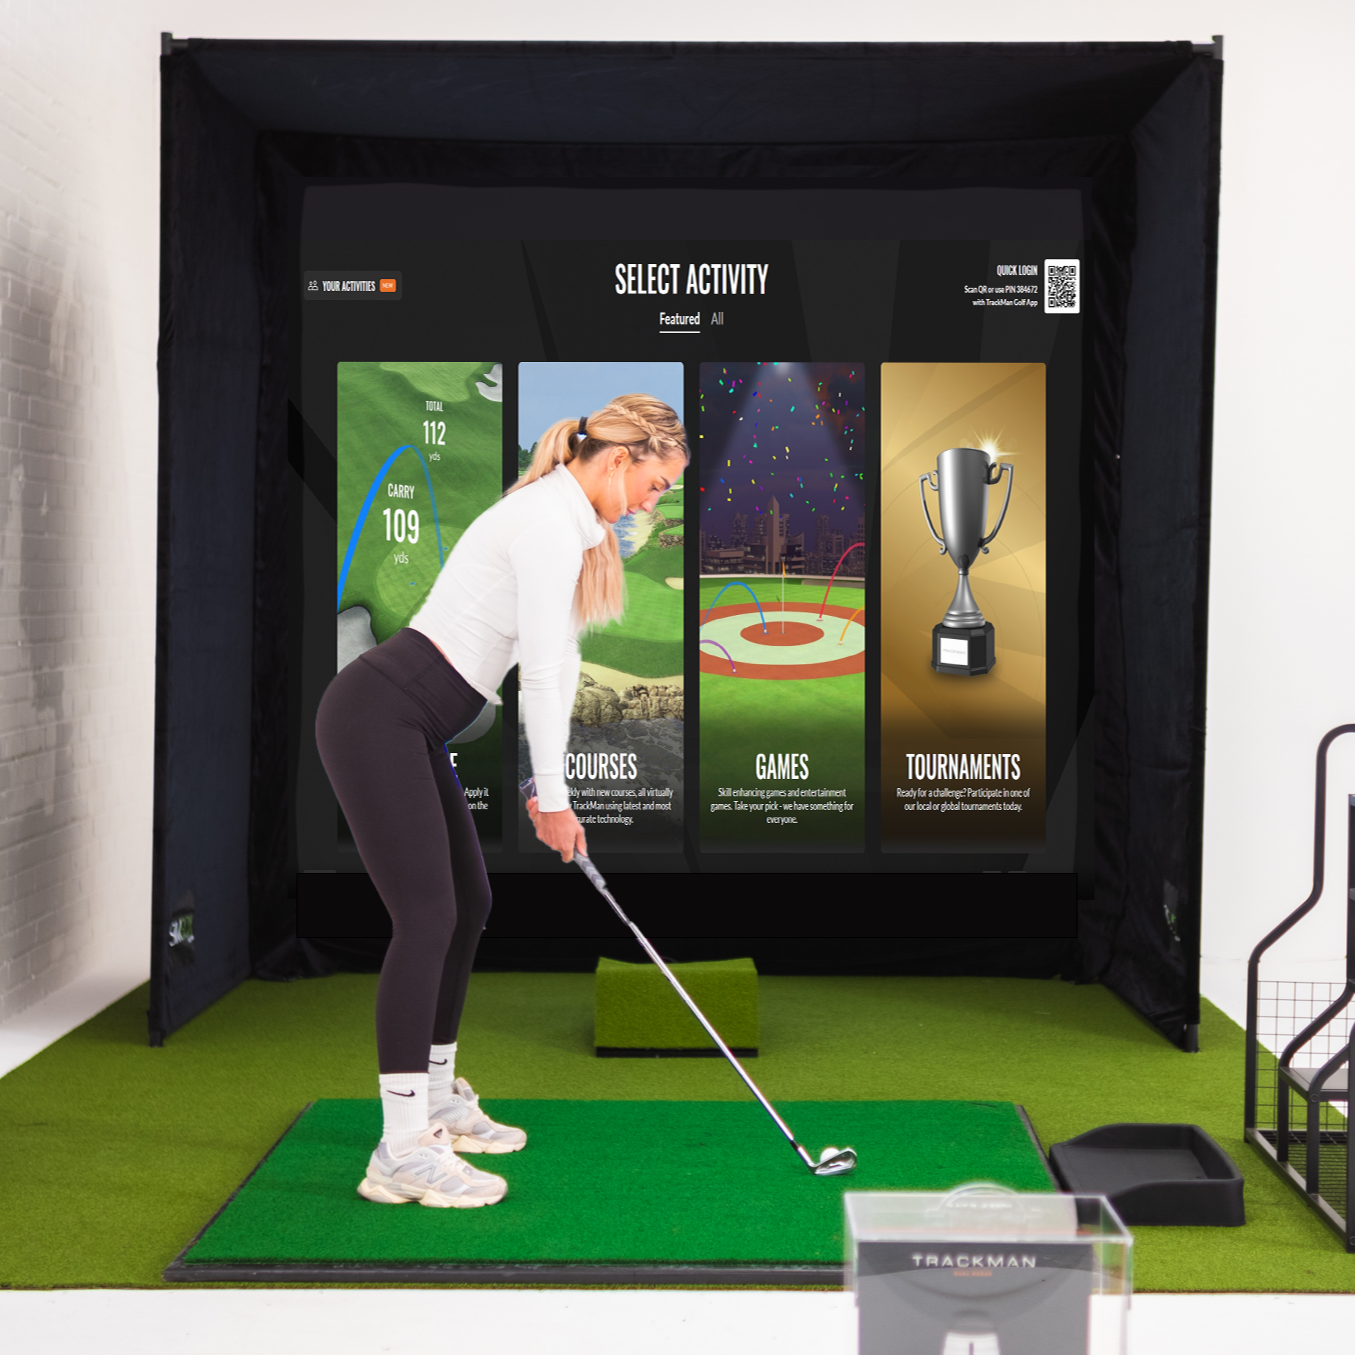
Indoor golf centres often feature multiple simulator bays in a lounge-like setting. These venues combine high-tech golf play and practice with a social, bar-and-restaurant atmosphere. Visitors can play famous courses virtually while enjoying food and drinks with friends. It’s a prime example of “competitive socialising,” a trend that merges sports entertainment with hospitality. This convergence means revenue comes not just from golf itself, but from the broader mix of play, food, and community.
A successful indoor golf simulator venue isn’t just about renting out simulators by the hour – it capitalises on multiple revenue streams to maximise earnings. Here are the seven primary ways a UK golf-sim venue can generate income:
1. Bay Hire (Hourly Simulator Rentals): Charging customers by the hour to play on a simulator bay is the core revenue driver. Golfers (or groups of friends) pay for virtual rounds or practice time. Typical rates range from about £30–£40 per hour off-peak up to £50+ in peak times in major cities. Each bay can driven significant revenue if capacity is well used.
2. Memberships & Packages: Many venues offer membership programs or pre-paid packages for regular customers. For a monthly or annual fee, members might get discounted (or included) simulator hours, priority booking, league entry, or other perks. This provides recurring revenue and encourages loyalty. A membership model also helps smooth out demand across off-peak times. Think of it like a gym membership, but for indoor golf.
3. Leagues & Tournaments: Organising golf leagues, tournaments, or weekly competitions is another pillar. Golf-sim leagues (e.g. a winter league where local golfers play a 9-hole virtual round each week) keep players coming back regularly and paying entry fees. Friendly competition drives engagement (and bar sales!). Venues can charge league fees or sponsorships and often fill multiple bays simultaneously during league nights. It’s a win-win: customers enjoy a competitive, social atmosphere, and the venue boosts utilisation on otherwise quiet weeknights.
4. Lessons and Coaching: Having PGA professionals offer golf lessons on your simulators can be a strong revenue stream. Many indoor golf centres double as teaching academies – using simulators’ swing analytics and video feedback for instruction. The venue can either hire a pro (and take a cut of lesson fees) or rent out bay time to freelance coaches. Professional lessons not only bring direct income but also attract avid golfers who then practice more (renting bays) and buy gear. Some venues also run junior academies or group clinics to further monetise instruction. Coaching acts like a flywheel, driving more people to your venue over time.
5. Food & Drink: Having an on-site bar and kitchen turns your golf sim venue into a social hangout where people spend on pints and burgers in addition to practice time. Many successful indoor golf businesses effectively operate as sports bars or clubhouses. Revenue per customer can double when you add beer sales to bay fees. Industry data shows food & beverage can contribute 20-30% of an indoor golf centre’s total revenue. Plus, alcohol sales come with good margins. Bear in mind you’ll need a Premises Licence and possibly a Personal Licence to serve alcohol – but more on licensing later.
6. Corporate Events & Private Hire: Beyond day-to-day play, indoor golf venues make money by hosting corporate events, parties, and private functions. Think company team-building days, client entertainment, birthday parties, or even stag dos. Companies might rent out the whole venue (or a section) for a few hours or a day, paying a premium for an exclusive experience that includes simulators and catering. Packaging corporate event deals – with food/drink included – can bring large injections of revenue, especially on normally quieter weekdays. Some venues also host sponsored events or partner with golf equipment brands for demo days.
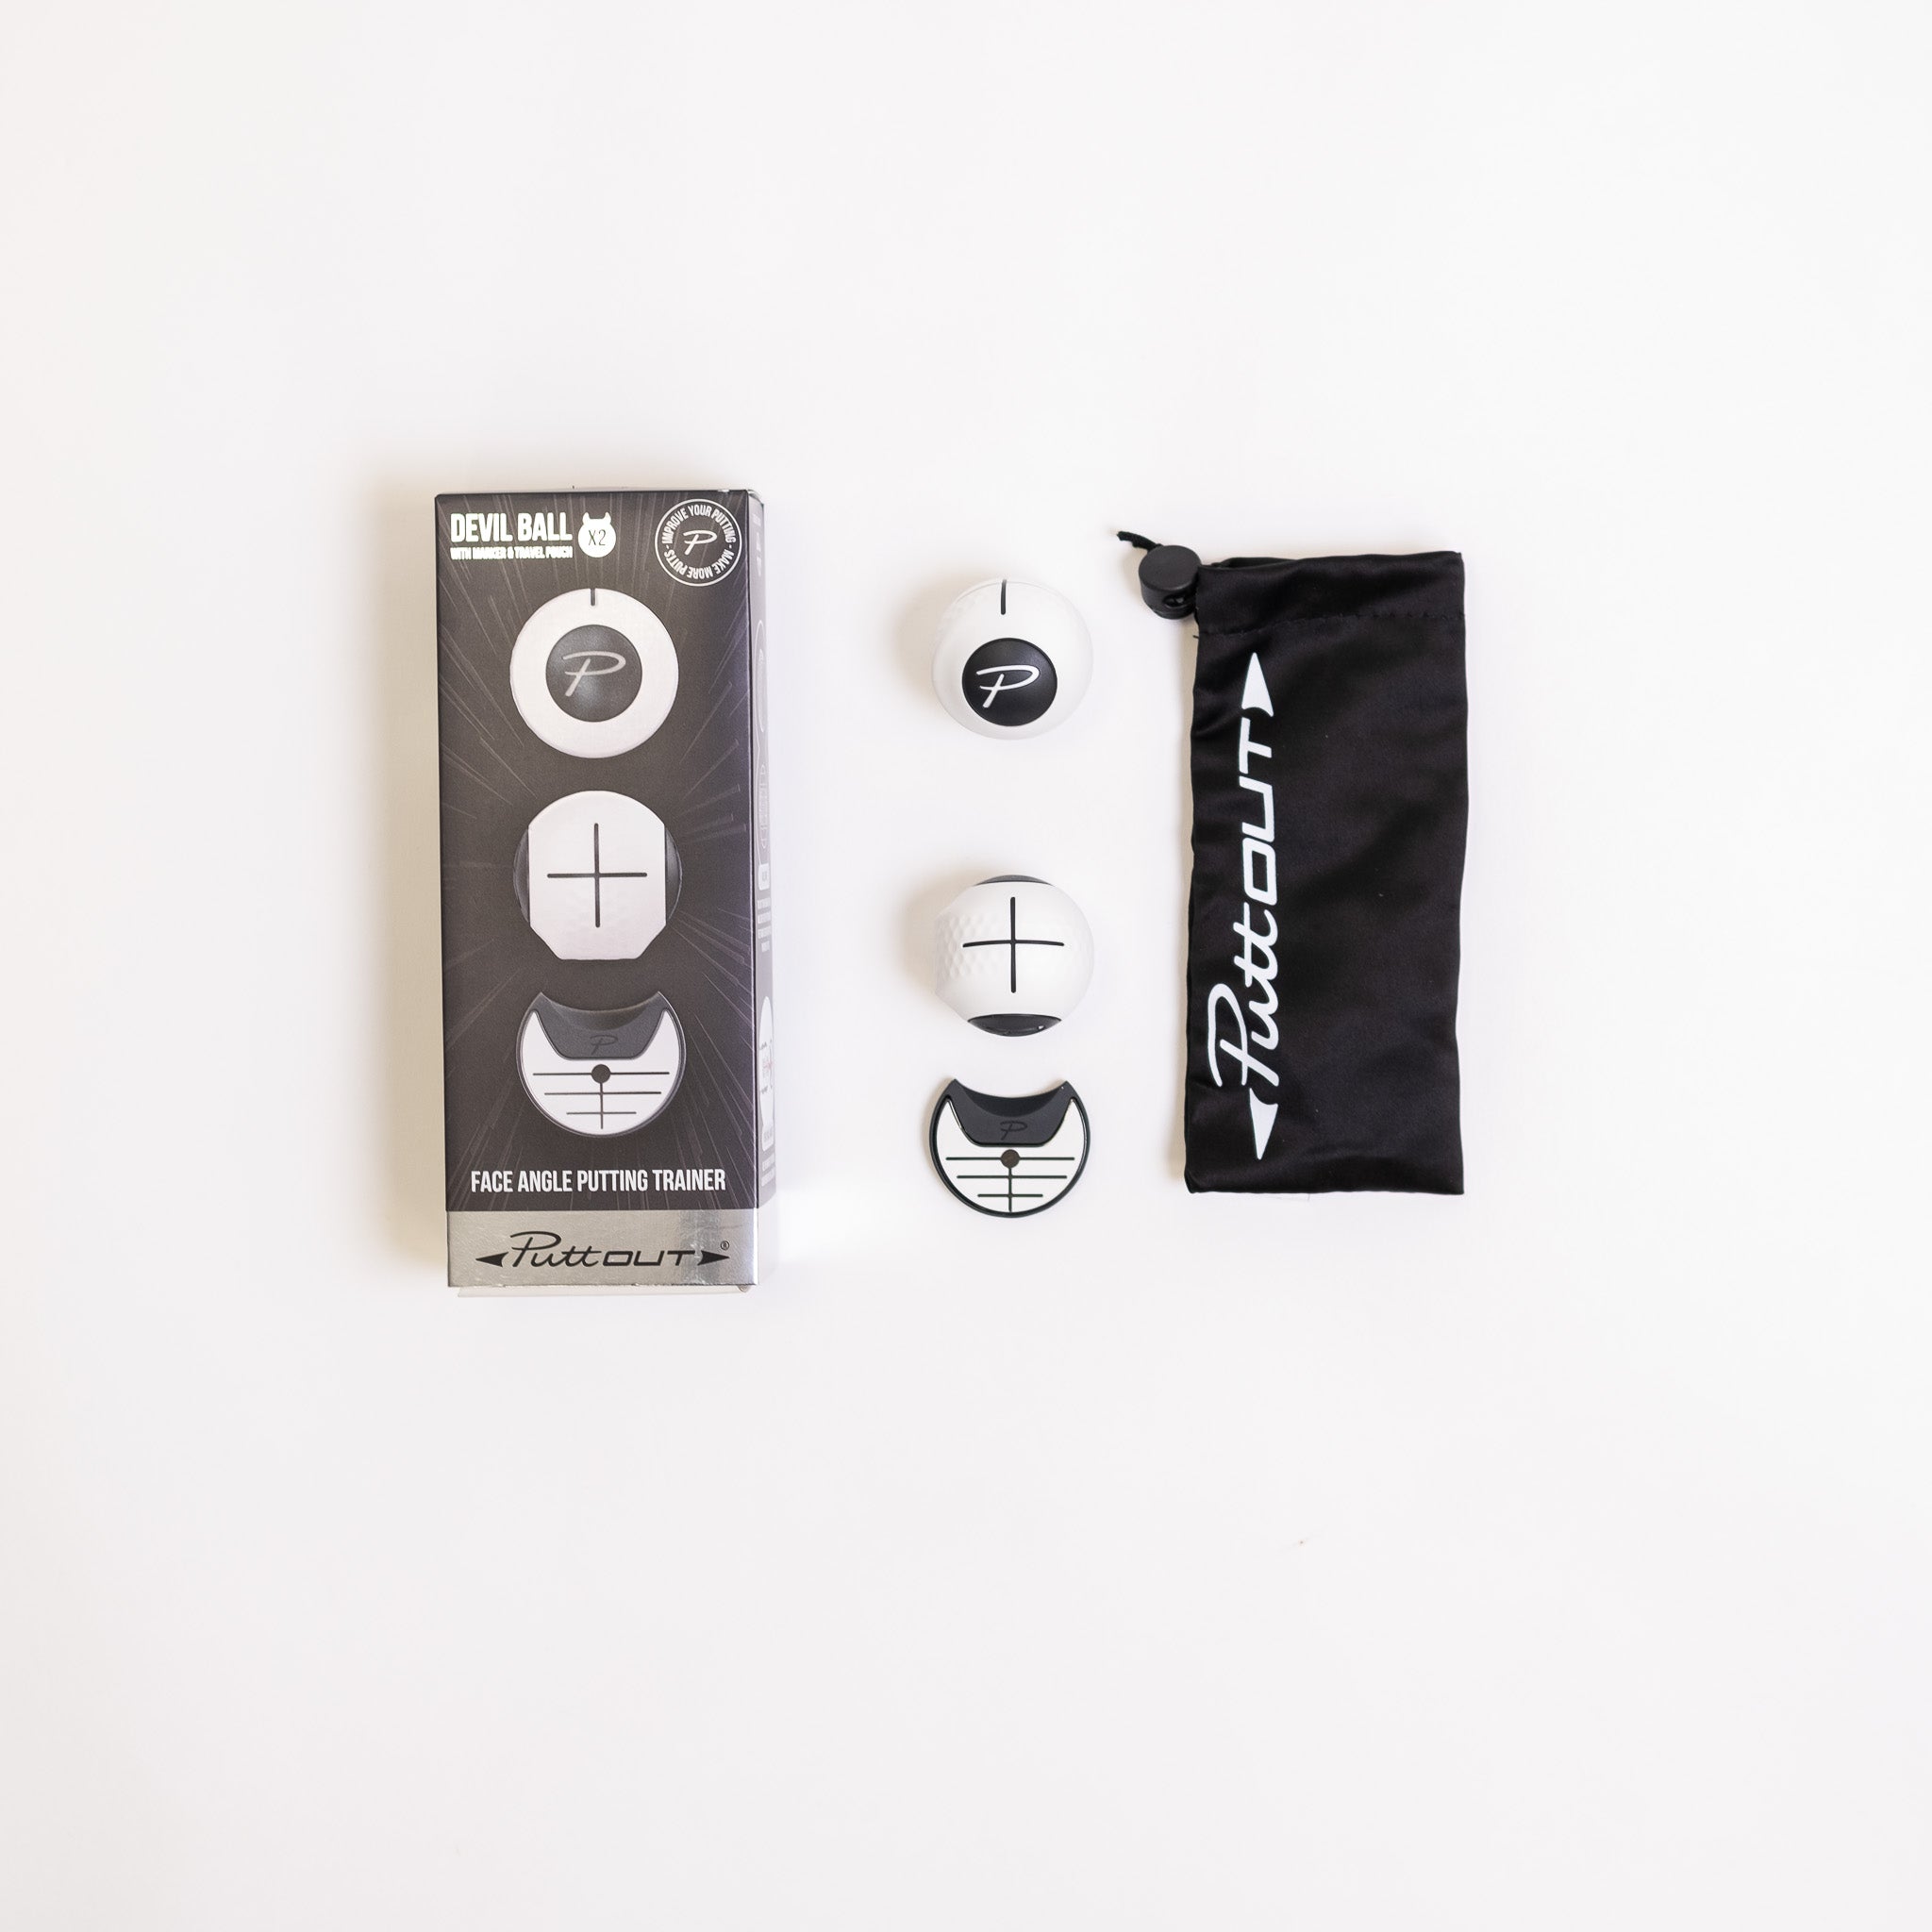
7. On-Site Retail & Pro Shop Sales: Last but not least, many golf-sim venues have a small pro shop or retail area. This can range from selling golf balls, gloves, and apparel to earning commissions on club fittings and equipment. For instance, if a player tries out a new driver during a simulator session (some venues have demo clubs available) and wants to purchase the real thing, the venue can facilitate the sale. Even selling branded merchandise (caps, shirts with your venue’s logo) or accessories can add a nice supplemental income.
As you can see, a robust indoor golf business diversifies its income. Hourly bay rentals are the bread and butter, but memberships, leagues, lessons, F&B, events, and retail each contribute to the revenue mix. The most profitable venues find ways to keep customers engaged on multiple fronts and drive the average spend up. A member who comes for a weekly league night might also take a lesson, have a couple of beers, and buy a new wedge from your shop over the course of a month. All of those interactions contribute!
Crunching the Numbers: How Much Can One Golf Simulator Bay Earn?
It’s helpful to quantify the earning potential of a simulator bay (i.e. one screen enclosure with a launch monitor). As mentioned, rates commonly hover around £35/hour off-peak and £50/hour at peak times in UK cities. Utilisation – what percentage of the available hours the bay is actually rented – is the key driver of revenue. Let’s take a look at a healthy utilisation scenario:
Target utilisation: ~60% of available hours booked (this is ambitious but achievable once your business matures and builds a customer base. Many new venues might start around 30–40% and grow from there). For example, if your opening hours allow roughly 80 bookable hours per week per bay, a 60% utilisation rate means ~48 hours/week rented.
Blended Hourly Rate: ~£40/hour on average (a mix of lower off-peak daytime rates and higher evening/weekend peak rates).
At 60% utilisation and ~£40 average rate, one bay would generate about £1,920 per week, which is roughly £100k per year. If your pricing or demand is stronger (say closer to £50/hr on average, or ~10 booked hours a day), the figure can be higher, on the order of £130k–£160k per year per bay. Many top-performing venues report annual revenue in the £110k–£150k range per bay when running near capacity.
In practice, not every bay will be full all the time. But leagues, events, and repeat customers/members help bump up the average usage. As a general rule, each simulator can gross six figures annually once you ramp up operations. So a venue with 4 high-quality bays might aim for ~£400k+ gross revenue a year from simulator fees alone (not including the extra revenue streams like bar sales or lessons).
It’s also wise to set pricing strategically: e.g. offer off-peak discounts or memberships to fill mornings/afternoons, and charge premium rates on busy weekend slots. Pay attention to local competitors (bowling alleys, other entertainment bars) to position your pricing. In major UK cities like London, £50–£60/hour for peak times is not uncommon at upscale simulator venues, whereas smaller towns might cap nearer £30–£40/hour. Know your market and price accordingly, but don’t undervalue a high-end simulator experience!
Golf Sim Venue Cost Anatomy: From CAPEX to OPEX
How about the cost side of the equation? Launching and running an indoor golf venue has two big categories of costs:
Upfront Capital Expenditure (CAPEX): the one-time startup investments to get your venue ready
Ongoing Operating Expenditure (OPEX): the recurring costs to keep the business running day-to-day.
Let’s break these down:
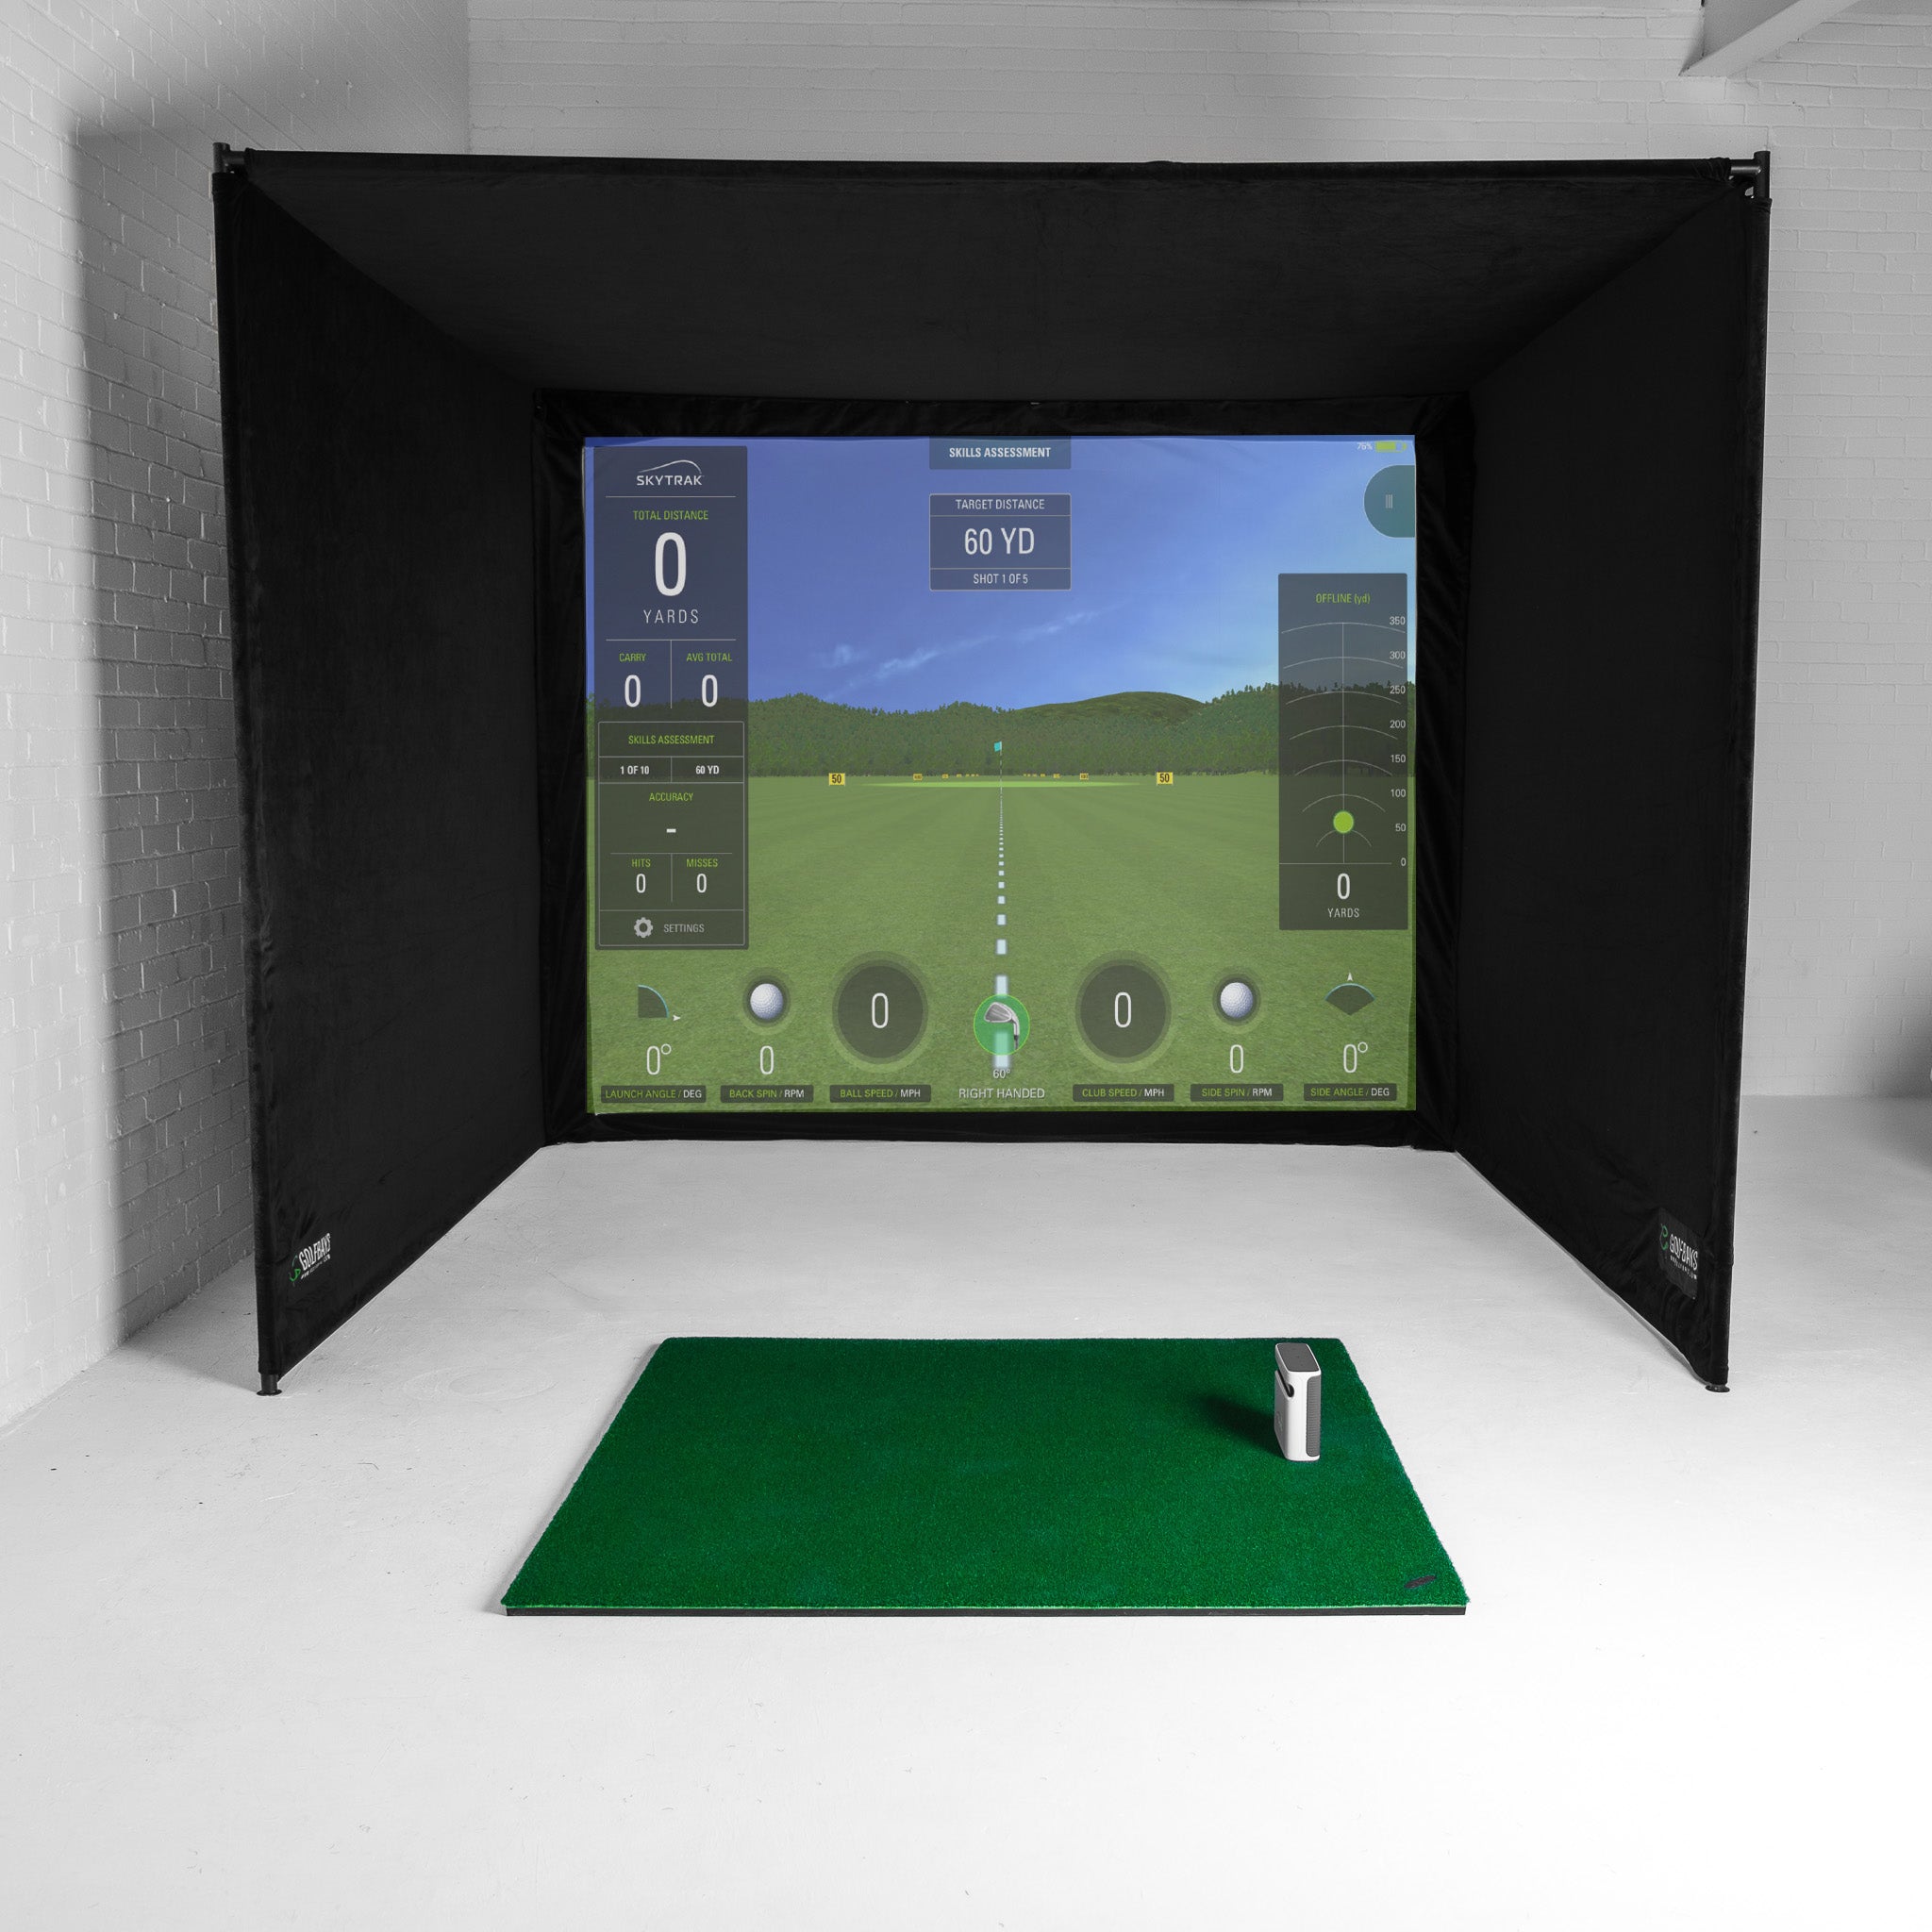
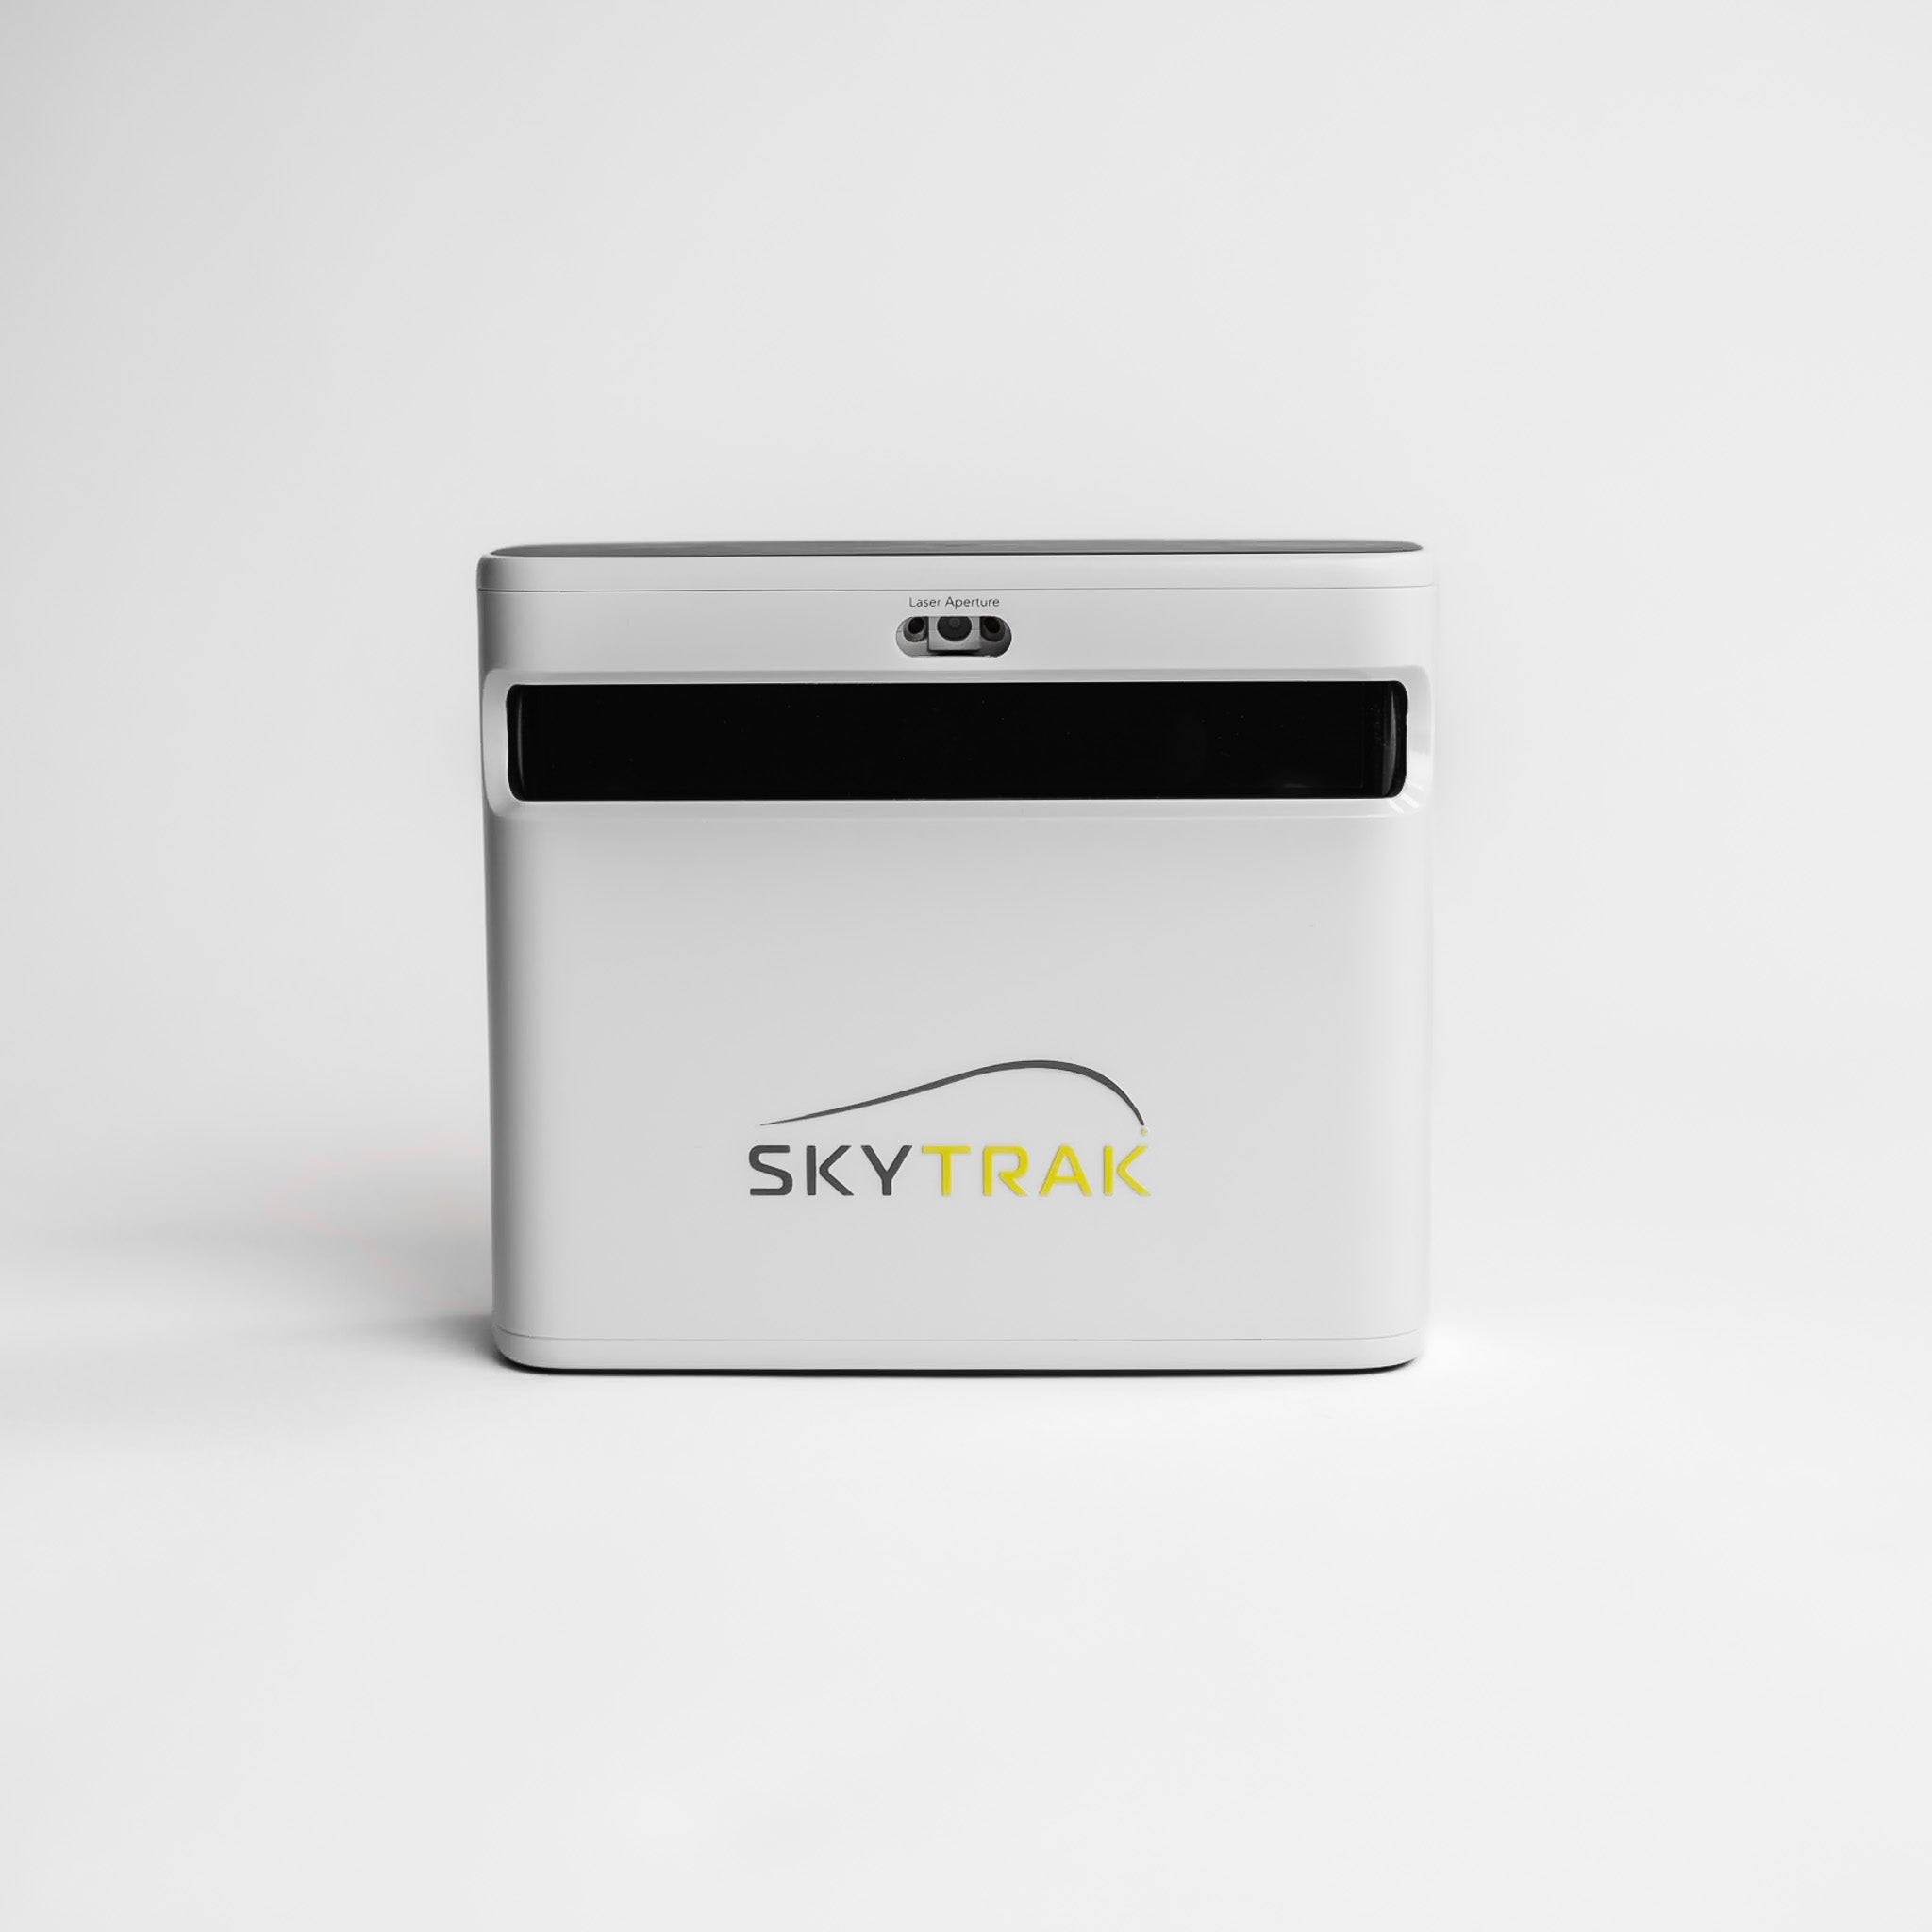
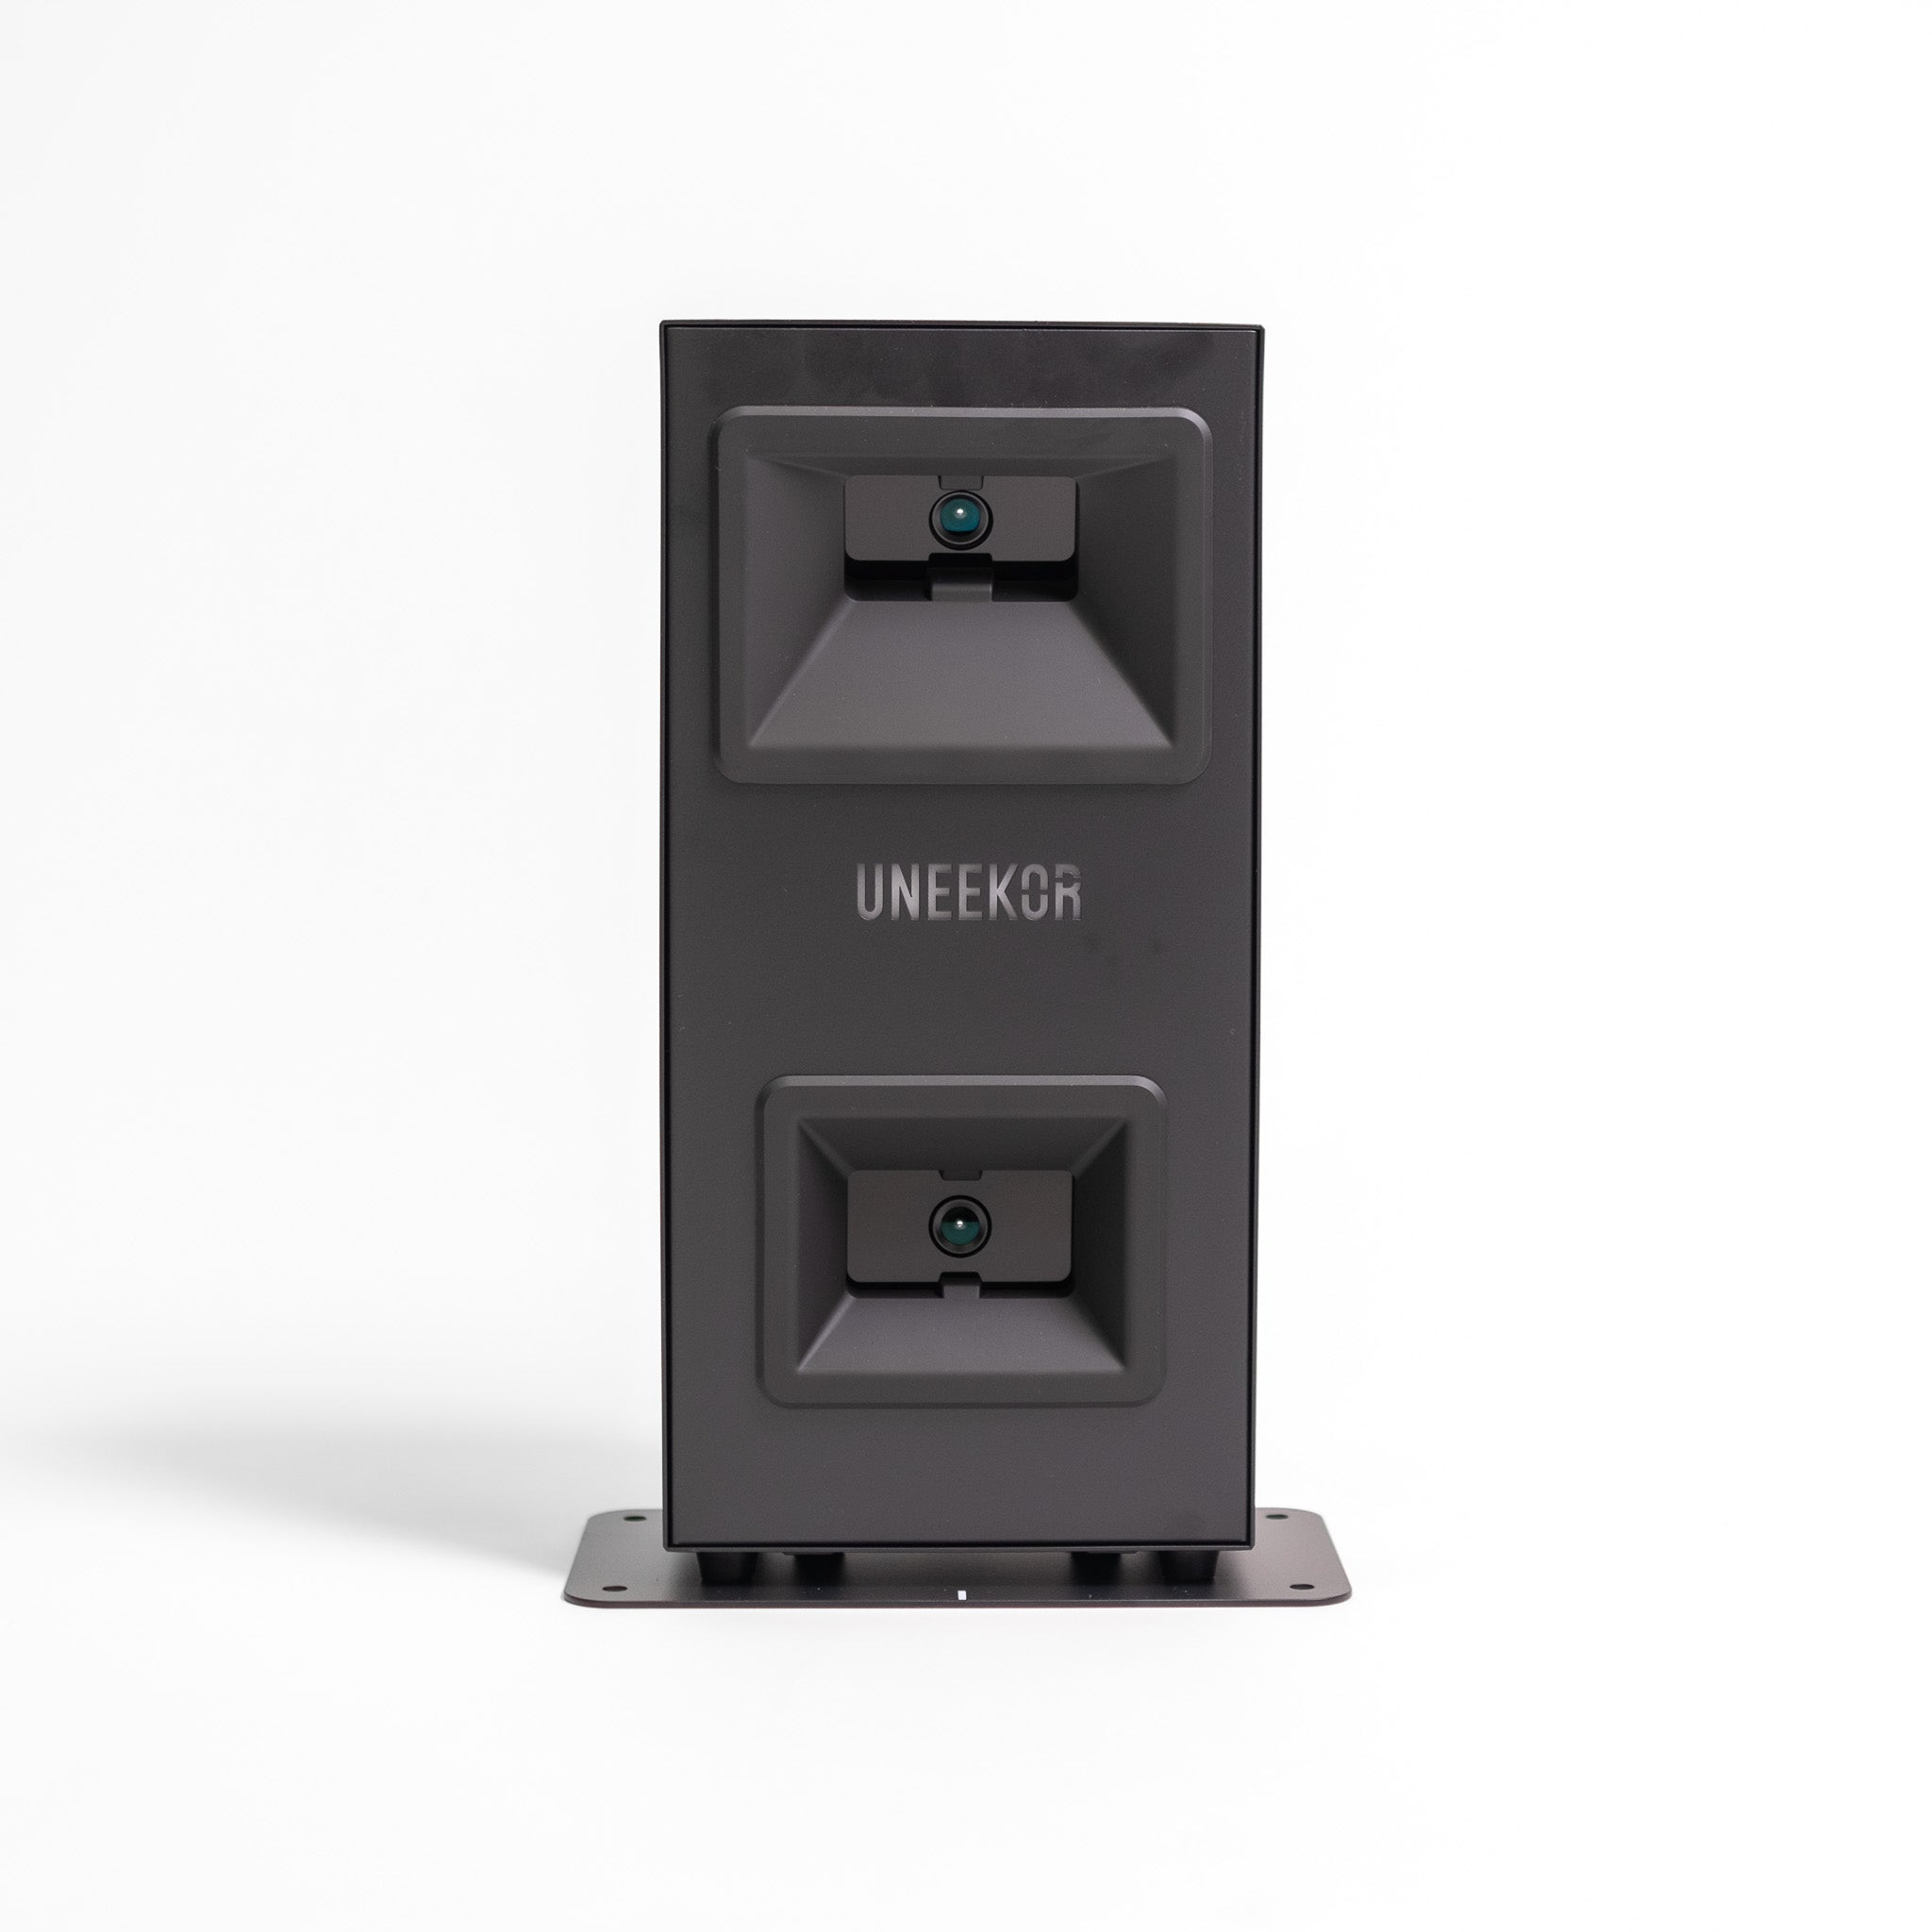
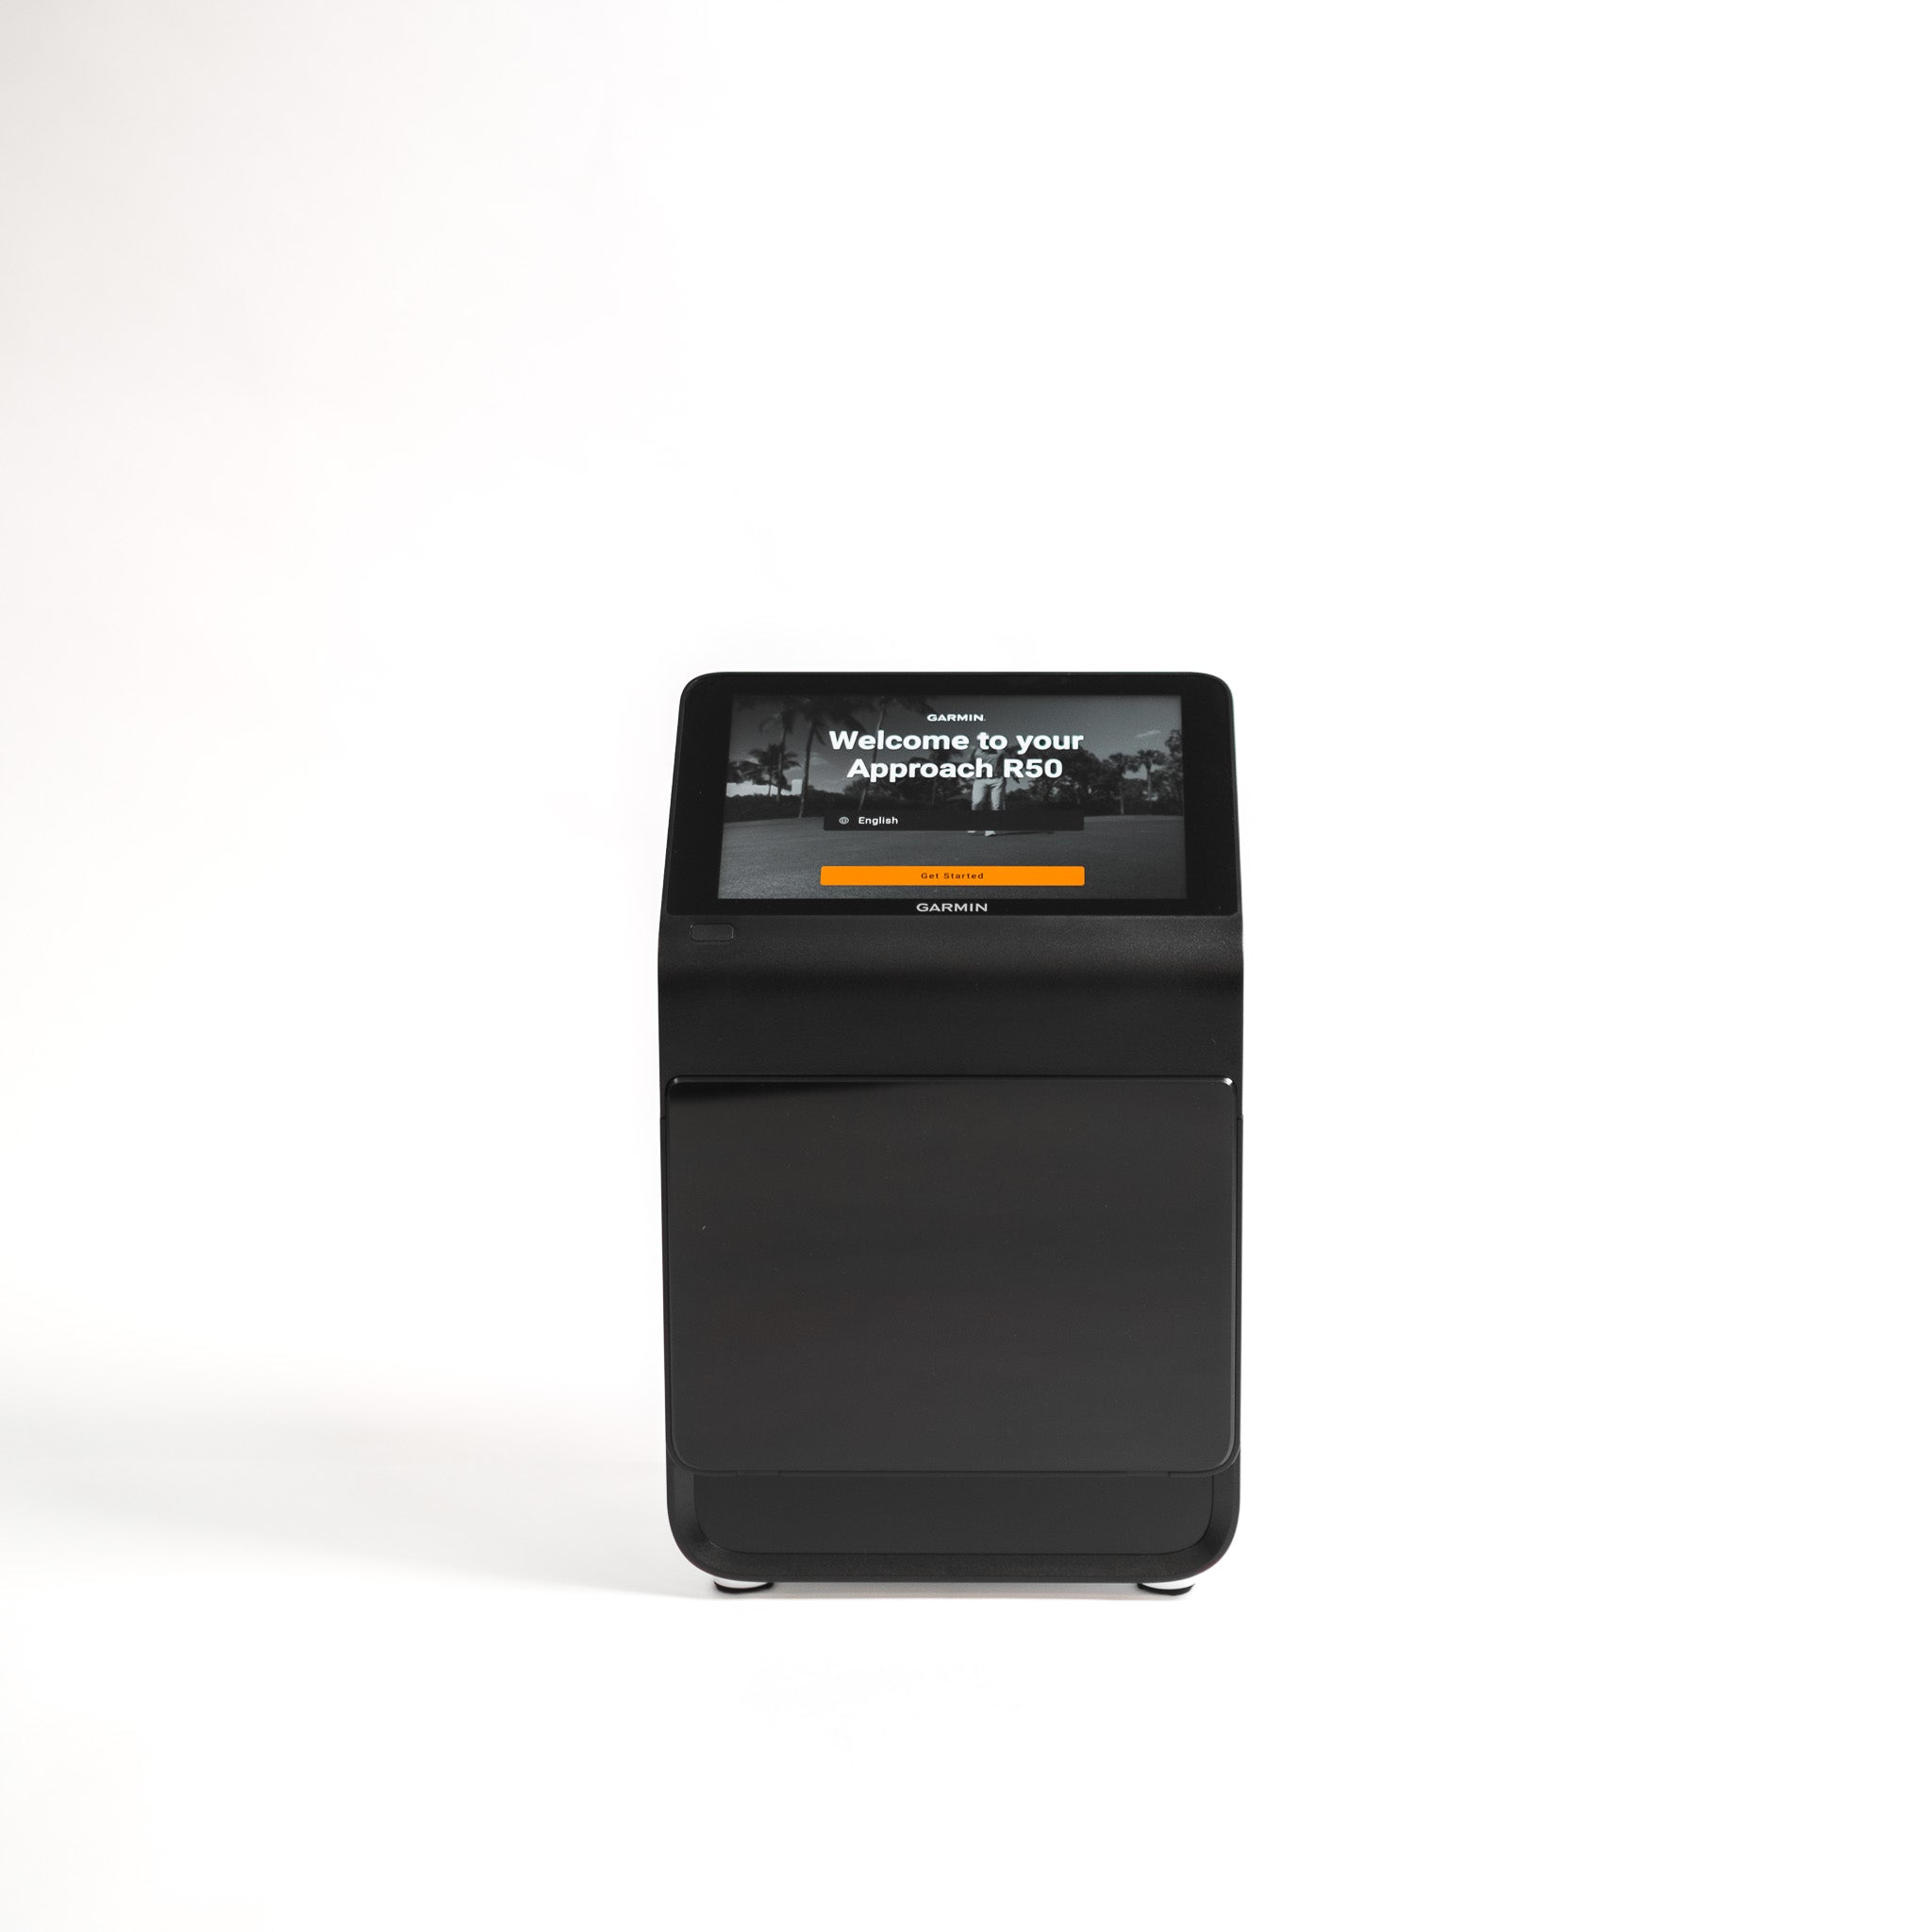
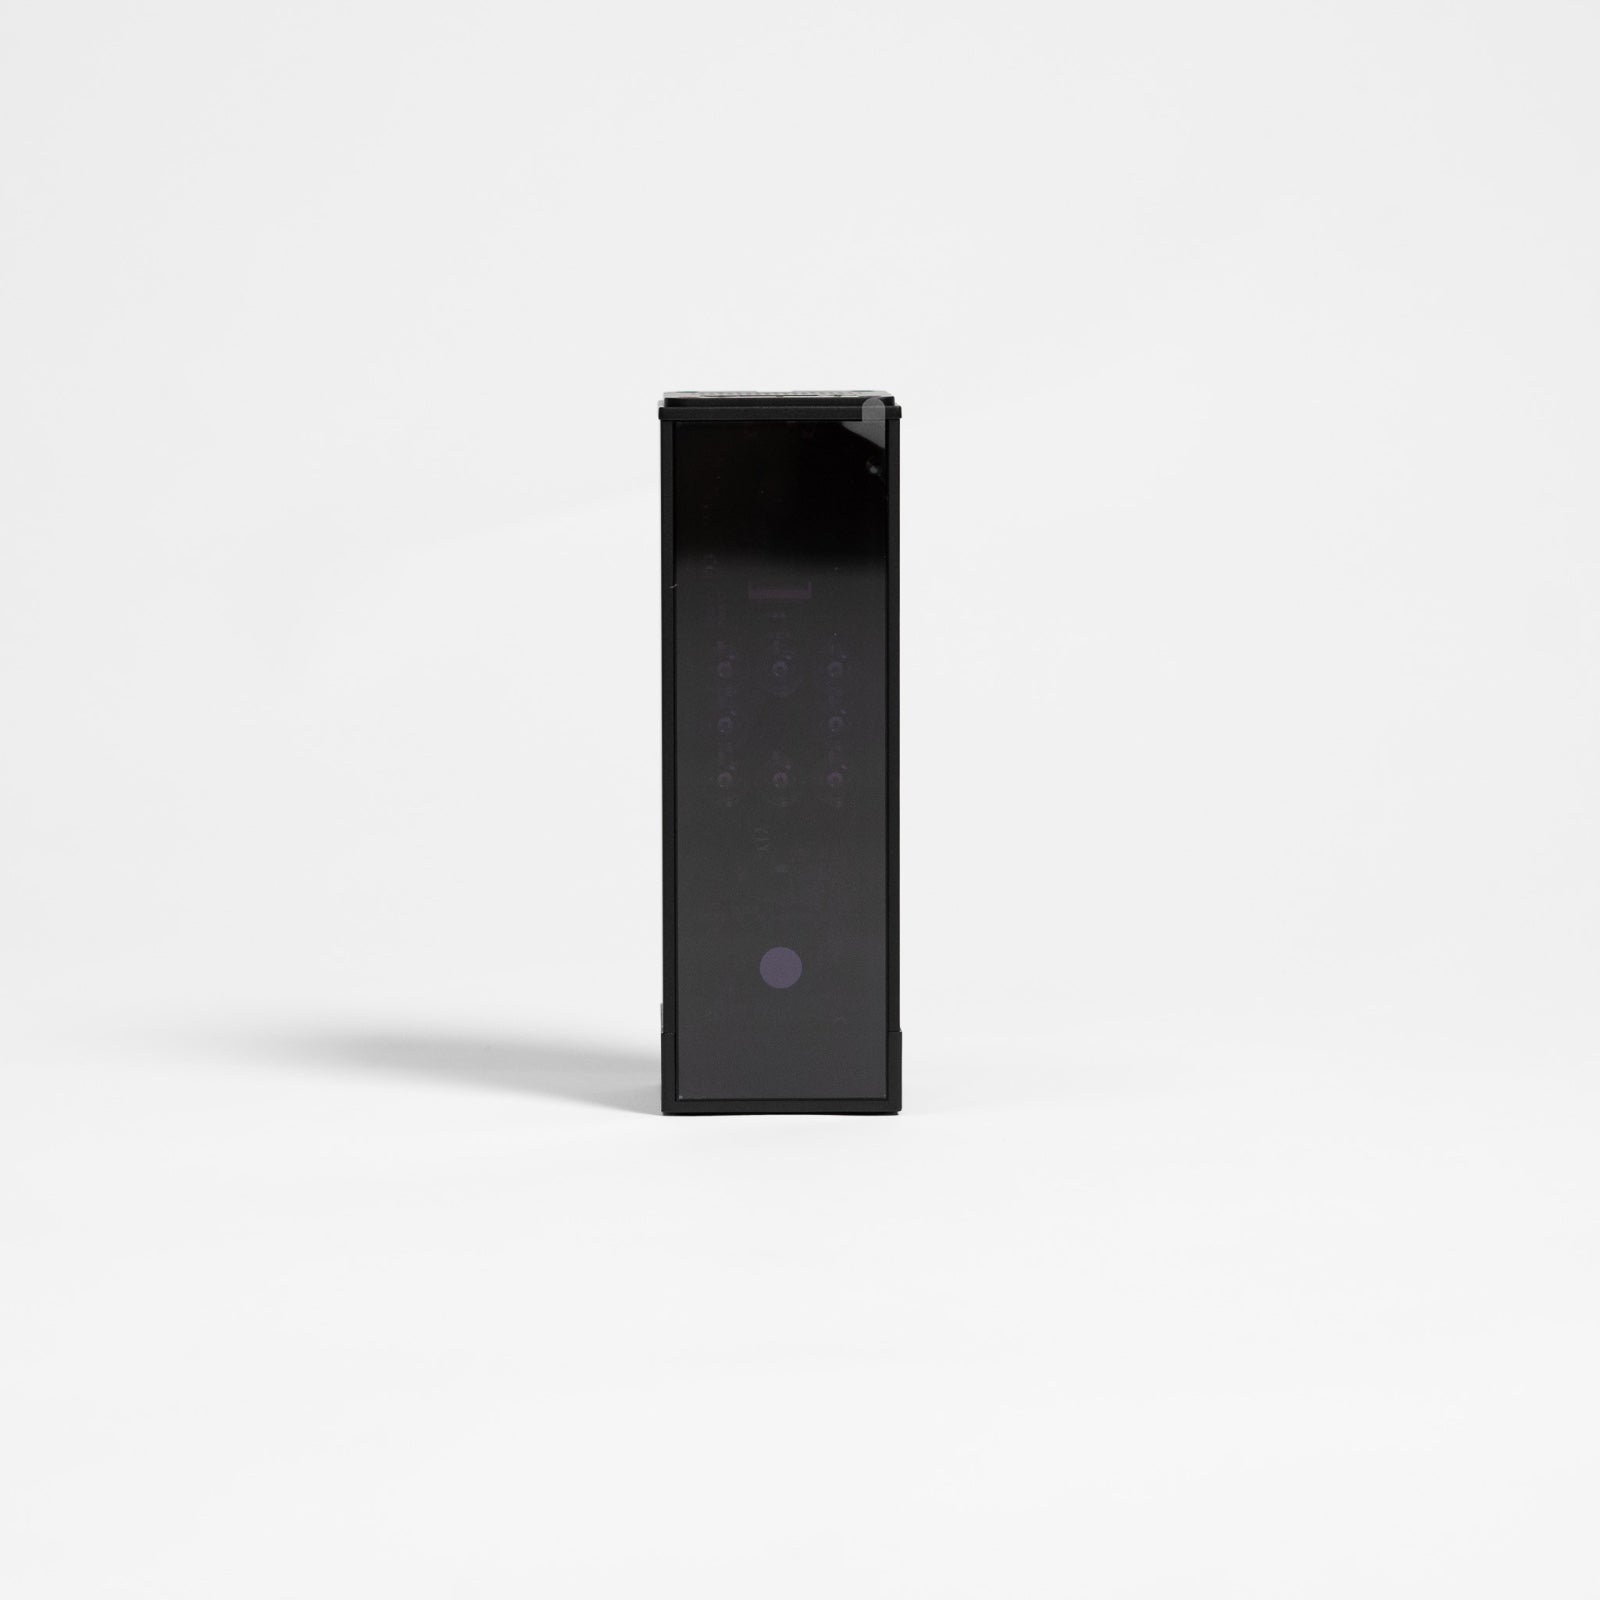
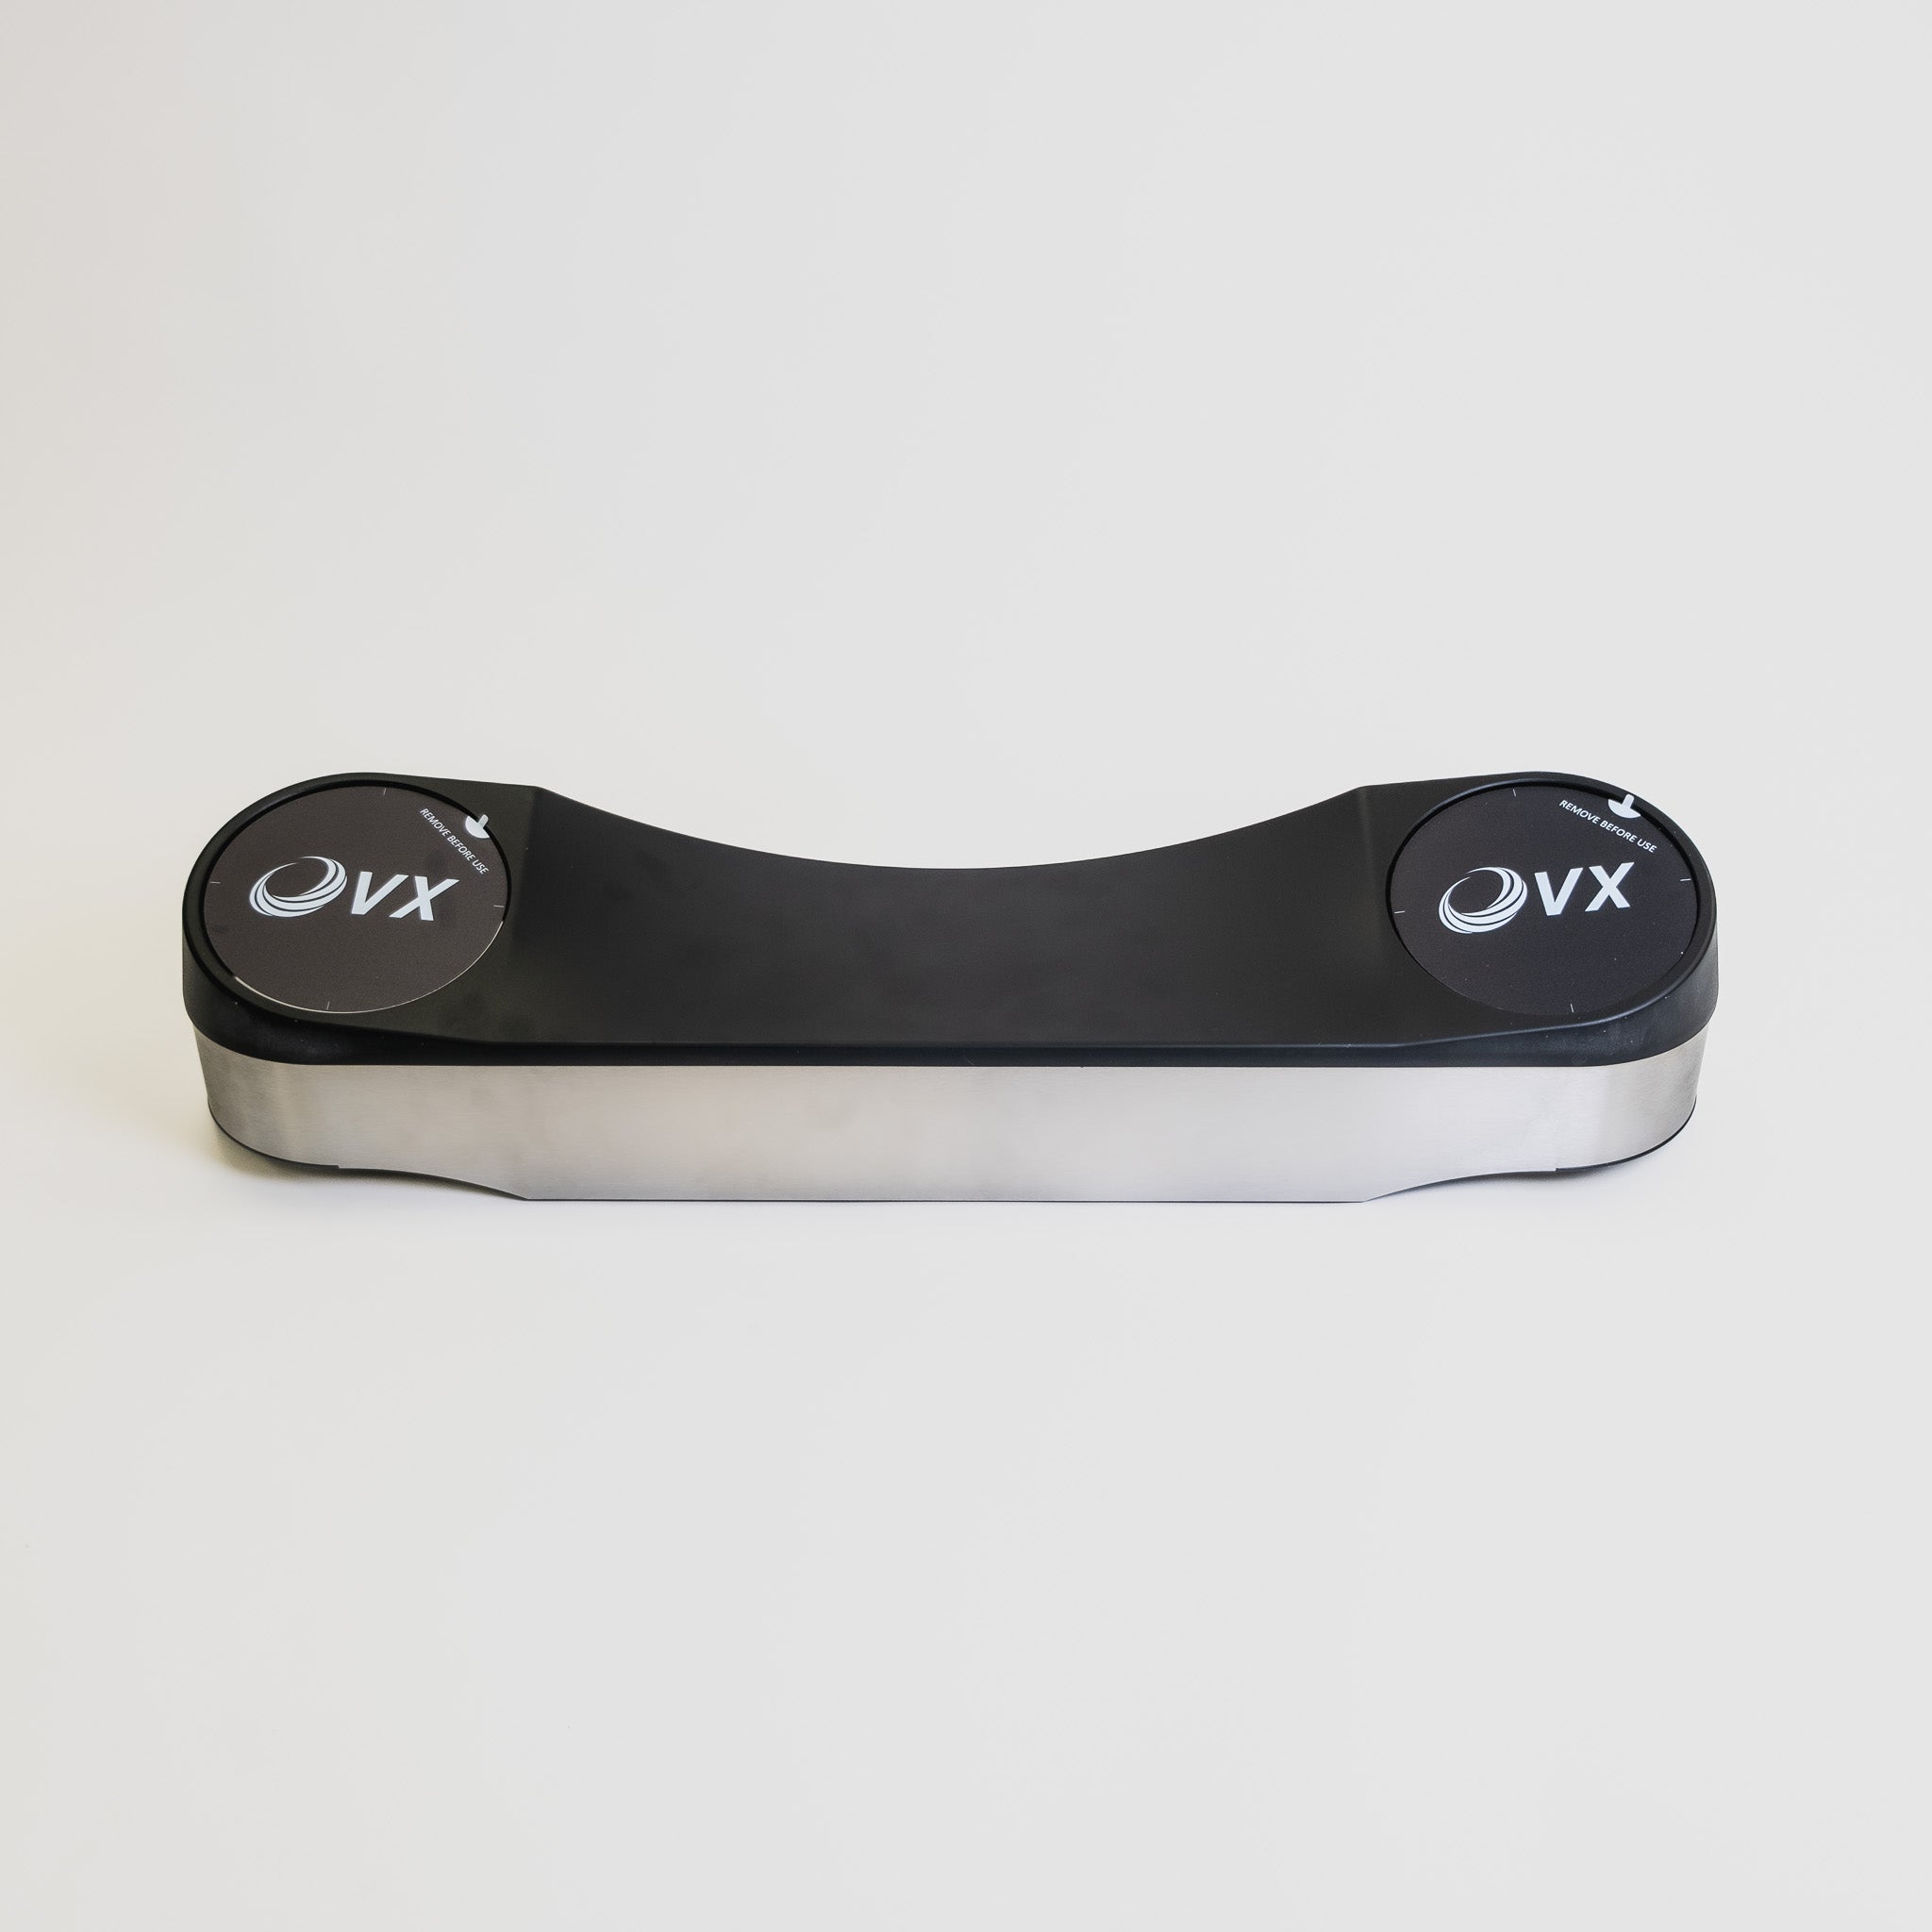
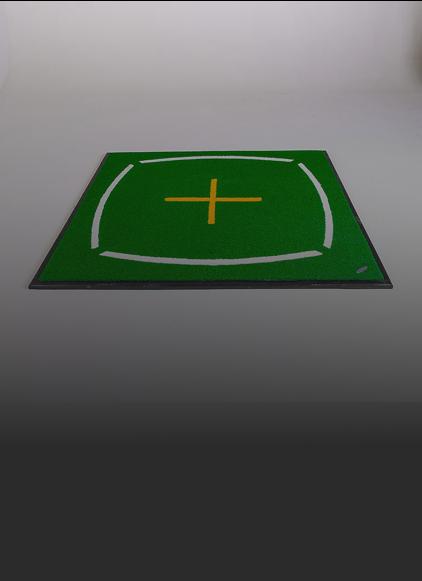
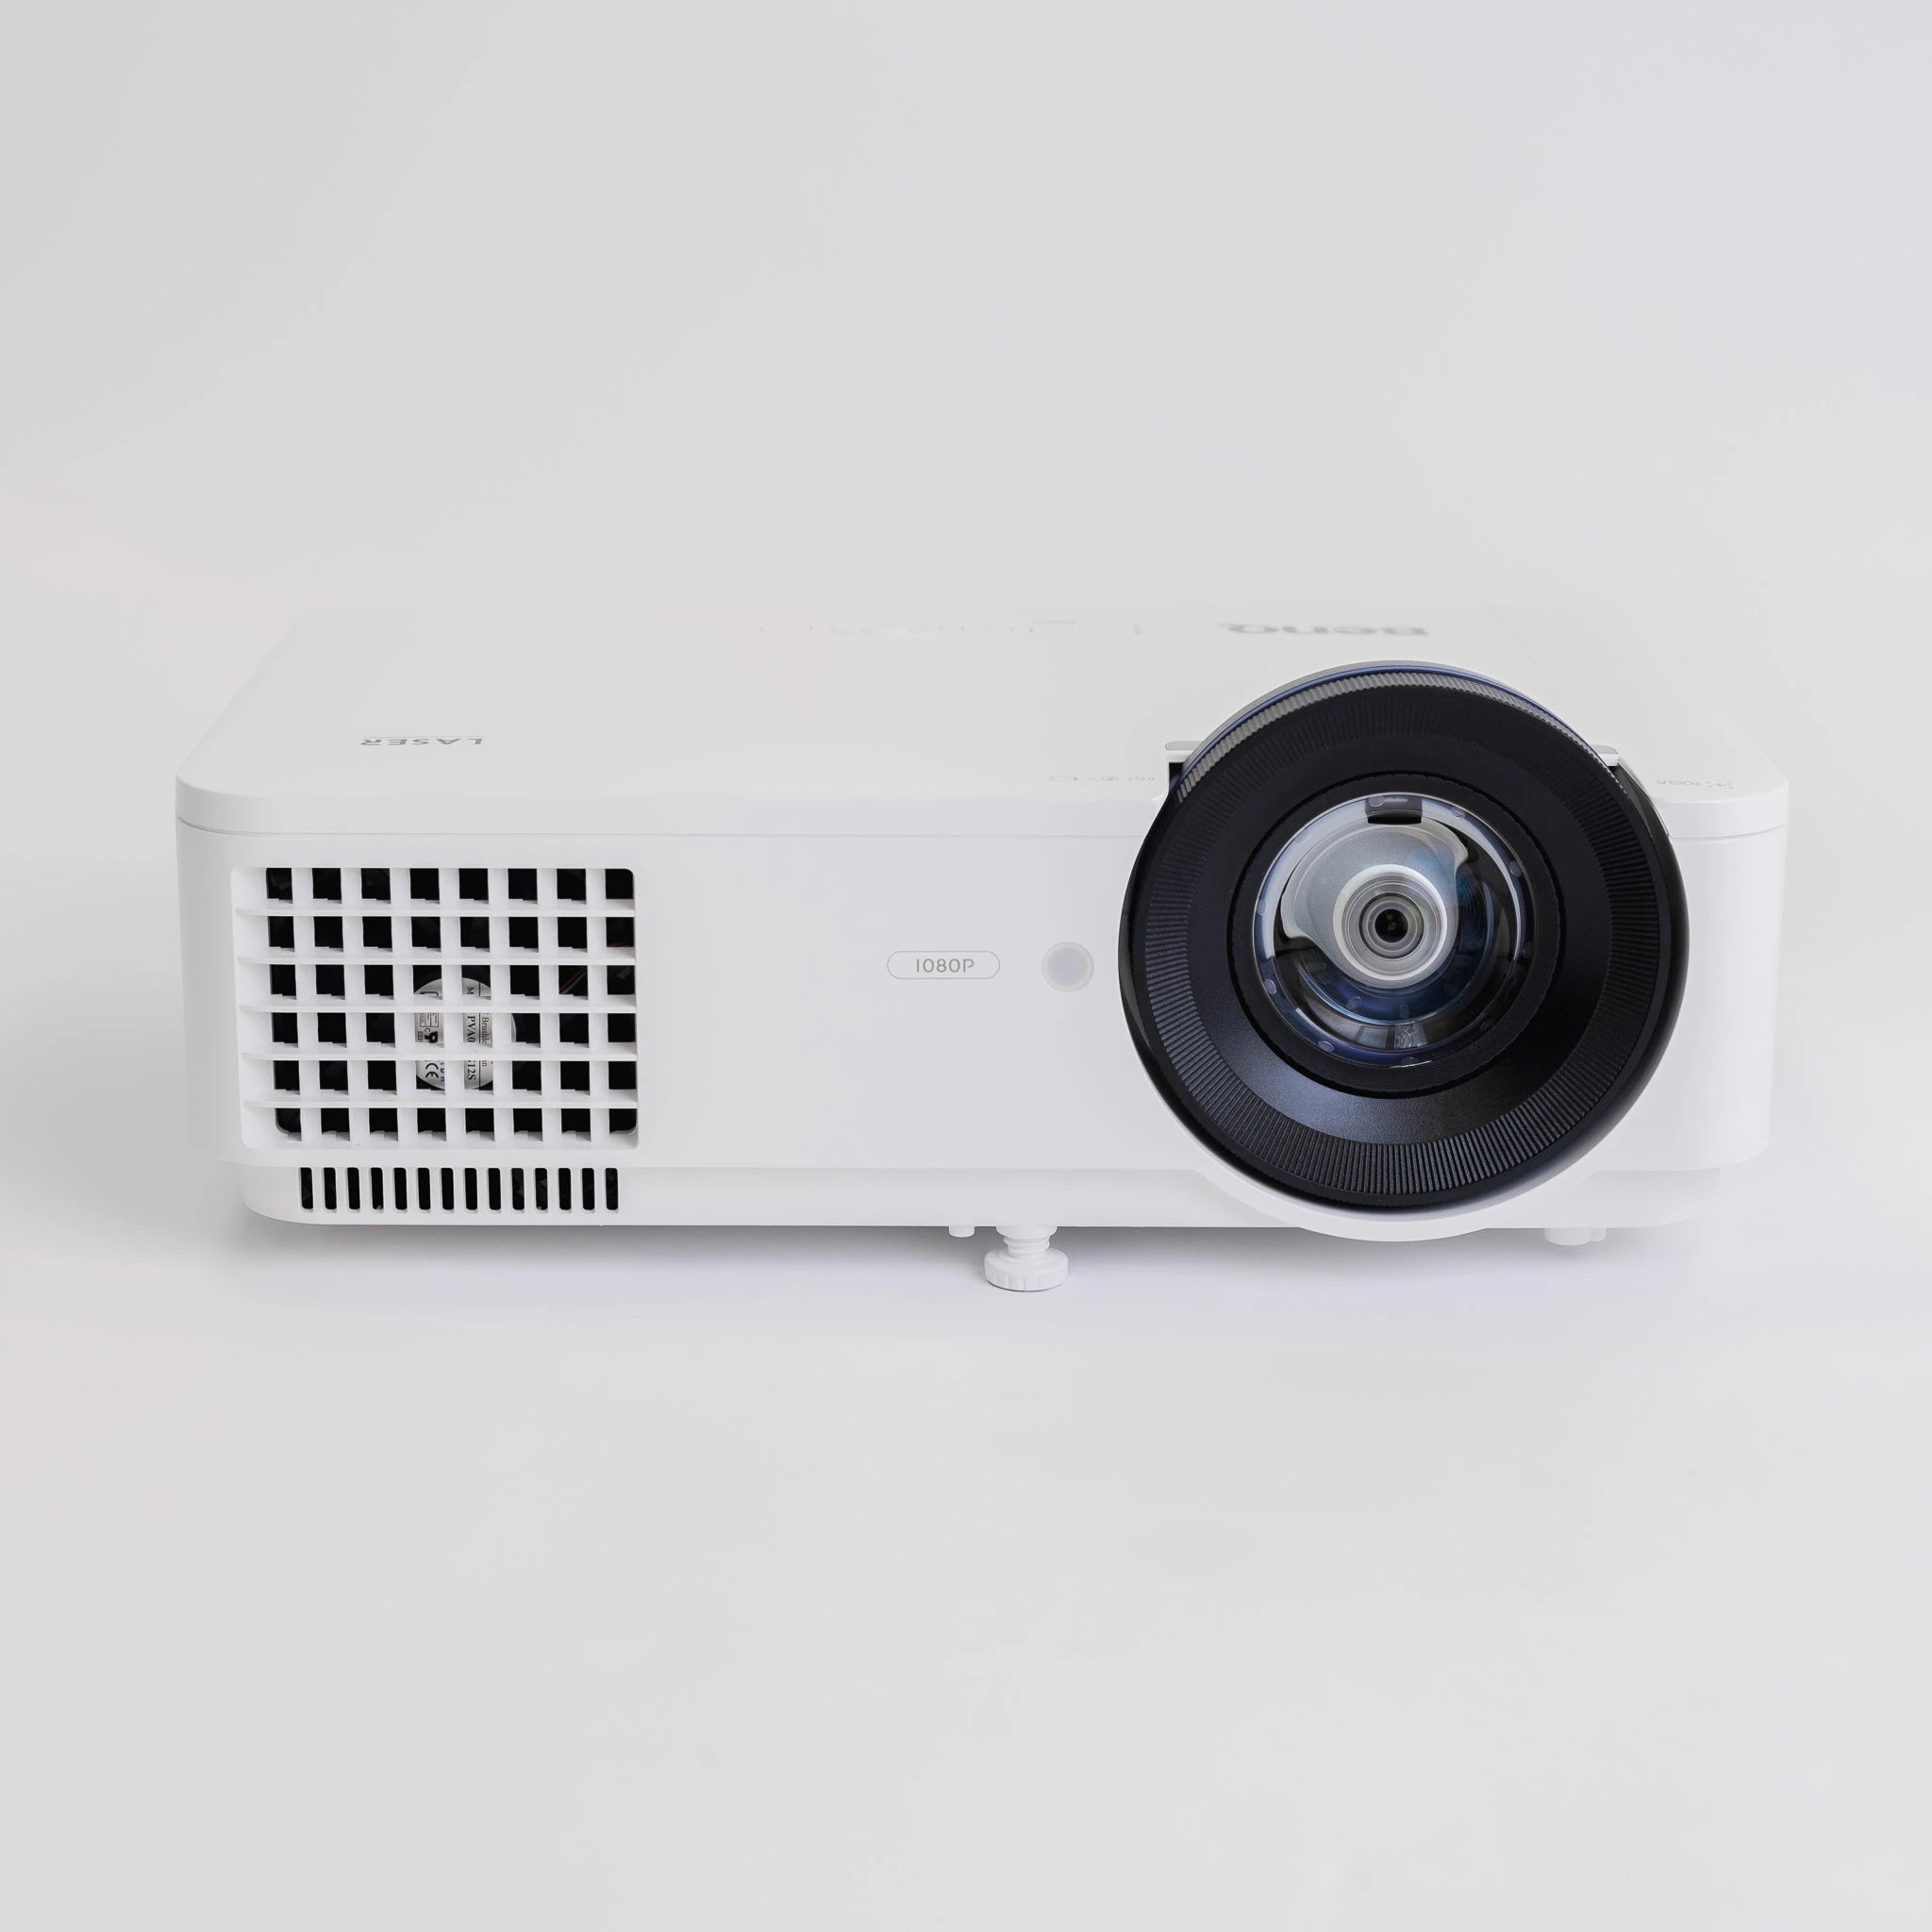
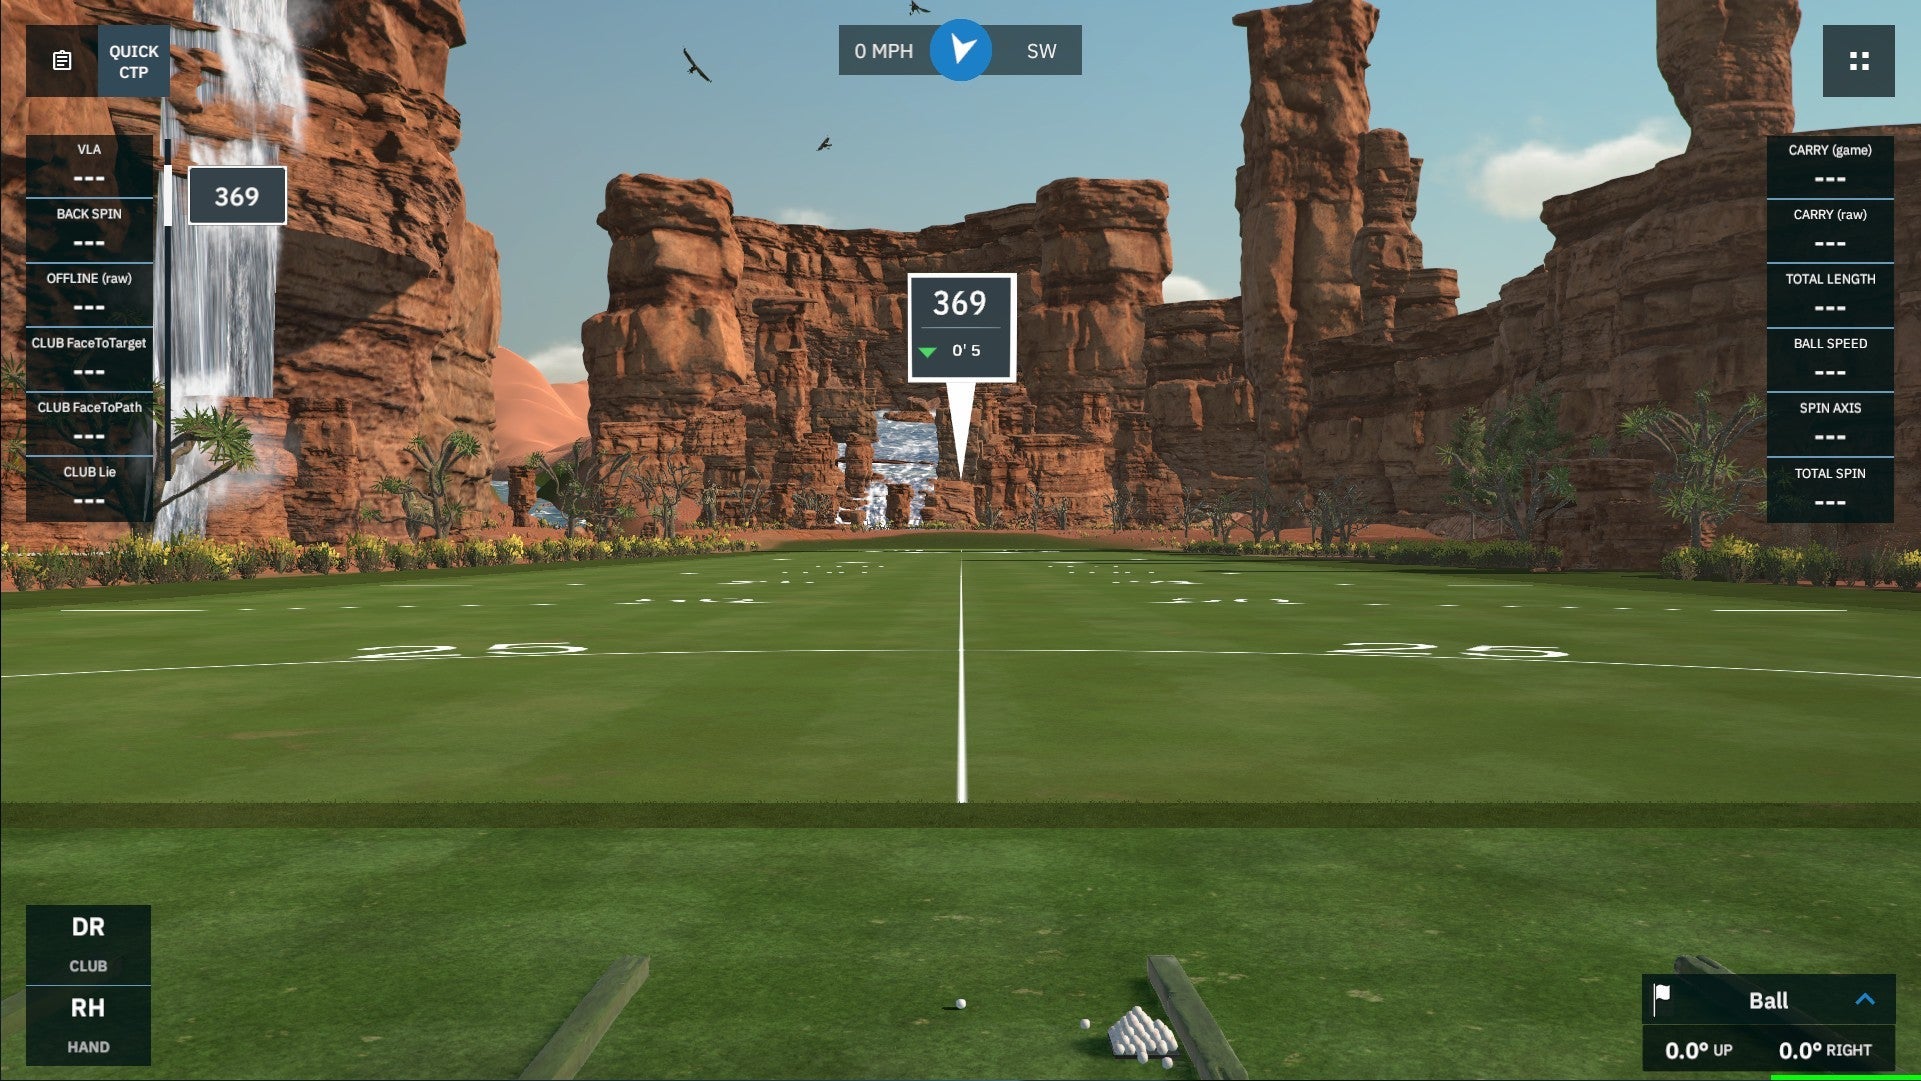
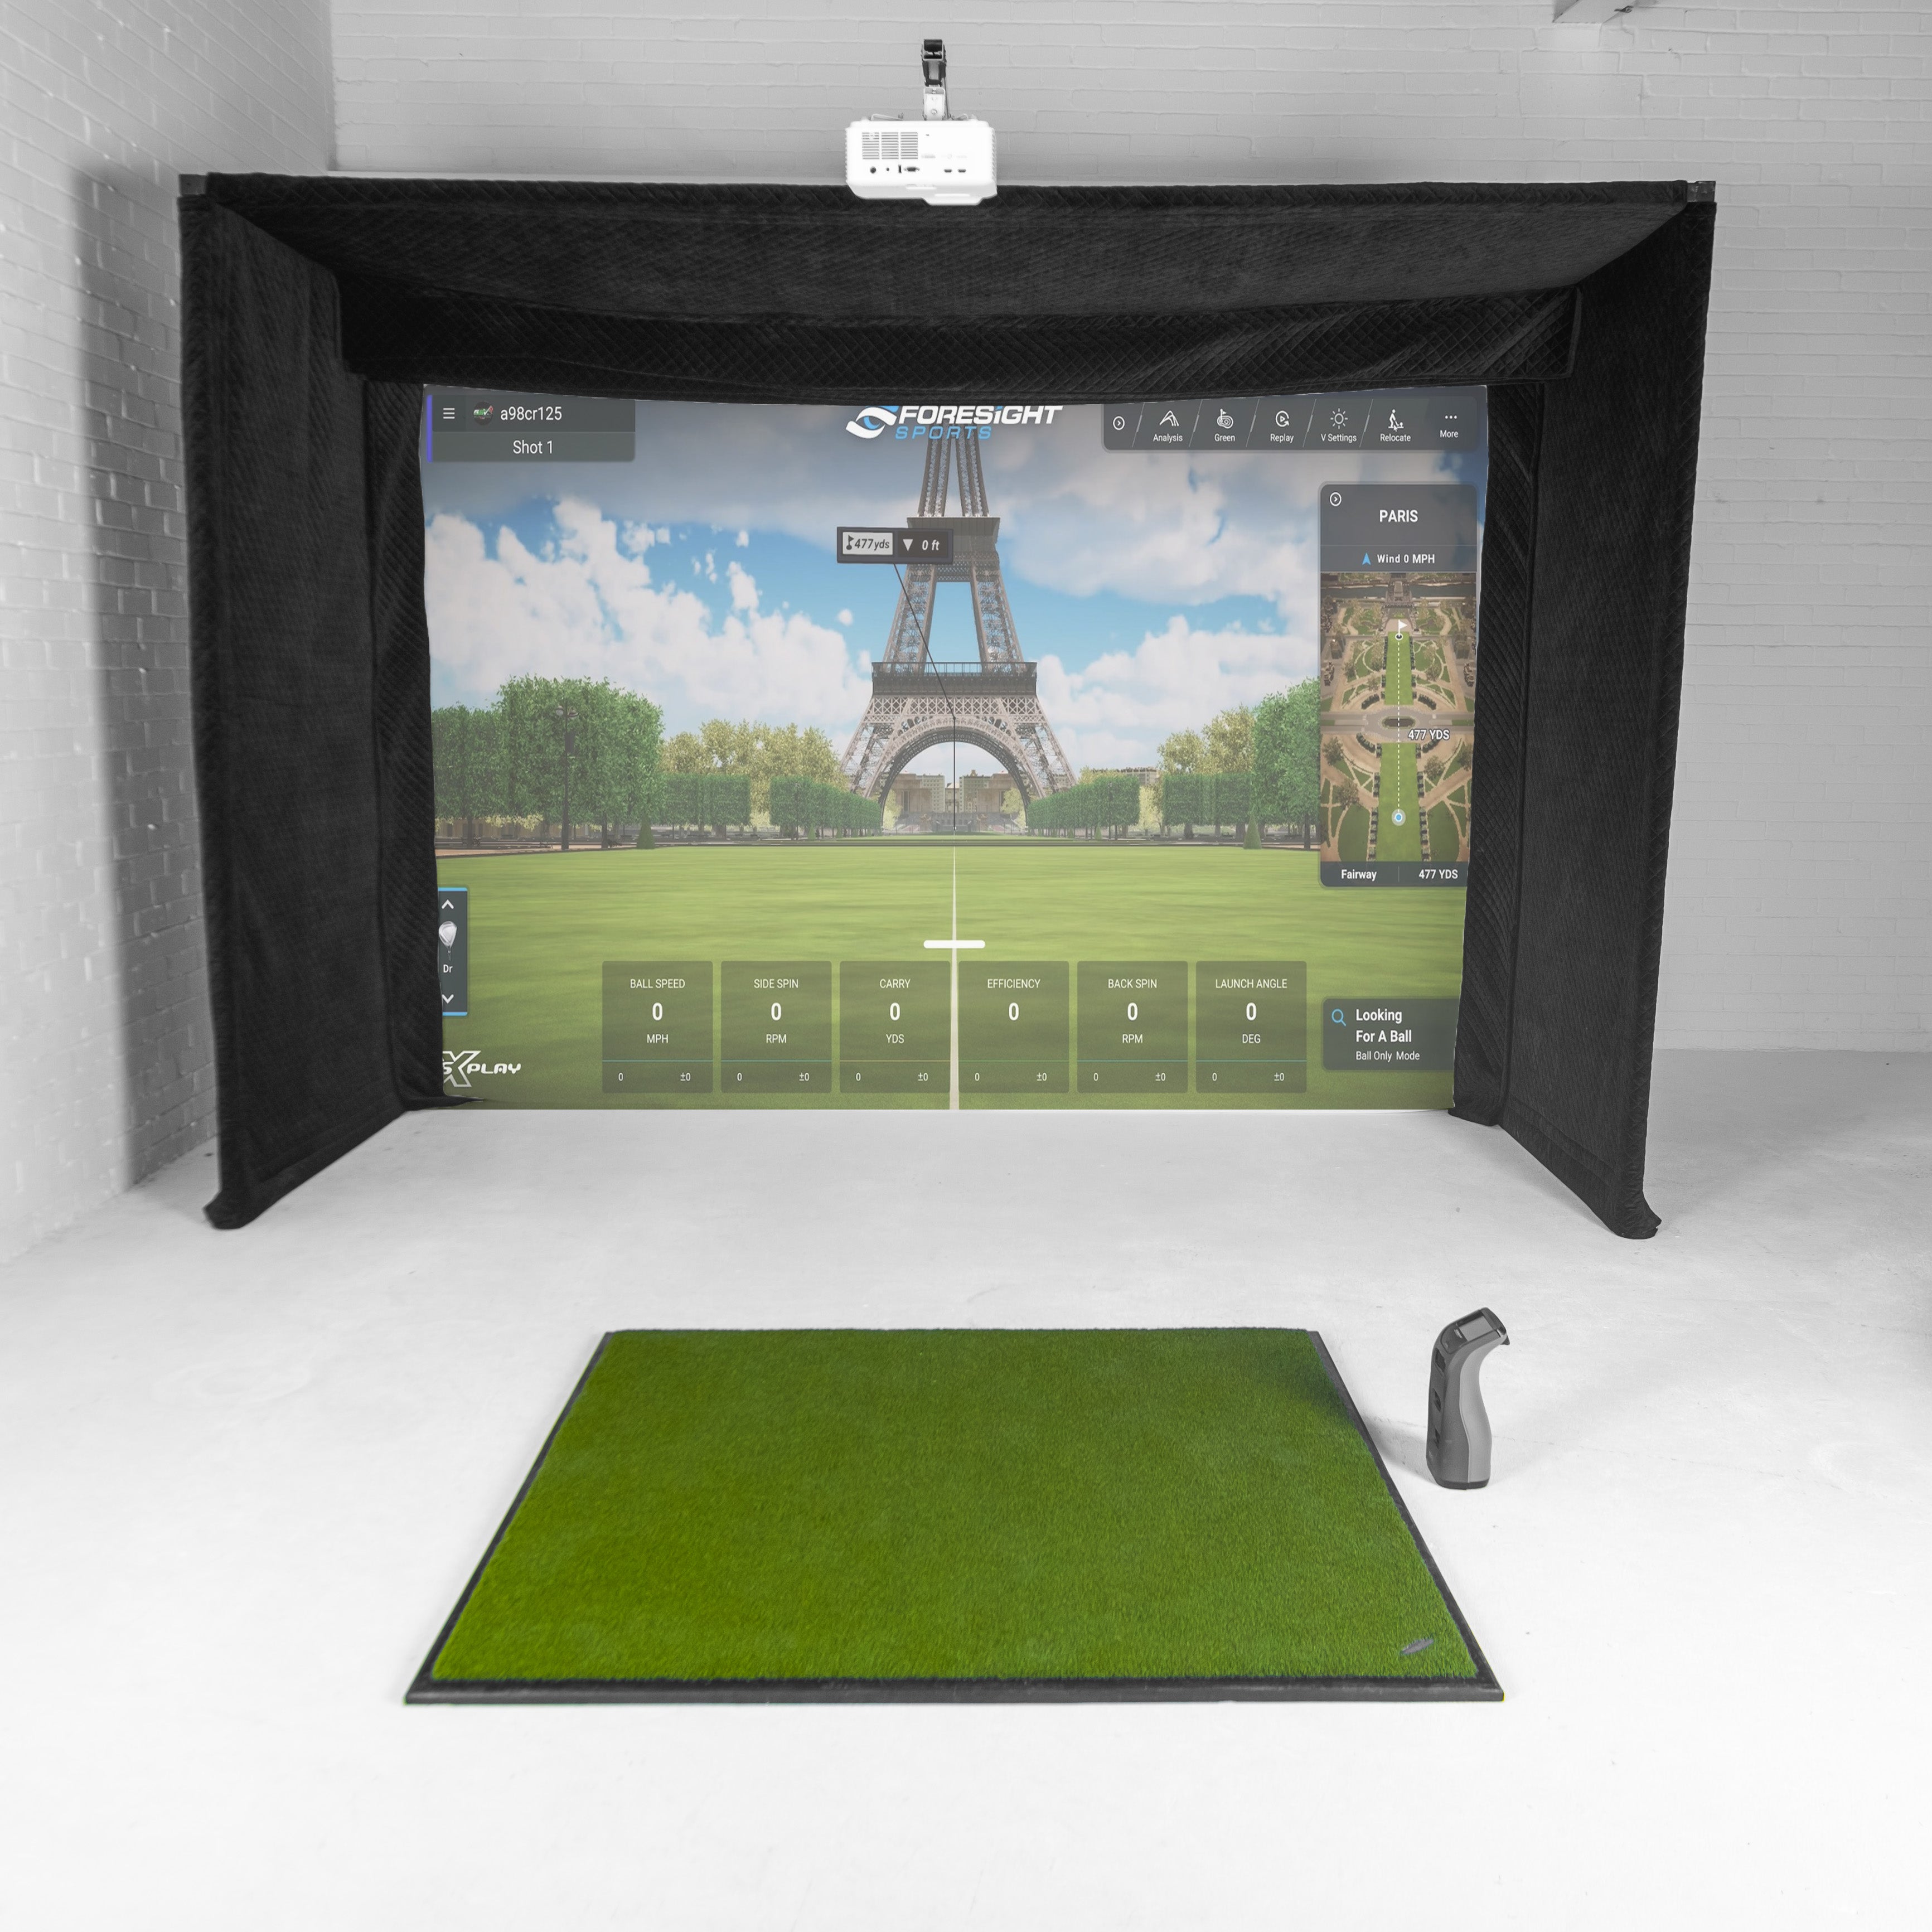
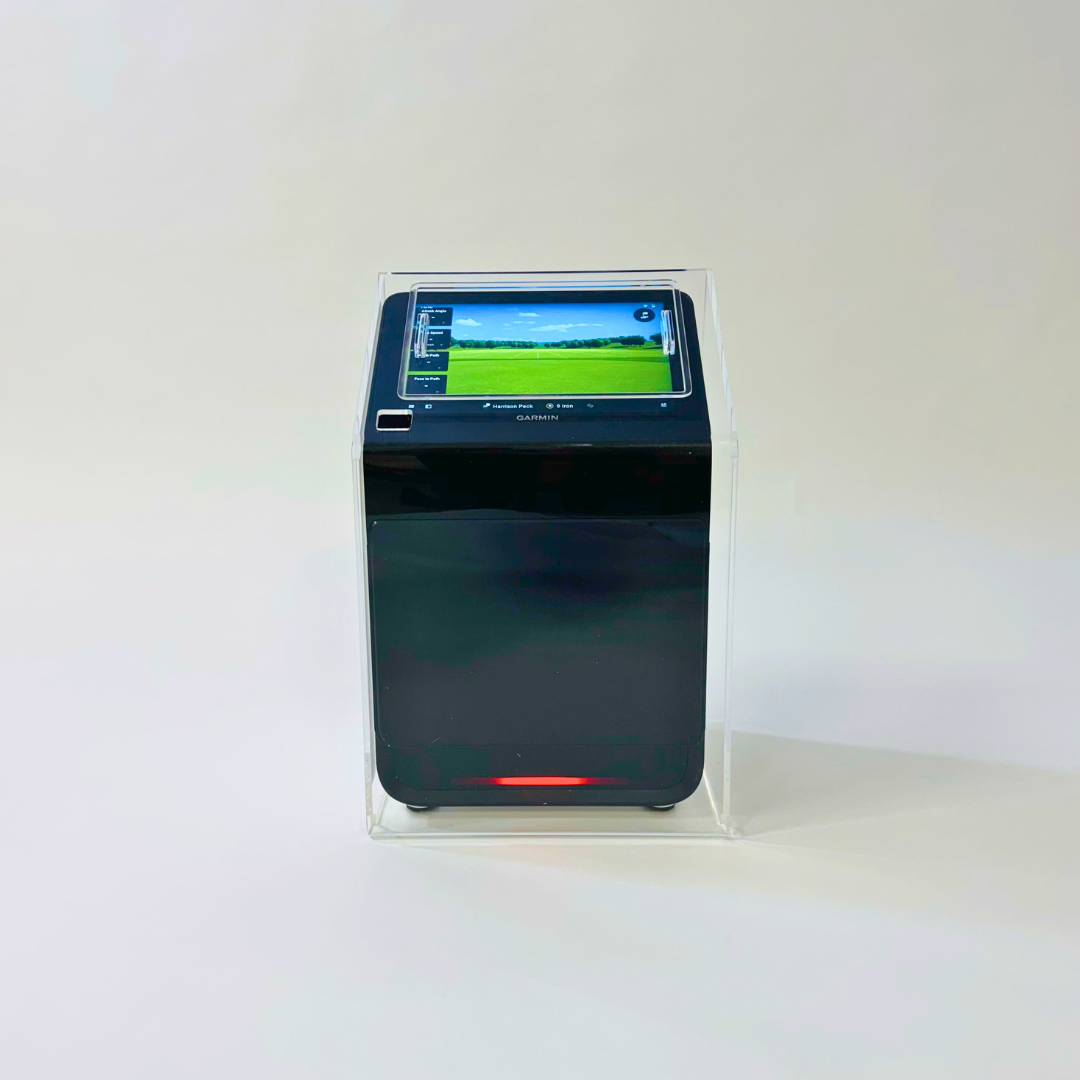
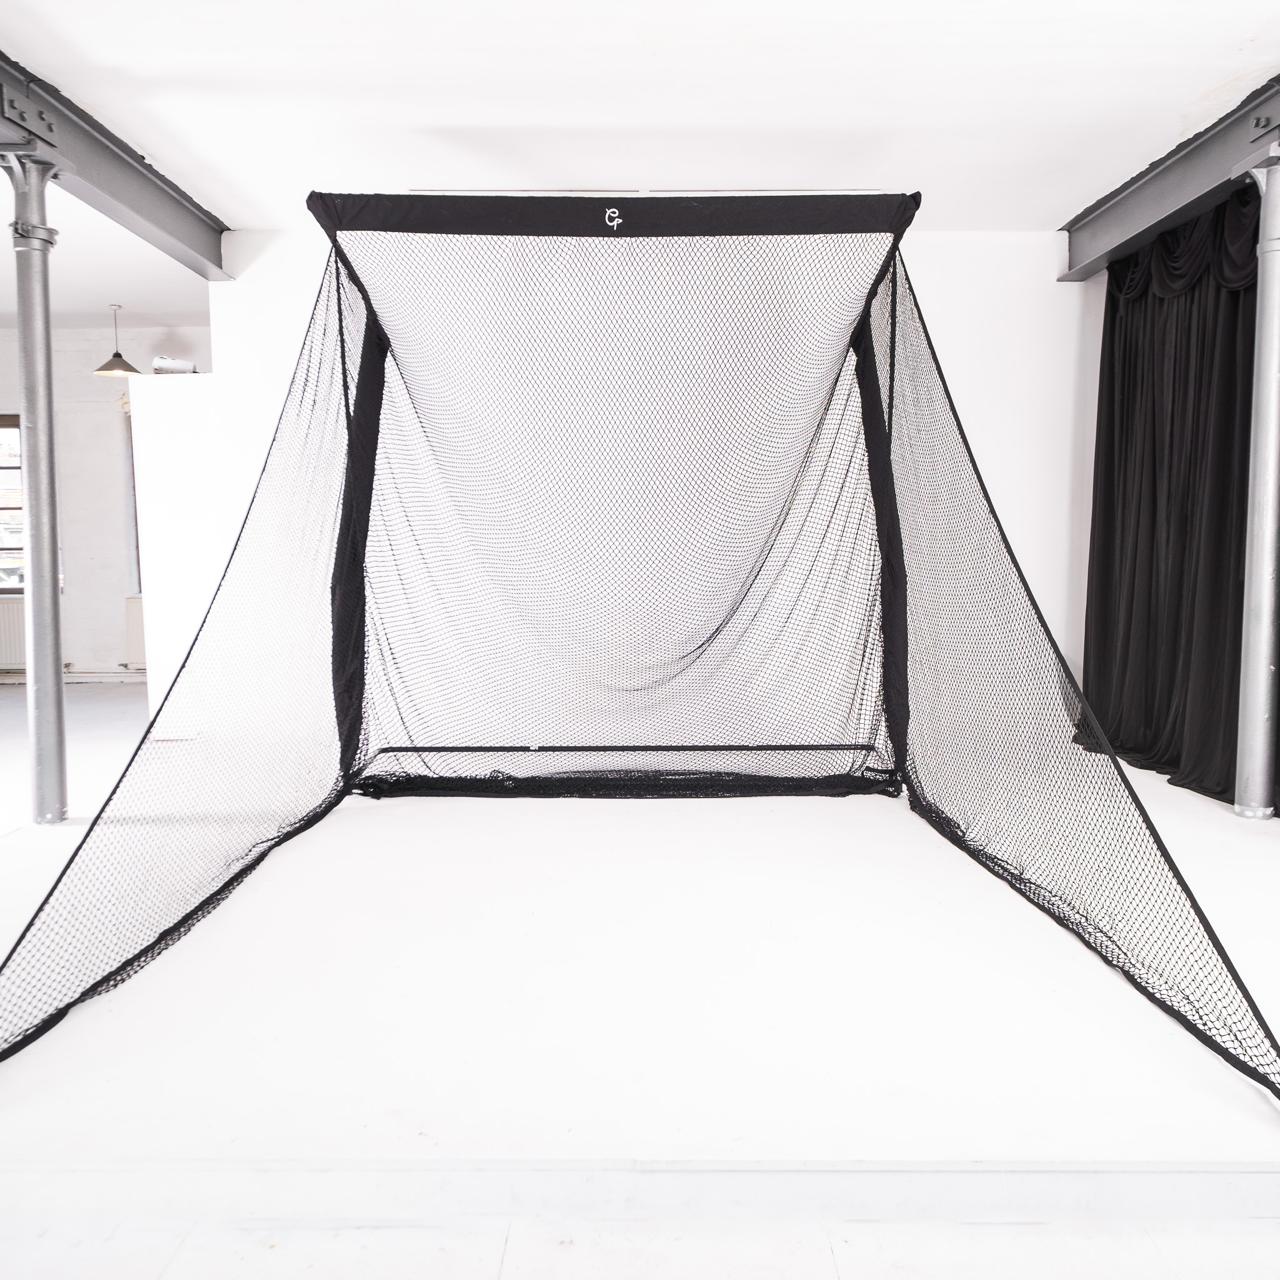
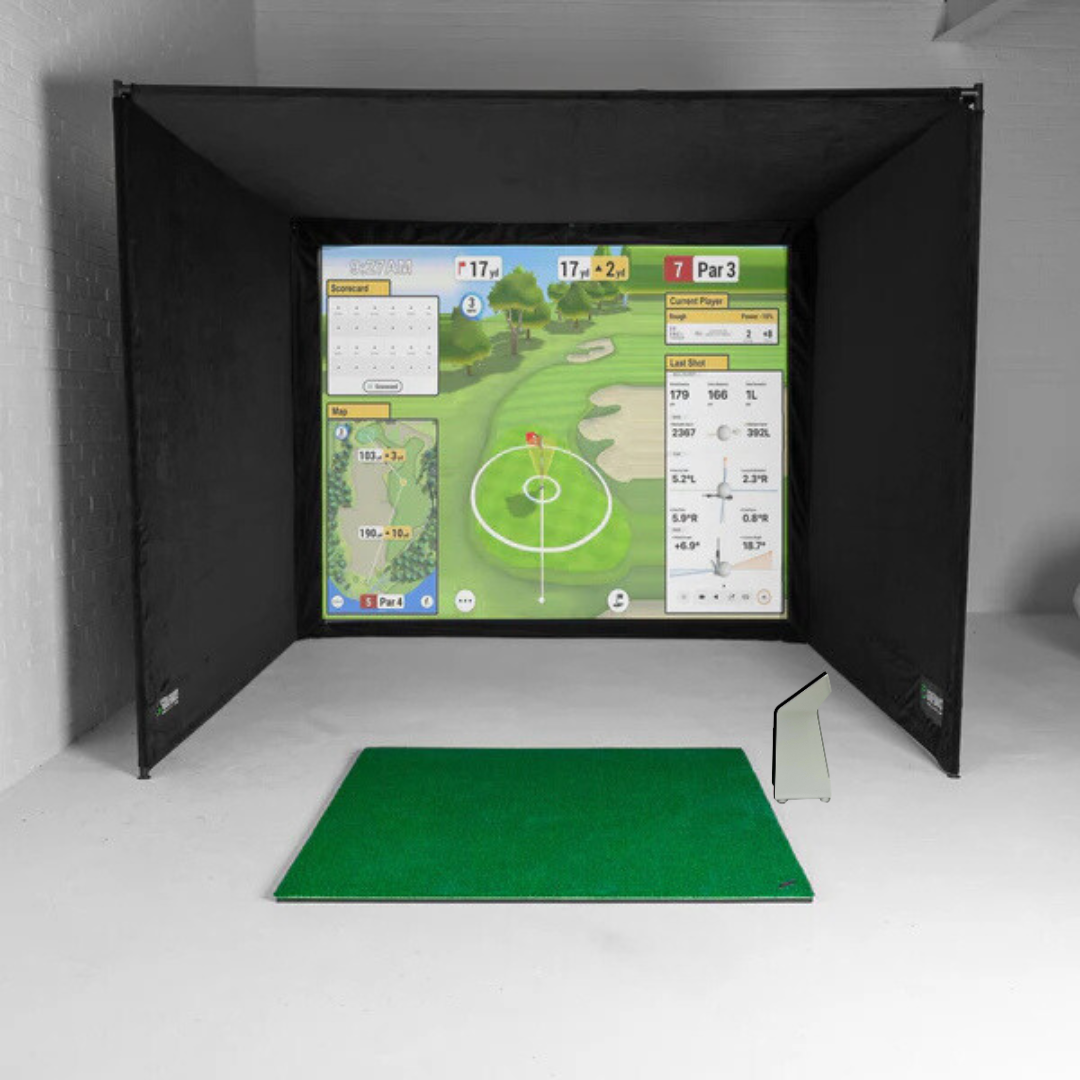
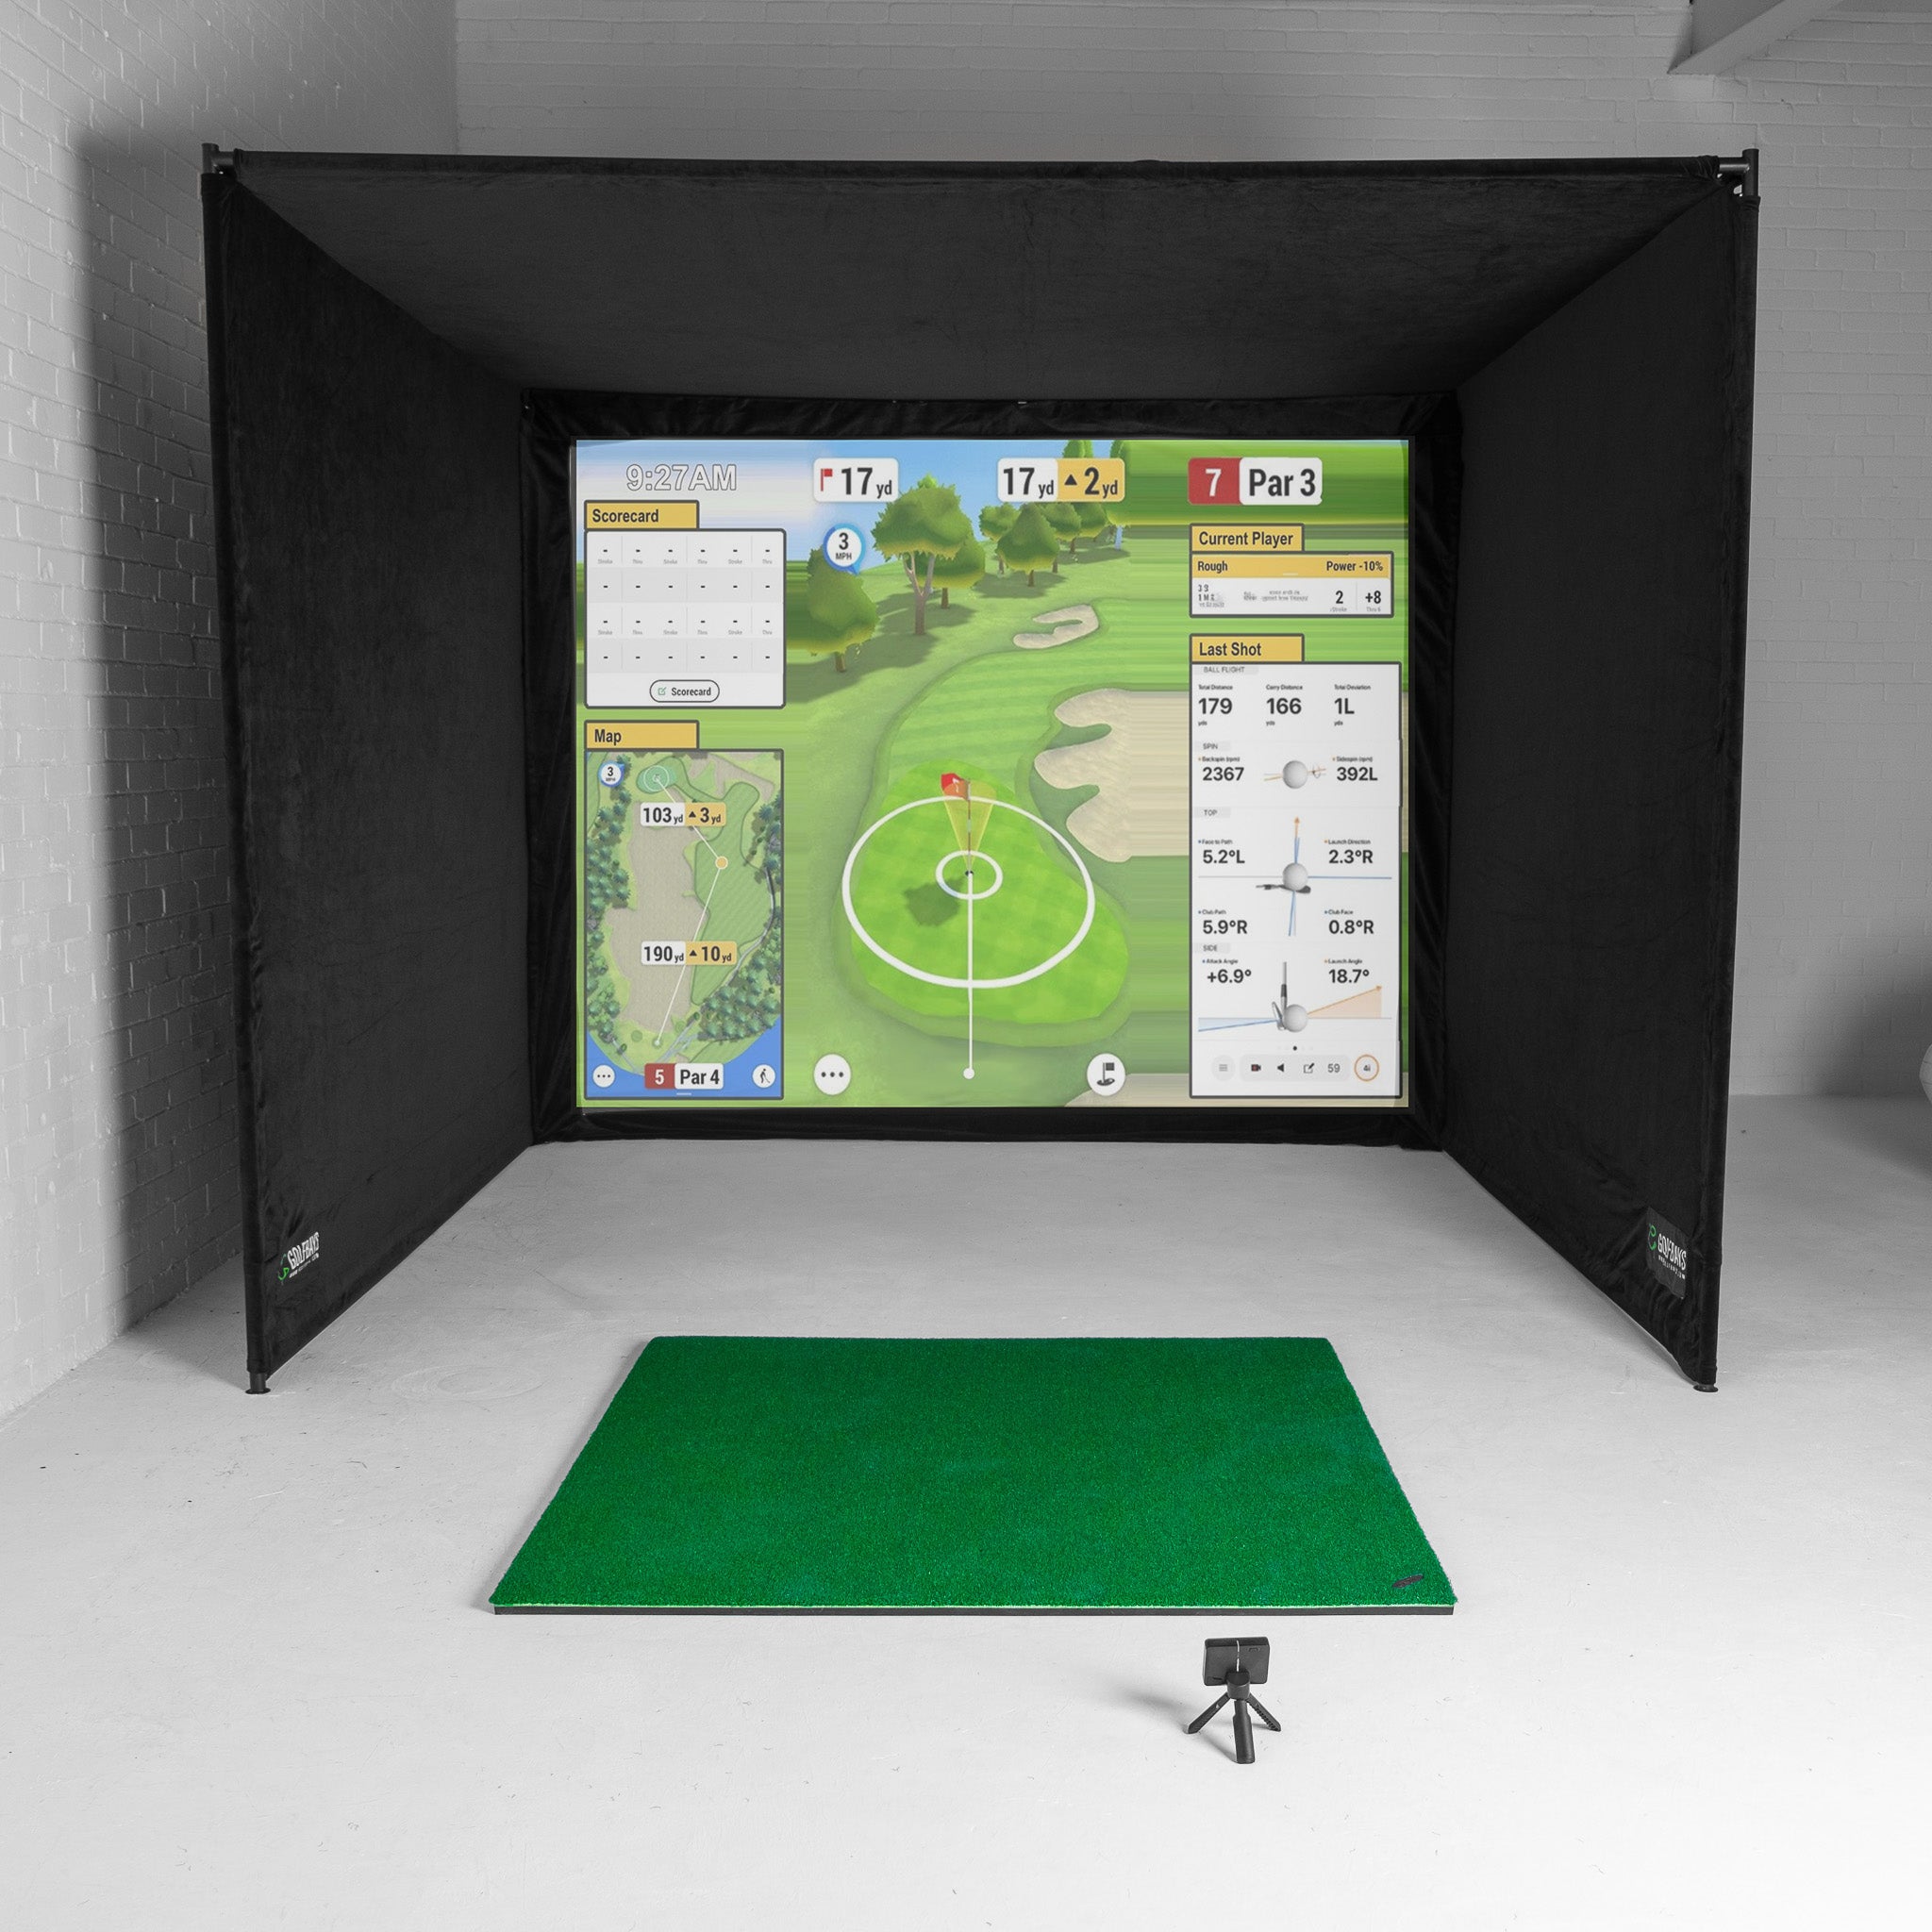
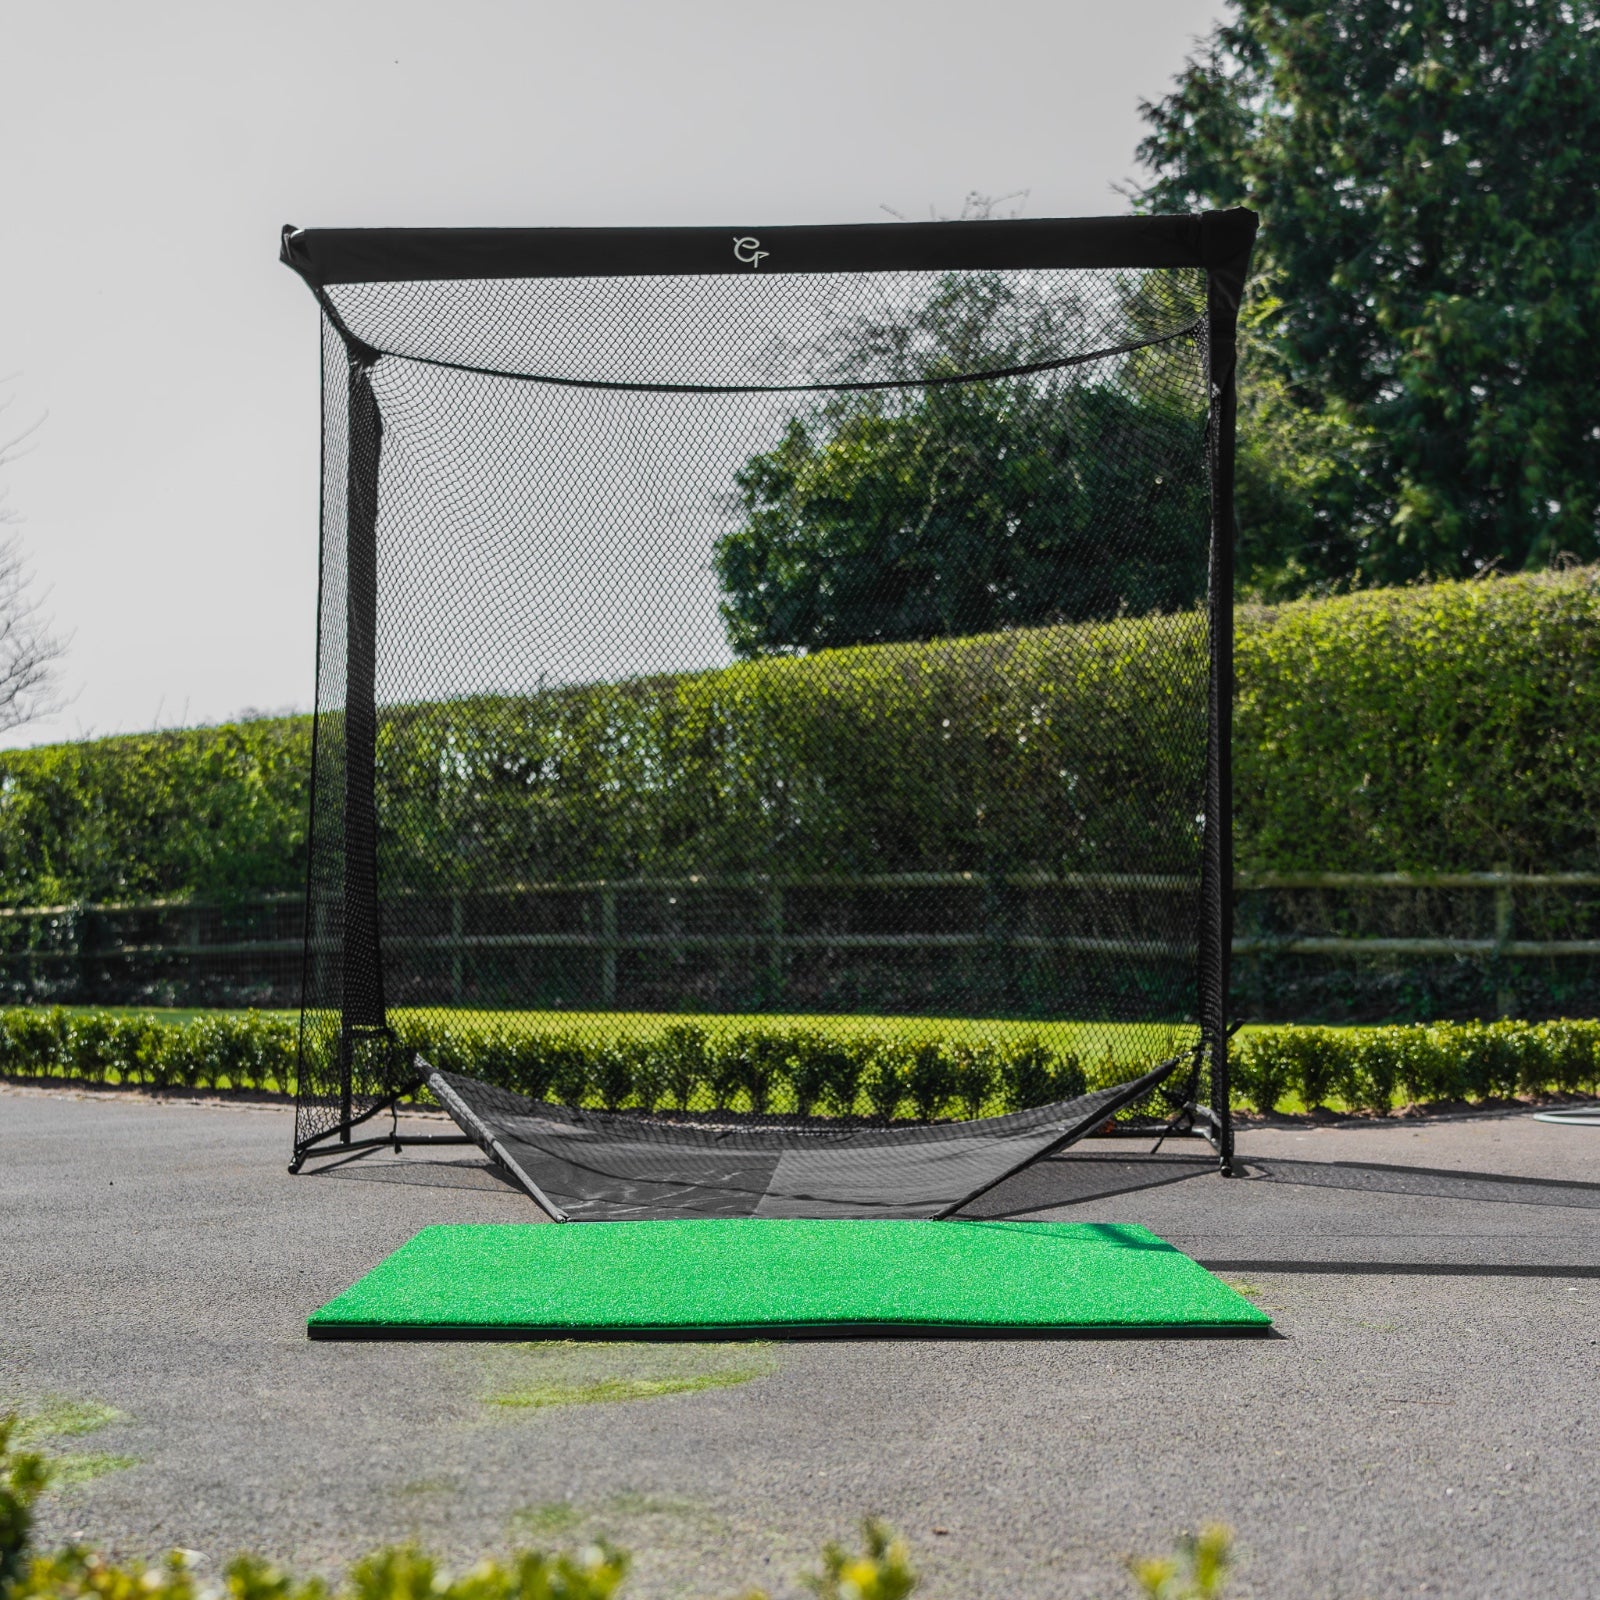
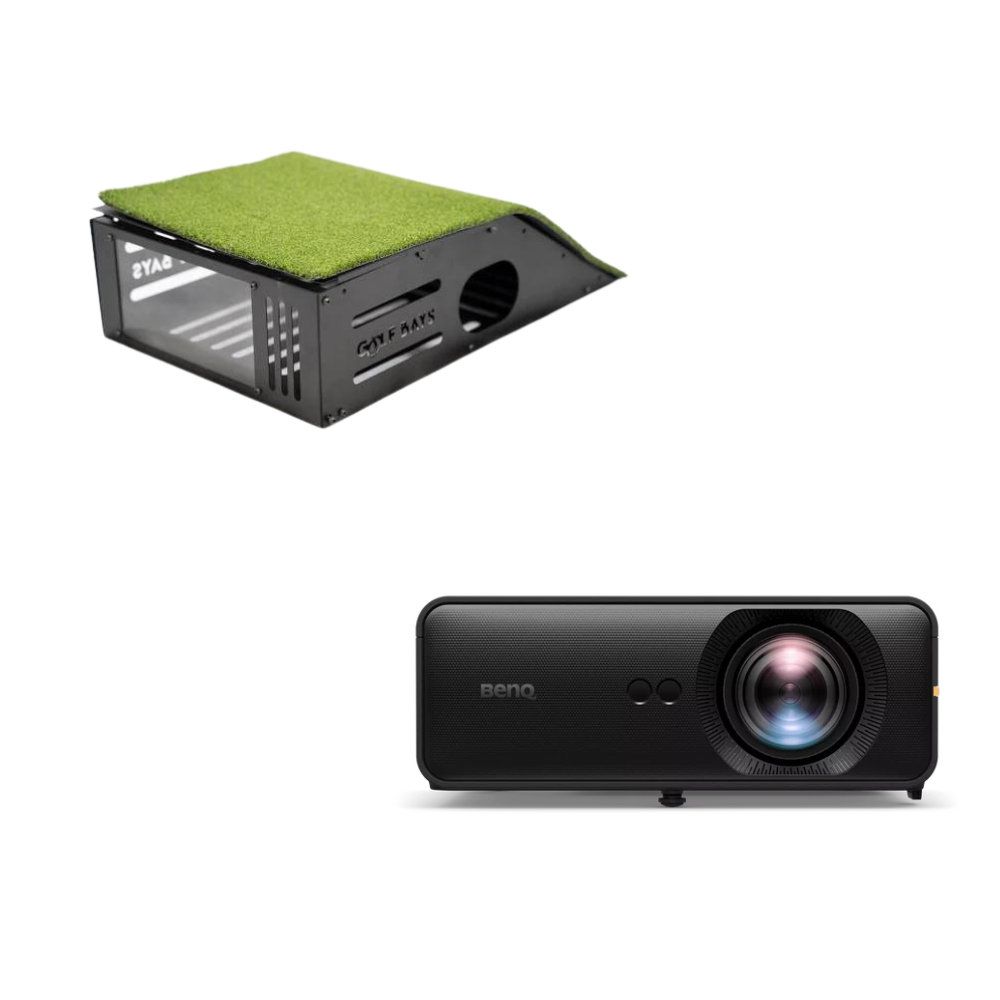
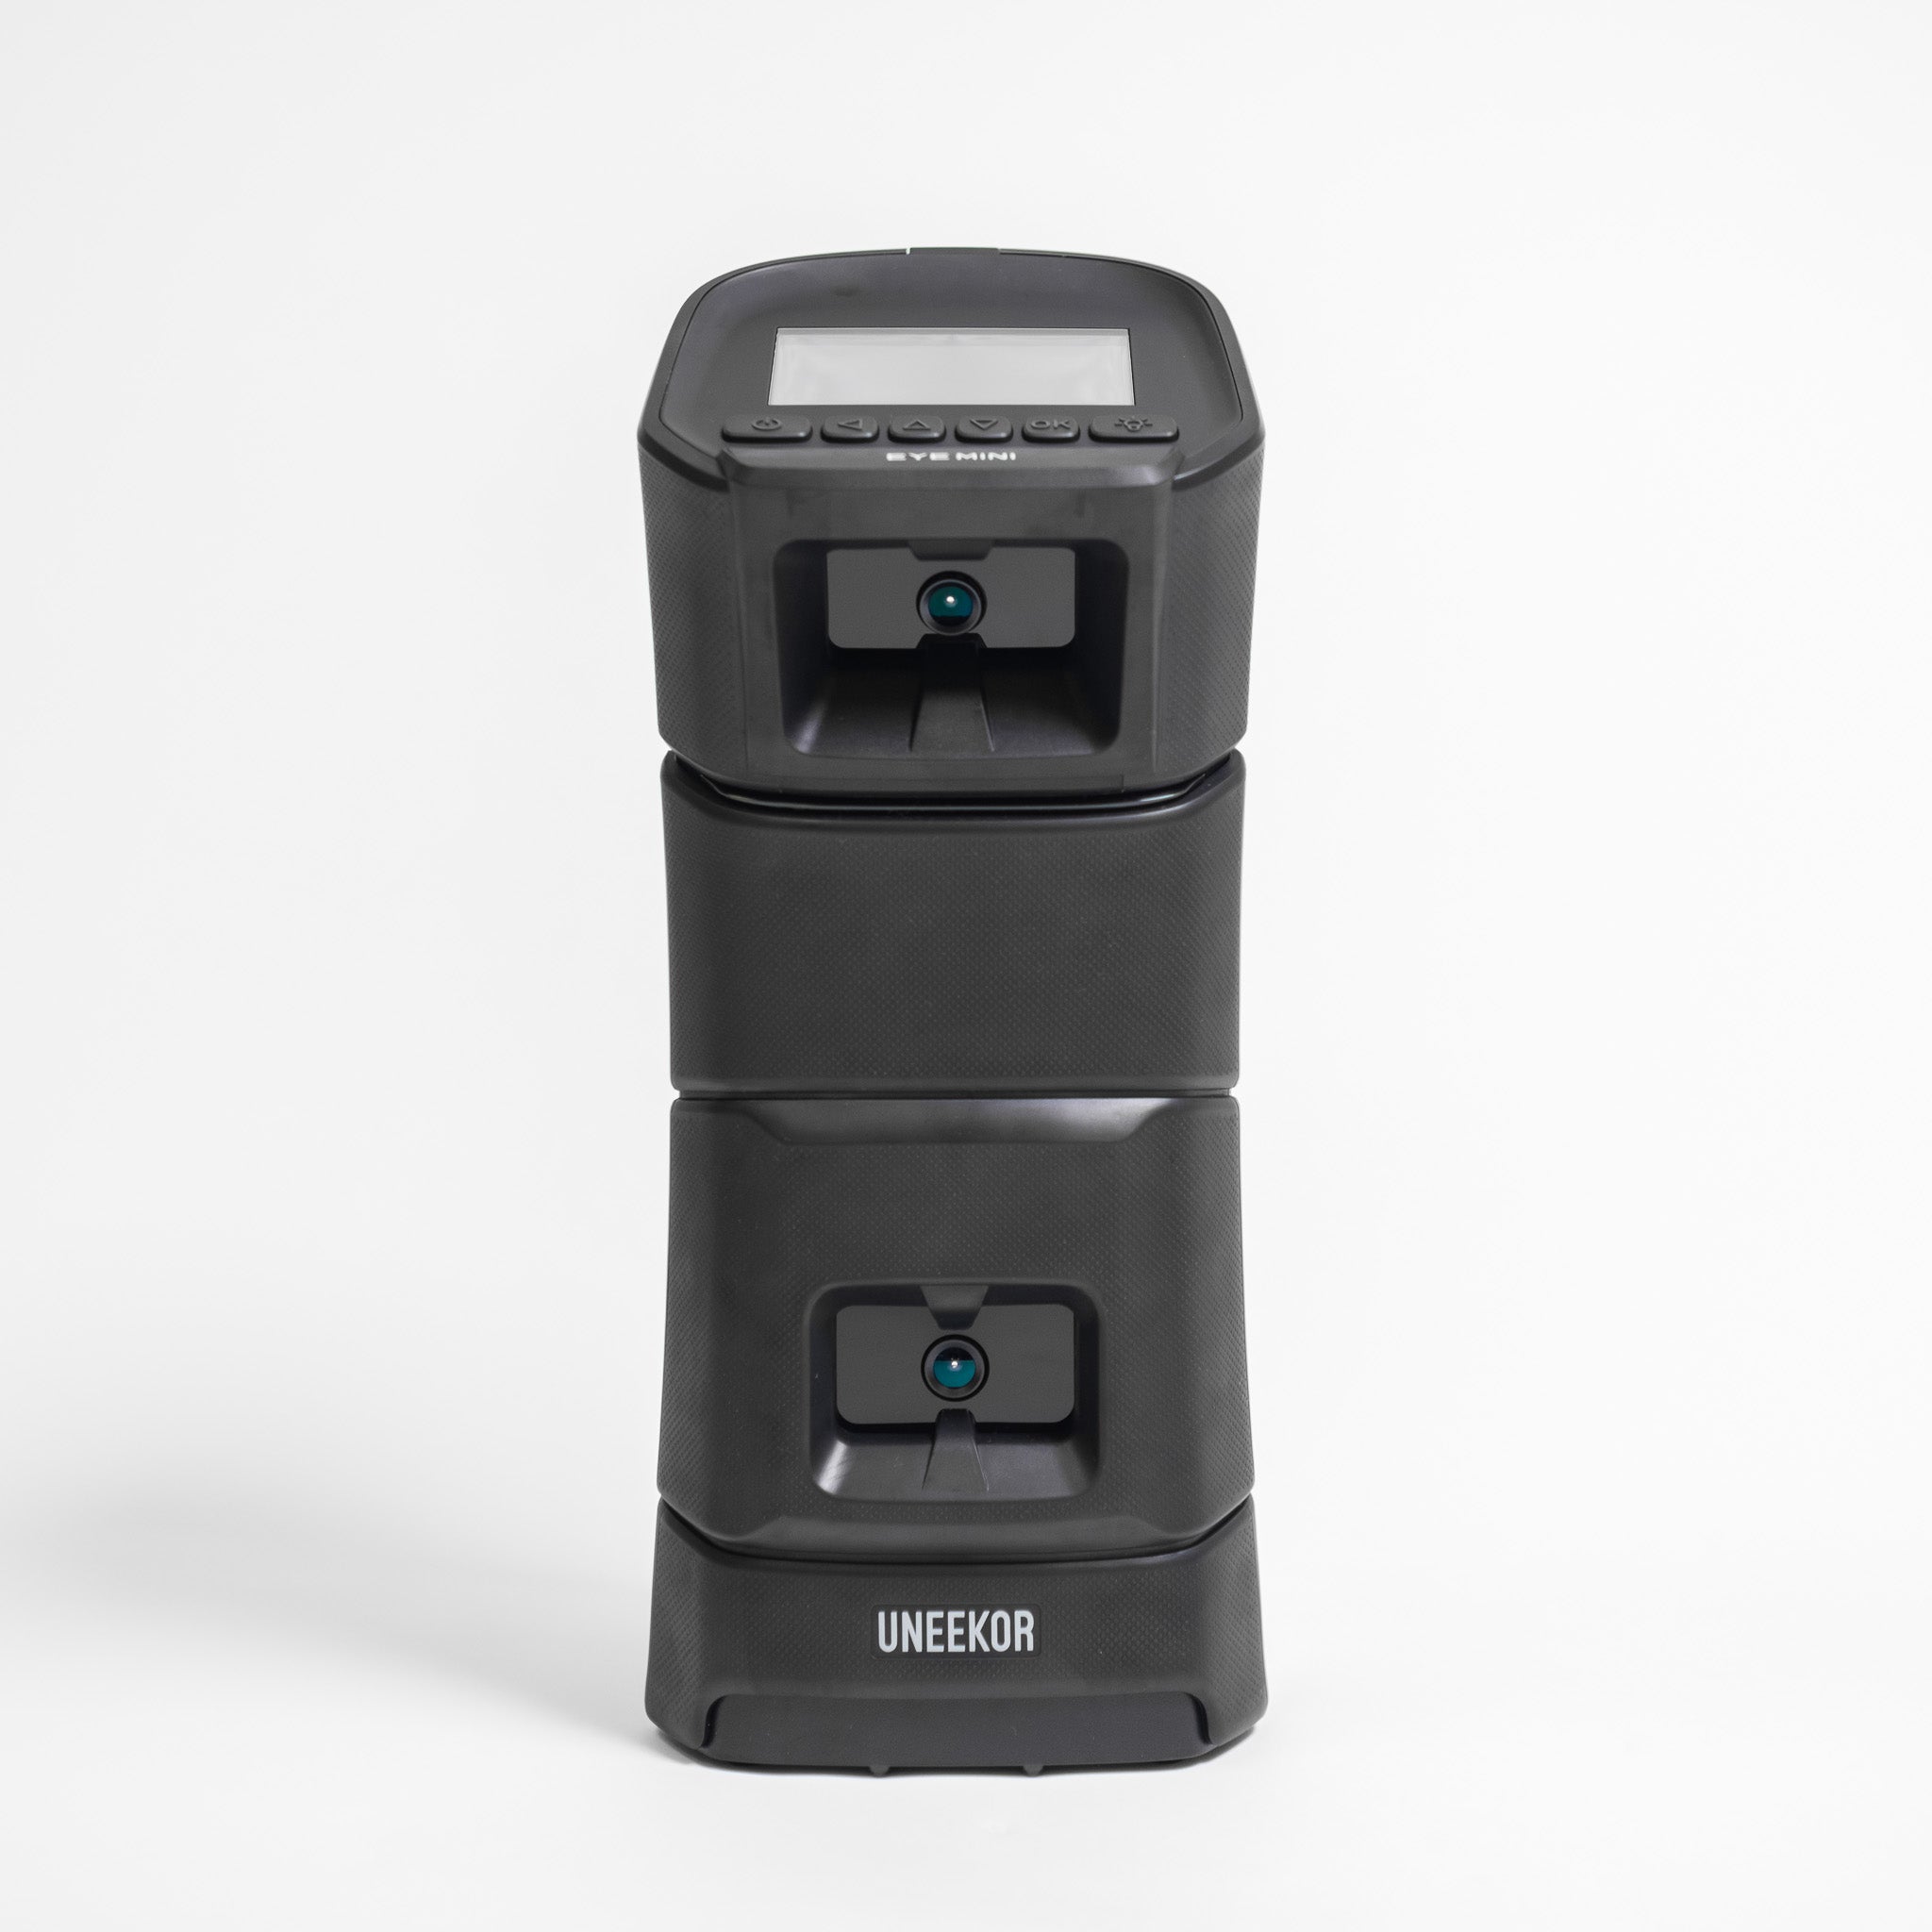
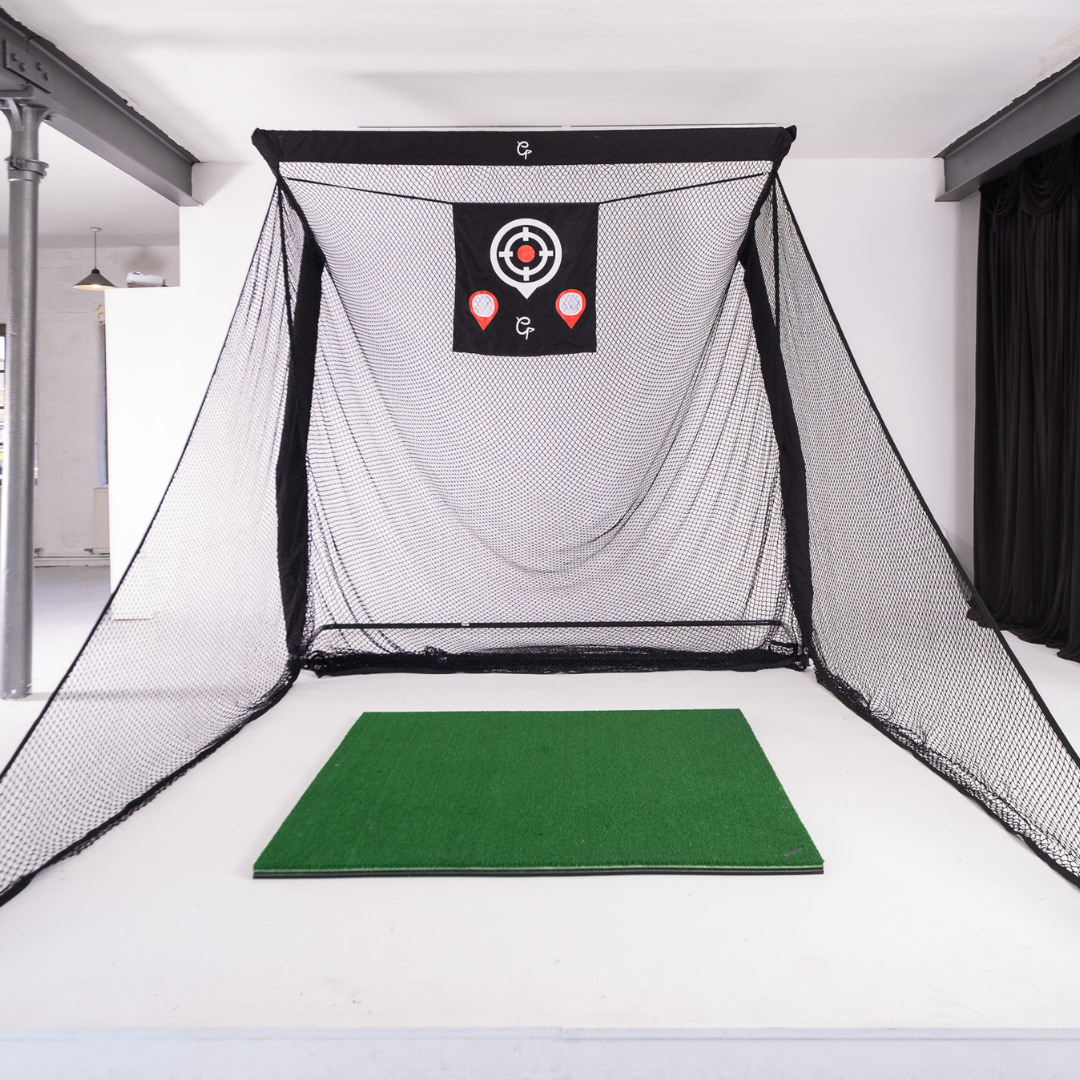
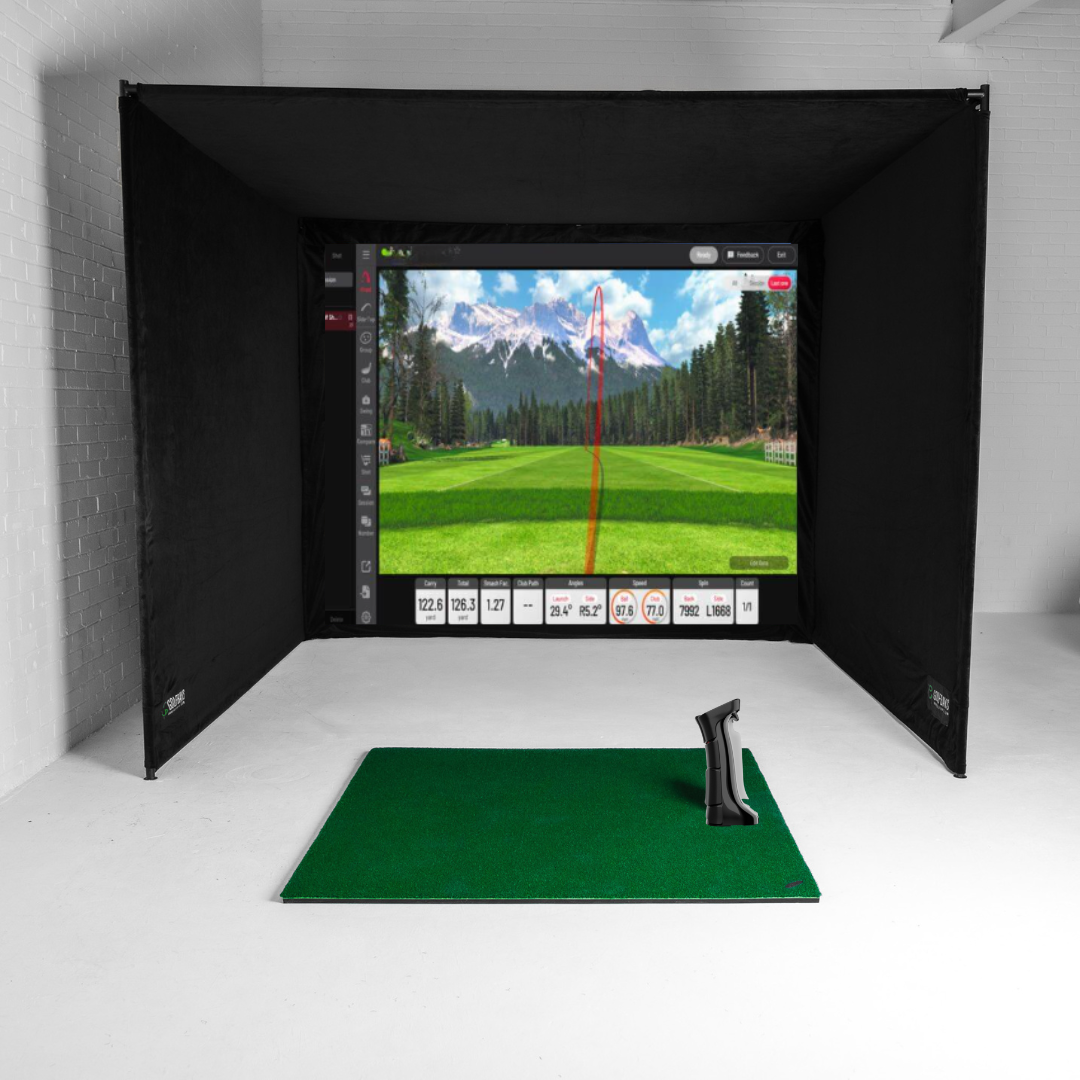
Simulator Equipment & Fit-Out (CAPEX): The largest upfront cost is the hardware and build-out for each simulator bay. A full commercial simulator setup includes the launch monitor/radar or camera system, a hitting enclosure (impact screen, frame, turf, nets), projector, gaming PC, software, and all the installation and calibration.
High-end commercial simulators typically range from around £35k–£60k per bay. Some premium systems can exceed this. Don’t forget to budget for construction and space prep: you may need to install swing-proof flooring, sound insulation, custom lighting, seating, etc. A rule of thumb: £40k–£70k per bay all-in is a reasonable planning range for a quality commercial setup when you include enclosure build-out and installation.
Other Startup Costs: Beyond simulators, initial costs include renovating the premises (carpentry, decor, painting), setting up a bar/kitchen area if offering F&B, furniture (tables, chairs, sofas for lounge areas), EPOS/booking systems, signage, and any professional fees (architect, licensing advisor, etc.). You’ll also need a stock of rental clubs (many customers bring their own clubs, but you should have decent sets on hand for those who don’t). And don’t forget working capital to cover the first few months of operating expenses before revenue flows.
Leasehold and Utilities (OPEX): When running a venue, your major ongoing costs will include rent (lease payments) for the commercial space and associated business rates (commercial property tax). City-centre locations will of course cost more per square foot than an industrial estate or out-of-town space. Aside from rent, budget for utility bills – electricity for all that tech (simulators, TVs, fridges) and heating/AC for a large open space can be significant, plus water/sewer and internet. Simulator bays especially consume a chunk of power (projectors, computers running constantly).
Staffing (OPEX): Even a small 3-4 bay venue will need staff to operate. You’ll likely have a venue manager and a handful of part-time staff to cover reception/check-ins, bar service, cleaning, and overseeing play (ensuring customers know how to use the sims, etc.). If you have a kitchen, add a chef/cook. And if you host a teaching pro for lessons, their compensation (or revenue share) is a factor. Staff costs not only include wages but also PAYE taxes, National Insurance, pension contributions, etc. Many indoor golf centres operate with a lean staff (e.g. one or two people can handle a bar plus check-ins for a 4-bay setup during quiet times), but during busy league nights or events you’ll need extra hands. Budget accordingly for salaries and try to align staffing levels with peak usage times.
Software Subscriptions & Tech (OPEX): Most simulator systems require ongoing software licenses or subscriptions. For example, you might pay monthly or annual fees for simulator software updates, course libraries, or online services. Additionally, if you use a booking system (online reservation platform) or a POS system for sales, those may have monthly fees or payment processing charges. Don’t forget music licensing fees (PRS/PPL) if you play background music in the venue. UK businesses are required to have these licenses to legally play copyrighted music in public.
Consumables and Maintenance (OPEX): You’ll regularly need to replace consumables like golf balls (they will wear out or get damaged), tees, and maybe the hitting mat turf every so often. Factor in maintenance of equipment – projectors need bulb replacements or cleaning, computer hardware may need IT support, and launch monitors might require recalibration or occasional fixes. Keeping a service contract or warranty support with your simulator provider is wise. Insurance is another must-have overhead: you’ll need public liability insurance (in case a customer injures themselves or property is damaged), insurance for your contents/equipment, and perhaps business interruption insurance.
VAT Considerations: In the UK, most of your sales (bay rentals, F&B, etc.) will be subject to 20% VAT, and likewise many of your purchases (equipment, construction, stock) will have VAT. If you register for VAT (which you likely should if your revenue will exceed the threshold), you can reclaim VAT on your business purchases – but be mindful of cash flow timing. For example, if you spend £100k on building the venue, that’s £20k of VAT you’ll eventually reclaim from HMRC, but it might take a quarter or more to get it back. Meanwhile, you also have to charge VAT on sales and remit those. Plan your cash flow so you’re not caught short while waiting for a VAT refund. Many startups work closely with an accountant to manage this, especially around the big upfront spends.
In summary, launching a golf simulator venue does require a significant upfront investment (equipment and fit-out) and has ongoing fixed costs similar to any hospitality or leisure business (rent, staff, utilities). A ballpark estimate for a modest 4-bay venue could easily be a £200k–£300k+ startup cost once you include everything, and monthly operating costs in the several thousands (rent and staff being the big ones). It’s important to budget realistically. However, as we saw earlier, the revenue potential is also high – a well-run venue can gross half a million pounds or more per year. The goal is to reach break-even as soon as feasible (many aim for ~18 months to recoup initial investment) and then scale profitability from there.
Navigating Compliance for Golf Sim Venues
Operating an indoor golf and bar venue means jumping through a few regulatory hoops. Here are the key compliance areas to be aware of in the UK:
Licensing for Alcohol Sales: If you plan to serve alcohol (which is highly recommended from a revenue standpoint), you’ll need to obtain a Premises Licence under the Licensing Act 2003, and have a Designated Premises Supervisor who holds a Personal Licence. This involves applying to the local council, displaying public notices, and possibly a hearing. It’s wise to get advice or hire a licensing consultant to handle this. Note that your operating hours, noise conditions, etc., may be stipulated in the licence.
Planning Permission & Noise Mitigation: If you’re converting a space or changing its use (say from retail to leisure), you might need planning permission for a “change of use”. Local authorities have become keen on noise mitigation for competitive socialising venues – ensure your venue has adequate soundproofing so that thwacks of golf balls or cheering patrons don’t disturb neighbours. This might be a factor, especially if your location is near residential areas. Be proactive: use acoustic panels, insulation, and reasonable operating hours to manage noise. Councils can require noise impact assessments during planning, and you certainly want to avoid noise complaints once operating.
Music Licensing: As mentioned, playing music (even just background radio or Spotify) requires licenses: PRS (for songwriters/composers) and PPL (for recordings). These are usually not very expensive for a small venue, but it’s a legal requirement to pay them.
Health & Safety and Fire Regulations: You’ll need to comply with fire safety rules – that includes having proper fire exits, extinguishers, alarms, and emergency lighting. When fitting out the venue, a fire risk assessment should be done. Also consider general health and safety: first aid kits on site, clear safety briefing or signage (people swinging clubs – make sure only those in the bay area are in swing range, etc.). Public Liability Insurance (often £5–10 million coverage) is essential to cover any accidents.
Age Restrictions and Supervision: While not a legal “licence”, consider your policies: serving alcohol means you’ll enforce 18+ for drinking, but your venue might attract juniors for lessons or family groups. Decide if under-18s are allowed and under what conditions (likely yes, but accompanied by an adult and not at certain late hours if alcohol is served heavily).
COVID or Other Regulations: Post-pandemic, it’s smart to stay adaptable to any public health regulations. Indoor venues had to adapt for social distancing, sanitisation, etc. Keep an eye on any guidance for hospitality or indoor sports should things crop up in the future.
None of this is meant to scare you. We just want to highlight that a golf simulator business, especially one with food/drink, touches on multiple regulatory frameworks (alcohol licensing, planning, health & safety, entertainment licensing). It’s wise to consult with legal experts or your local council’s business support services to ensure you tick all the boxes. Getting your licences in place and having good relations with local authorities will set you up for smooth operations. After all, you want the only buzz to be about your great venue, not a neighbour complaining to the council!
Funding the Dream: How to Finance Your Golf-Sim Venue
Given the substantial costs to start up, you’ll likely explore various funding sources. The good news is there are several UK funding routes that align well with this kind of business venture:
Government Start Up Loans: The British Business Bank’s Start Up Loans program offers government-backed loans from £500 up to £25,000 per director. These are essentially personal loans (6% interest fixed) used for business purposes, aimed at new businesses trading under 3 years. For example, if you have two founders, collectively you might secure up to £50k (each can apply for £25k). Start Up Loans come with the benefit of free mentoring and no early repayment fees. They can provide that initial chunk of capital to buy a simulator or two. (Keep in mind, £25k alone won’t cover a full venue, but it can be part of a larger funding package.)
Bank Loans and the Growth Guarantee Scheme: Traditional bank loans or asset finance might be an option, especially if you have some track record or other collateral. As of 2024, the UK has introduced the Growth Guarantee Scheme (GGS) – a successor to the Recovery Loan Scheme – which helps banks lend to small businesses by guaranteeing 70% of the loan amount via the British Business Bank. Under GGS, businesses can potentially borrow up to £2 million (depending on the lender and criteria) for growth or investment. If you have a solid business plan, a lender under GGS might finance your expansion (for instance, financing the fit-out of multiple bays or a new location) with the government mitigating some risk for the bank. Talk to your bank about GGS-backed loans for new ventures; it could unlock debt financing that otherwise would be hard to get as a startup.
Equity Investment – SEIS/EIS: If you plan to raise money from investors (friends, family, angel investors), make sure to utilise the UK’s very generous startup investment schemes: SEIS (Seed Enterprise Investment Scheme) and EIS (Enterprise Investment Scheme). Under SEIS, you can raise up to £250,000 in equity funding for a new company, and your investors get 50% of their investment back as income tax relief (plus other benefits like tax-free gains). EIS allows larger raises (up to £5m a year) with 30% tax relief to investors. These schemes hugely encourage people to invest in startups like yours. For example, you could offer equity in your business to an angel investor to raise, say, £100k, and they’d only effectively pay £50k after their SEIS tax rebate – a nice selling point. Ensure your company meets the criteria (trading under 3 years for SEIS, etc.) and get advance assurance from HMRC to reassure investors.
Other Avenues: Traditional means like using personal savings, bringing on a business partner with capital, or even crowdfunding could play a role. Some indoor leisure startups have found success with local crowdfunding – pitching the concept to the community, who then effectively pre-buy memberships or shares (this doubles as marketing – you create a built-in customer base). Additionally, if you have an existing business (say a golf shop) adding simulators, you might finance via business asset finance or manufacturer financing (some simulator companies offer payment plans). Explore asset finance for equipment – you might lease the simulators rather than buy outright, to spread costs.
No matter which route, a solid business plan and financial model are crucial. Lenders and investors will want to see your projected revenue, costs, breakeven point, and market research. Showing that you understand the business model (perhaps using the info in this article!) and have a path to profitability will instil confidence. Be prepared to invest some of your own money and demonstrate why your chosen location and concept will succeed. There is money out there for good ideas – use the UK’s startup-friendly schemes to your advantage.
Sample Financials: 4-Bay Venue P&L Snapshot
Let’s paint a picture of what the numbers might look like once an indoor golf venue is up and running. Imagine a venue with 4 simulator bays in a mid-sized UK city, plus a bar/kitchen. Here’s an indicative annual Profit & Loss outline once the business reaches steady state:
Revenue: Suppose each bay earns ~£120k/year (a mix of peak/off-peak usage as discussed). That’s £480k from simulator rentals. Add £120k from food & beverage sales (assume many customers buy drinks/food – this could be higher if you really push F&B). Lessons, memberships, and retail might add another £50k. Total gross revenue ~£650k/year.
Cost of Sales: These are costs that scale directly with revenue. For F&B, the cost of ingredients/stock – maybe 30% of F&B revenue (~£36k). For simulator usage, there isn’t a direct “cost per round” except maybe wear-and-tear and electricity (negligible per use). If you pay a golf pro a percentage of lesson fees, that’s a cost too. Let’s estimate total cost of sales ~£50k. That leaves gross profit ~£600k.
Operating Expenses: Now deduct fixed costs. Rent might be, say, £50k/year (varies widely by location size and city). Staff wages – perhaps you have a manager and several part-timers, totalling £120k/year. Utilities could be £15k. Insurance, licenses, marketing, subscriptions, maintenance, etc., combined another £20k–£30k. Let’s say all in, OPEX ~£220k.
EBITDA: Earnings before interest, tax, depreciation, and amortisation – basically your operating profit – would then be roughly £600k gross profit minus £220k expenses = £380k. That would be a very healthy EBITDA margin of ~58%. In reality, we may be a bit optimistic on both revenue and costs; perhaps utilisation is lower or wages higher. Real-world indoor golf centres often report EBITDA margins in the 25%–35% range once mature. For instance, if our venue had an EBITDA of ~£180k on £650k revenue, that’s about 28% margin, which is solid for a hospitality-oriented business.
Breakeven Point: With those figures, breakeven (EBITDA £0) would occur at a revenue where gross profit just covers fixed costs. Using the above, if fixed OPEX is ~£220k and gross margin ~90% (since cost of sales is small aside from F&B), the venue likely needs on the order of £250k in annual revenue to break even on an EBITDA basis. That’s only ~40% of our projected capacity – meaning there is some cushion. In other words, you might need roughly 50-60% of your bay capacity filled (plus modest bar sales) to cover all your bills. This is an attainable target within the first year if you hustle on marketing and memberships. Achieving full swing (pun intended) of 70%+ utilisation and strong ancillary sales could then yield the healthy profits described.
The above numbers are hypothetical but based on industry benchmarks. Every business will differ. The key message is that once you cover your fixed costs, additional revenue largely turns into profit – that’s the beauty of high-margin simulator time. So, maximising utilisation and incremental sales per customer greatly boosts the bottom line.
Reaching break-even in ~18–24 months is a reasonable goal for a well-funded venue that ramps up marketing early. The initial year might operate at a loss (as you build clientele and absorb startup costs), but by year two you’d aim to be solidly profitable monthly. Investors or lenders will want to see this path to profitability and cash flow positivity. By year three, a stabilised venue could potentially consider expanding (more bays or additional locations) using the profits or by leveraging demonstrated success to get more funding.
Key Performance Indicators (KPIs) to Track
Running an indoor golf venue, you’ll want to keep a close eye on certain metrics that gauge the health of the business. Here are some crucial KPIs and benchmarks:
Bay Occupancy Rate: Similar to hotel occupancy – what percentage of total available simulator hours are being booked? Track this overall and by peak vs. off-peak. For example, you might see 80% occupancy during weekday evenings but only 20% on weekday mornings. This data will guide promotions (e.g. offer morning discounts) and show growth. A rising overall occupancy % month-over-month is a key sign of gaining traction.
Revenue per Bay (per day/week/month): Monitor how much each simulator is earning. If one is lower, is it because of technical downtime or less popularity of that room? Often it should be equal, but if you have one premium bay (say with a newer system) and it commands a higher rate and stays booked, that’s useful info.
Membership and League Participation: How many active members do you have? What’s the attach rate (percentage of regular customers who convert to members)? Also, how many people are joining leagues or tournaments? These figures indicate community building and recurring usage, which drive stability. If league participation is low, perhaps more promotion or different formats are needed.
F&B Spend per Customer: Calculate the average food & beverage revenue per visit or per hour of simulator time. If it’s, say, £5 per person now, can you bump it to £7 with better offerings or specials? Upselling drinks and snacks can significantly impact profitability. This is basically the average customer spend beyond bay rental.
Lesson Conversion Rate: If you offer lessons, track how many bay bookings lead to a lesson booking (or vice versa). Is your golf coach generating additional practice bay hours (e.g. students coming back to practice after a lesson)? Also, track lesson revenue as a % of total – if it’s growing, great; if it’s underperforming, maybe the pro needs help marketing their services.
Customer Acquisition Cost (CAC): In your marketing, how much do you spend to acquire a new customer (first visit)? This might include Google/Facebook ads, referral incentives, etc. For example, if you run an ad campaign that costs £500 and 50 new customers came in as a result, your CAC is £10. Then consider the Customer Lifetime Value (CLV) – how much revenue does an average customer bring over time. If your typical customer spends £200 in a year in various visits, spending £10 to get them in the door is worthwhile. These marketing metrics ensure you’re investing in growth efficiently.
Retention & Reviews: Track repeat visit rate (what percentage of customers return after their first visit) and keep an eye on online reviews and ratings. While not a financial metric, high ratings on Google/TripAdvisor and strong word-of-mouth lead to organic growth (which lowers your CAC). If retention is low, investigate why – was the experience lacking, or pricing too high, etc.
Peak utilisation vs. Capacity: Are you fully booked out on Saturday afternoons? If you consistently have waitlists for peak times, it signals that you could raise rates or eventually add more bays. Conversely, if off-peak usage is very low, that signals you should ramp up promotions or alternate uses (maybe offering the space for fitness classes or other uses in off hours – get creative in monetising idle time).
By keeping a dashboard of these KPIs, you can adjust your strategy in near-real-time. For instance, if memberships plateau, maybe launch a limited-time offer or a new tier. If occupancy is lagging, step up local marketing or partnerships (e.g. with golf clubs for winter practice deals). Remember, data-driven decisions will help optimise your business model over hunches. Indoor golf may be a new industry, but treat it like any professional operation – measure, analyse, and react.
All the Gear You Need to Launch a Commercial Golf Sim Venue
You’ve seen the opportunity: a growing market, multiple revenue streams, and a path to profits by combining golf, tech, and hospitality. If your entrepreneurial spirit is tingling and you’re ready to launch the hottest indoor golf club in town, the next steps are planning and execution.
GolfBays is here to help you make it happen. We’ve equipped countless indoor golf centres and we have everything you need – from state-of-the-art simulators and enclosures to turf, screens, and accessories. More importantly, we bring expertise. Launching a golf-sim venue is a complex project, but you don’t have to go it alone.
Ready to turn that dream into a reality? Get in touch with the GolfBays team and let’s start building your indoor golf business!
You can also read our guide on equipping a commercial golf venue.